LED grow light strips are genuinely useful tools, but the category is flooded with vague marketing and misleading specs. The short answer: the best LED grow light strip for your space is the one with a verified full-spectrum SPD (spectral power distribution), a PPFD map tested at your intended mounting height, a properly matched driver, and a build quality that won't fail after one grow cycle. Everything below helps you figure out exactly which one that is, and how to confirm it before you spend a dollar.
Best LED Grow Light Strips: Buyer’s Guide for Full Spectrum

Marcus Rutherford
5 Apr 2026

What 'best' actually means for LED grow light strips
When growers search for the best LED grow light strips, they usually mean different things depending on their setup. But regardless of whether you're running a small home tent or scaling a commercial rack, 'best' comes down to the same core criteria: usable light output at the canopy (PPFD), spectrum quality, energy efficiency, build quality, dimming capability, heat management, and physical fit for your space. A strip that excels in one area but fails in another isn't best, it's a compromise you haven't fully priced yet.
PPFD (photosynthetically active photon flux density), measured in μmol·m⁻²·s⁻¹, is the number that tells you how much usable light actually reaches your plant canopy per square meter per second. PPF (photosynthetic photon flux) is the total output from the fixture. Both matter, but PPFD is the one that reflects what your plants actually experience. A high efficacy number on a spec sheet does not guarantee that the right photons are hitting your canopy in the right distribution. Manufacturers who only quote efficacy without providing PPFD maps and spectrum data are hiding something.
Beyond raw output, efficiency matters for your electricity bill and heat load. Build quality determines whether your strips last 50,000 hours or fail at 10,000. Dimming capability lets you dial PPFD to match plant stage, which directly controls your DLI (daily light integral), the total photosynthetic light dose your plants accumulate over 24 hours. If you want to dig into whether LED technology is genuinely worth the investment before going further, LED grow lights work exceptionally well when you match them properly to your grow parameters.
Full-spectrum vs non-full-spectrum: how to actually verify the claim
Full spectrum is the most overused term in the grow light strip market. Almost every product page claims it, and almost none of them back it up with real data. Here's how to separate real full-spectrum strips from marketing noise.
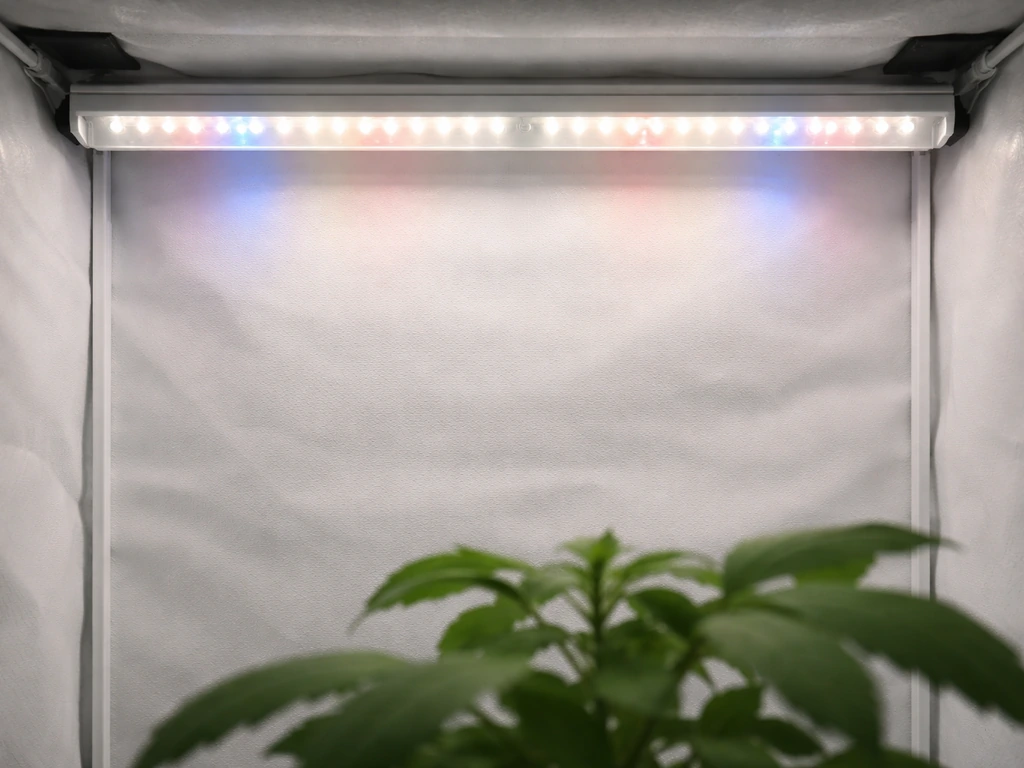
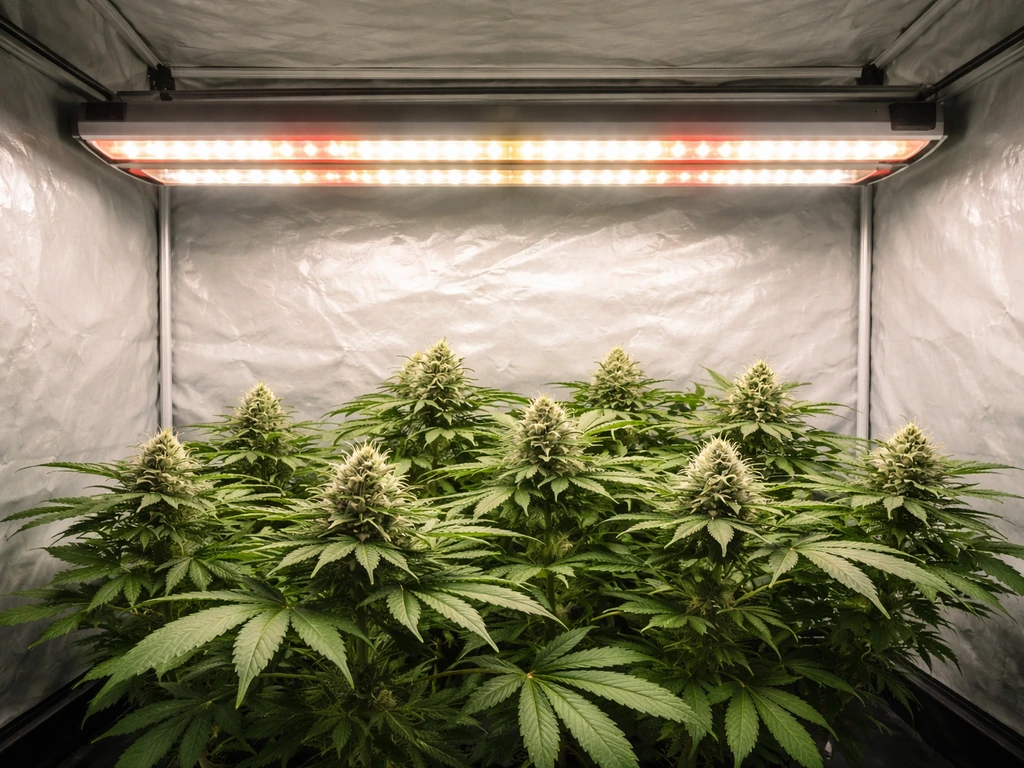
A genuinely full-spectrum LED strip produces light across the full photosynthetically active radiation (PAR) window of 400-700nm, with meaningful energy in the blue range (400-500nm) for vegetative growth, the red range (600-700nm) for flowering and fruiting, and ideally some output in the green and far-red regions as well. The tool that proves this is a Spectral Power Distribution (SPD) chart, not a color rendering index, not a color temperature label, and definitely not a product photo showing a white or purple glow.
Ask for or look up the LM-79 test report. LM-79 is the ANSI/IES standard method for measuring LED luminaire performance, covering photometric and electrical measurements at defined conditions. A proper LM-79 report documents what the fixture actually outputs, not what the marketing team claims. Note that LM-79 alone won't characterize spatial light distribution across your canopy. For that you need a PPFD map paired with a stated test distance, grid density, and setup conditions. Be skeptical of any PPFD map generated inside a reflective tent without disclosing that, since reflected light artificially inflates readings and hides real-world performance gaps.
For spectrum verification specifically, look for an SPD graph showing continuous output across 400-700nm. If a manufacturer provides IES files or references newer radiometric data formats (like ANSI/IES TM-33 compatible data), that's a strong positive signal since those formats can encode spectral data alongside spatial intensity distributions. Strips that only provide a color temperature (e.g., '3000K') without an SPD are showing you a general white LED spec, not a horticulture-optimized spectrum claim you can verify.
How to size strips for your grow area
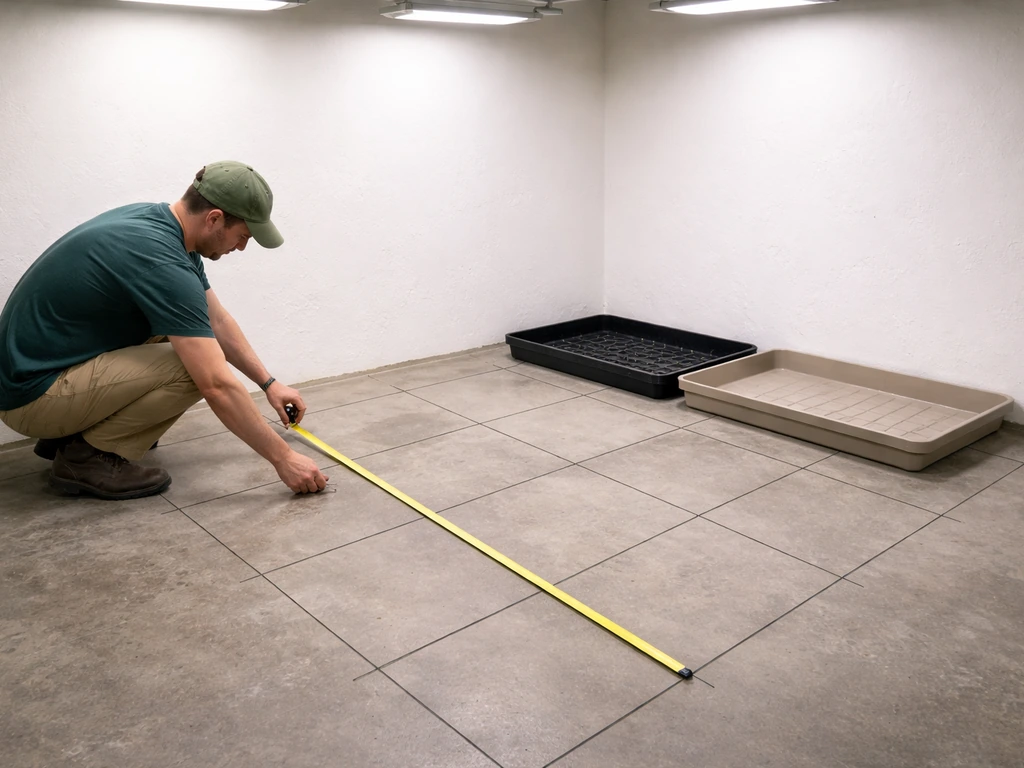
Matching PPFD and DLI to your crop and growth stage
Before you pick a strip length or wattage, know your PPFD target. Seedlings and clones typically need 100-250 μmol·m⁻²·s⁻¹. Vegetative growth generally calls for 400-600 μmol·m⁻²·s⁻¹. Fruiting and flowering plants push 600-1000+ μmol·m⁻²·s⁻¹ for high-yield crops. These PPFD numbers, combined with your photoperiod, determine your DLI. As a useful rule of thumb: targeting a DLI of 10-14 mol·m⁻²·day⁻¹ over a 16-hour photoperiod requires an average PPFD of roughly 175-240 μmol·m⁻²·s⁻¹. Bump your photoperiod down to 12 hours for flowering and your required PPFD to hit the same DLI goes up proportionally.
Calculating strip count and wattage by area
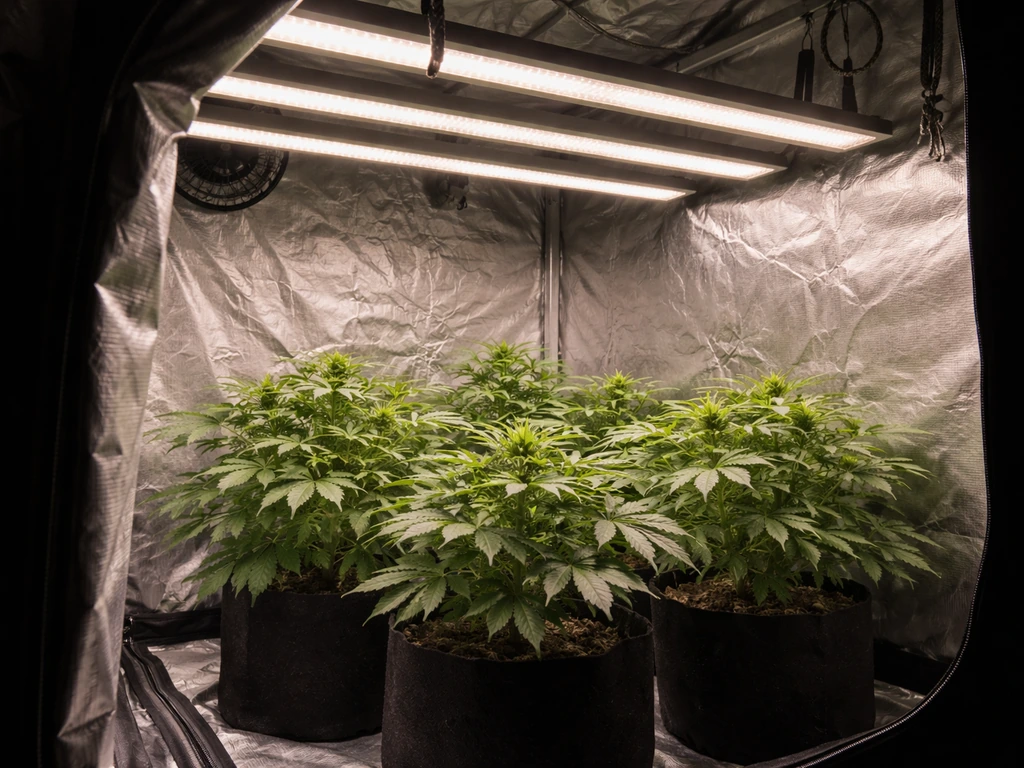
Strip LEDs are sold by the meter, by panel (a series of strips mounted to a board or bar), or as complete fixtures with integrated strips. Start with your grow area in square meters, then find PPFD maps for the strips you're evaluating at your intended mounting height, typically 30-60cm above canopy for strips. A single high-quality 2-meter strip running at 40-60W might cover 0.5-0.8 m² at adequate PPFD for vegetative growth. For a standard 4x4 tent (about 1.6 m²), you're realistically looking at 4-8 strips depending on wattage and mounting height, often totaling 200-400W of actual draw.
Don't oversize based on lumens or lux specs. Those are human-eye metrics, not plant metrics. Size by PPFD at canopy and by your target DLI. If the product page only gives lumens, move on. If it gives PPFD but not a map showing distribution across the coverage area, ask for one or look for third-party testing. For high-yield scenarios where you're pushing PPFD above 800 μmol·m⁻²·s⁻¹, you'll want to cross-reference against guidance on the LED grow lights that actually deliver high yields to confirm your strip setup can compete with dedicated fixtures.
| Grow Area | Target PPFD (Veg) | Target PPFD (Flower) | Approx. Strip Wattage Needed | Typical Strip Count |
|---|---|---|---|---|
| 1x2 ft (0.19 m²) | 400-500 μmol/m²/s | 600-800 μmol/m²/s | 40-80W | 2-4 strips |
| 2x4 ft (0.74 m²) | 400-600 μmol/m²/s | 600-900 μmol/m²/s | 100-200W | 4-6 strips |
| 4x4 ft (1.49 m²) | 400-600 μmol/m²/s | 700-1000 μmol/m²/s | 200-400W | 6-12 strips |
| 4x8 ft (2.97 m²) | 400-600 μmol/m²/s | 700-1000 μmol/m²/s | 400-700W | 12-24 strips |
| Rack/shelf (0.5 m²) | 200-400 μmol/m²/s | 400-600 μmol/m²/s | 50-120W | 2-4 strips |
Mounting, spacing, and coverage: avoiding hotspots and dead zones
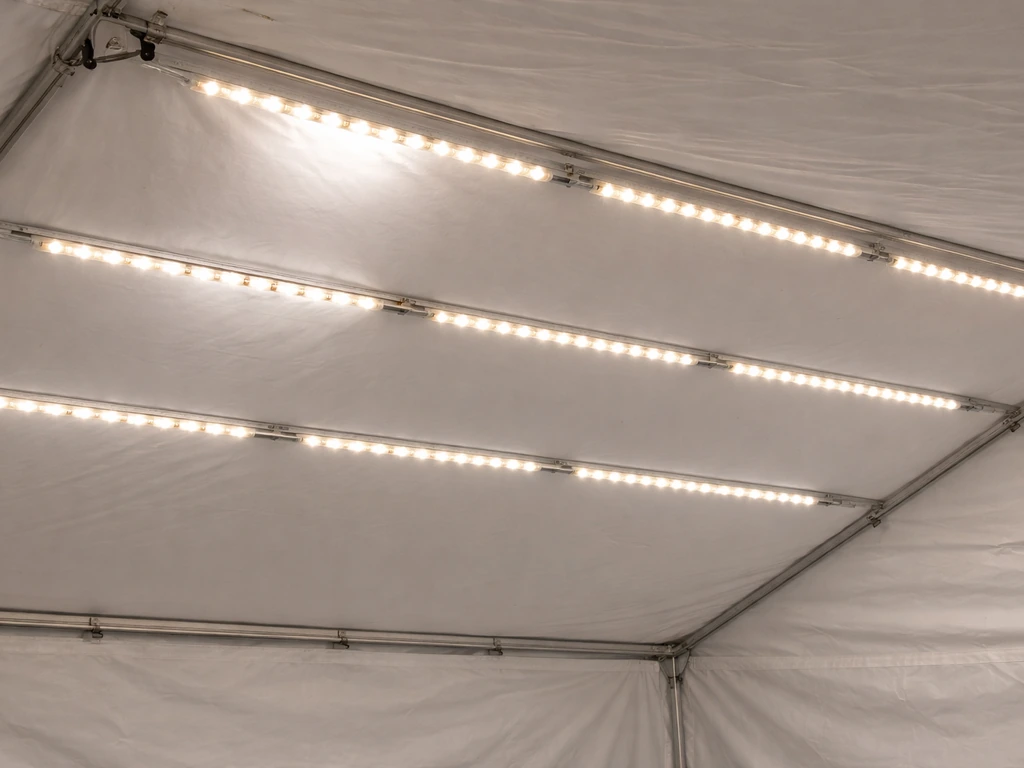
Strip LEDs have a major advantage over single-point sources: you can distribute them across your canopy to create even coverage. But that only works if you space them correctly. A common rule in horticultural lighting is that uniformity is considered non-compliant when PPFD varies by more than ±20% across the measurement grid. In practice, that means your strips need to be spread far enough apart that you don't get intensity peaks directly under each strip and dim valleys between them.
For most strip systems, spacing strips 15-25cm apart (center to center) at a mounting height of 30-50cm above canopy gives good uniformity for a flat canopy. Mounting too high reduces PPFD but improves uniformity. Mounting too low concentrates intensity under each strip and creates the hotspot problem. Use a PPFD map from the manufacturer or generate one with a PAR meter if you're building a custom array. If modeling beforehand, some commercial systems let you import IES files into lighting design software to simulate PPFD distribution before you commit to a layout.
Watch out for PPFD maps that use very few measurement points, say a 3x3 grid over a 4x4 space. Nine data points can't reveal the micro-variation between strips. A credible uniformity map should have measurement points every 15-30cm in a dense grid. Also, any map taken inside a highly reflective tent inflates readings because tent walls bounce light back onto the canopy. Real-world open-air or black-tent measurements are more honest indicators of strip performance.
- Space strips 15-25cm center-to-center for uniformity at typical canopy distances
- Mount 30-50cm above canopy for most strip systems; adjust down for lower wattage strips
- Avoid mounting single strips directly over plants without neighboring strips to fill gaps
- For shelf or rack grows, mount strips as close to the shelf above as your heat tolerance allows
- Use reflective walls or mylar to recover edge losses without relying on inflated PPFD measurements
- Verify uniformity with a PAR meter after installation, ideally checking at 9+ points across the coverage zone
Electrical setup: drivers, dimming, wiring, and safety
Matching strips to the right driver
Most consumer and prosumer LED grow strips operate on constant-voltage DC power, typically 12V or 24V. The driver (power supply) converts your line voltage to the DC voltage the strip expects, and the strip regulates current at each LED segment internally. Getting this wrong causes real problems: running a constant-voltage strip with a constant-current driver, or vice versa, leads to unpredictable behavior, overdriving LEDs, and premature failure. Always match the driver type to the strip architecture. Check the strip's datasheet explicitly for 'constant voltage' or 'constant current' and buy the corresponding driver.
24V systems are generally preferred over 12V for longer runs because lower current draw means less voltage drop across the strip length. For a rack of eight 1-meter strips at 12W each, you're drawing 96W at 24V, which is about 4A. At 12V you'd need to handle 8A for the same load, with more voltage-drop risk on longer interconnects. Size your driver at 20-25% above your strip load to avoid running the supply at its thermal limit continuously.
Dimming: 0-10V and PWM options
Dimming capability is one of the most useful features in a strip grow light system because it lets you match PPFD to plant stage and time of day without physically repositioning fixtures. The two most common dimming methods for grow applications are 0-10V analog dimming and PWM (pulse-width modulation). With 0-10V dimming, a separate low-voltage DC control signal (0-10V) runs from a controller to the driver, with the control wiring kept separate from line-voltage power wiring.
This is a clean, reliable architecture for multi-driver systems. PWM dimming works by rapidly switching the LED on and off, and is more common in simpler consumer strips. Both work, but 0-10V is the more scalable and interference-resistant choice for serious grow setups. If you want dimmability as a primary feature in your complete fixture search, there's solid guidance on the best dimmable LED grow lights that applies directly to driver selection for strip systems too.
Safety ratings and moisture protection
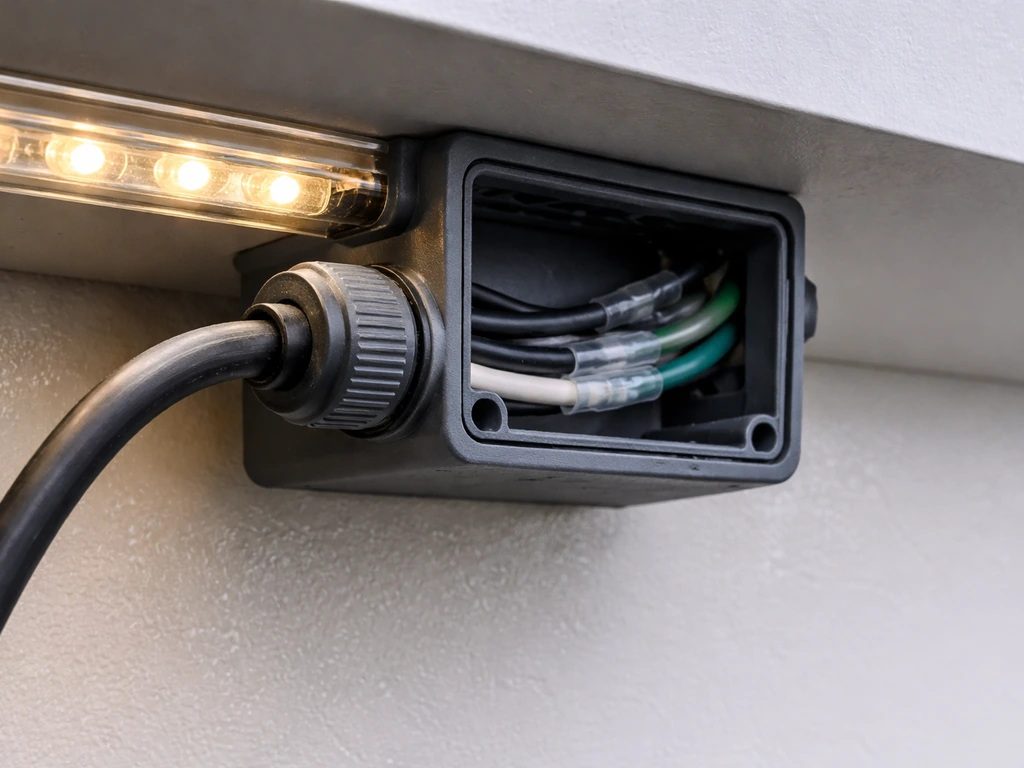
Grow environments involve humidity, condensation, and sometimes irrigation mist. IP ratings tell you how well the strip and driver are protected. IP65 means the unit is dust-tight and protected against water jets, adequate for most grow tents. IP67 means it can be submerged to 1 meter briefly, useful for high-humidity environments or cleaning.
IP68 is full submersion rated and overkill for most grows. Match your IP rating to your environment. For drivers, look for UL 8750 compliance, the ANSI/UL safety standard for LED equipment used in lighting products. UL announced publication of ANSI/UL 8750 (Safety Standard for Light Emitting Diode (LED) Equipment for Use in Lighting Products) in 2009 [UL 8750 compliance](https://www.
ul. com/news/ul-publishes-first-safety-standard-led-lighting-products-and-components). A UL 8750-listed driver has been tested to defined safety requirements. A cheap, unlisted driver is a fire and failure risk, not a bargain.
Wire gauge matters too. Undersized wiring generates heat and voltage drop. For runs up to 3 meters at 24V carrying up to 5A, 18 AWG is the minimum. For longer runs or higher currents, step up to 16 AWG or 14 AWG. Keep line-voltage wiring to the driver separate from low-voltage strip and control wiring. Use waterproof connectors wherever connections might see moisture.
Best picks by grow scenario
Budget builds and small spaces
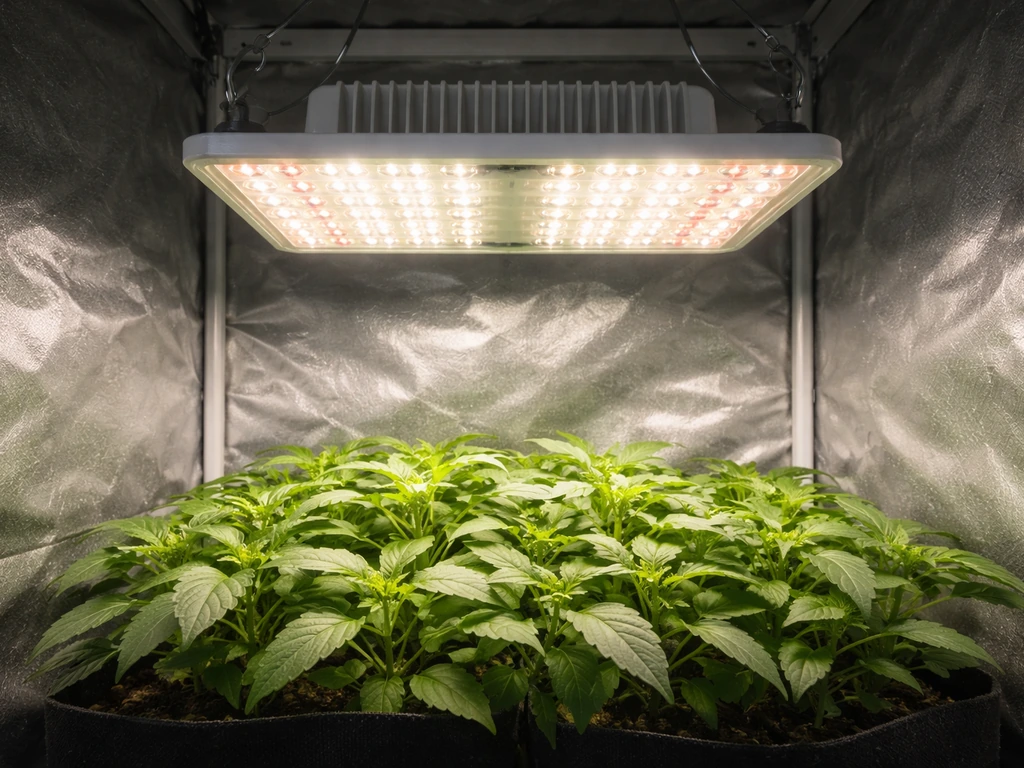
For a tight budget on a small grow (a single shelf, a 2x2 tent, or a propagation tray), DIY Samsung LM301B or LM301H-based strip kits are the most cost-effective full-spectrum option available today. These diodes are the same emitters used in premium commercial bars, but you buy them on flexible PCB strips, pair them with a Meanwell HLG driver, and mount them yourself.
A typical build for a 2x4 shelf might cost $80-150 in parts and deliver 150-250 μmol·m⁻²·s⁻¹ at the canopy. The trade-off is time and basic wiring skill. If that's not for you, pre-built bar-style strip fixtures from brands like Horticulture Lighting Group, Spider Farmer, or Mars Hydro in the 100-200W range are reliable entry points with documented PPFD data.
Tent growers in a 4x4 and similar spaces
For a 4x4 tent, you're targeting 400-700W of actual draw depending on crop and ambition level. Strip-bar fixtures designed for this footprint, like the HLG 600 Rspec or equivalent quantum board bar designs, distribute multiple strips across a wide frame, giving the mounting-height flexibility and uniformity that a single-point fixture can't match. Look for fixtures that publish PPFD maps specifically for 4x4 coverage at 18-24 inches mounting height, with center-point PPFD above 800 μmol·m⁻²·s⁻¹ for flowering. Community-tested options discussed in forums are another solid source for real-world performance data, and checking what experienced cultivators are actually running, as covered in resources like what the grow community recommends for LED lights, can save you from buying based on specs alone.
Supplemental lighting with strips
Strips are genuinely excellent for supplemental use: interlighting between plant canopy layers, side lighting to boost lower canopy zones, or adding spectrum depth to a main fixture that lacks far-red or UV. In a supplemental role, you typically need much less PPFD per strip (50-150 μmol·m⁻²·s⁻¹ of added light is often sufficient), which makes lower-wattage strips very cost-effective. Red-heavy strips (660nm peak) are particularly common for flowering supplementation. For a comprehensive look at pairing strips with a main fixture in a supplemental role, there's a full breakdown of the best supplemental LED grow lights worth reading alongside this guide.
Specialty crops: strawberries and fruiting plants
Fruiting crops like strawberries, tomatoes, and peppers respond well to spectrum-tuned strip setups because you can run red-dominant strips during fruiting phases without over-investing in a full-cycle high-PPFD fixture. Strawberries specifically thrive with a DLI of 12-17 mol·m⁻²·day⁻¹ during fruiting, achievable with a modest strip system running 18 hours. If strawberries or similar small-fruit crops are your focus, the crop-specific analysis in a dedicated guide on LED grow lights optimized for strawberries gives you the spectrum and DLI specifics for that crop.
Scaling to commercial rack systems
At commercial scale, strip LEDs really show their strengths: low profile for tight inter-shelf spacing, easy daisy-chaining for large arrays, and compatibility with multi-zone 0-10V dimming controllers. Commercial interlighting systems from companies like Philips GreenPower and Priva are essentially engineered strip systems. At this scale, demand IES file exports from any vendor and model your layout in lighting design software before buying. Getting uniformity wrong at rack scale means re-engineering an expensive installation. Also verify LM-80 lumen maintenance data alongside LM-79 initial performance data; LM-80 tells you how the LED source depreciates over time, which directly affects your multi-year yield projections.
Buyer checklist and next steps before you order
Run through every item below before hitting buy. If a product can't satisfy the spec verification items, skip it regardless of price or reviews.
- Get the SPD chart: confirm meaningful output across 400-700nm, not just a color temperature label
- Get the PPFD map: verify it was measured at your intended mounting height, with disclosed grid density, and outside a reflective tent (or with tent conditions clearly stated)
- Check the test report: look for LM-79 documentation from a third-party lab, not self-reported spec sheets
- Match driver type: confirm the strip is constant-voltage (12V or 24V) and pair with a matching constant-voltage driver at 120-125% of strip load
- Verify dimming compatibility: confirm 0-10V or PWM support if you need it, and that the driver supports your control method
- Check IP rating: IP65 minimum for humid grow environments; IP67 for high-moisture or wash-down zones
- Confirm driver safety listing: look for UL 8750 listing or equivalent regional safety certification on the driver
- Calculate your strip count: divide your target PPFD by the strip's documented PPFD-per-meter at your mounting height, then add 15-20% buffer for edge loss
- Check wire gauge and run length: verify 18 AWG minimum for 24V runs up to 3 meters; step up for longer or higher-current runs
- Request IES files if scaling: for commercial or multi-rack installs, model layout in lighting design software before purchasing
After running through the checklist, your next move is to shortlist two or three specific strip products that clear all the spec hurdles, then compare them on total system cost (strips plus driver plus mounting hardware), not just strip price. A strip that ships without a quality driver will cost more in the end when you factor in a separate Meanwell purchase.
The IES Webstore for the ANSI/IES TM-33-23 technical memorandum “Standard Format for the Electronic Transfer of Luminaire Optical Data” is a useful reference for the kind of standardized, machine-readable optical data that can support verification spec hurdles.
If your use case involves high yields and you're debating whether strips can compete with dedicated quantum board fixtures for your target PPFD, the comparison in a guide focused on which LED grow lights actually maximize yield gives you the side-by-side perspective you need to make that call with confidence.
FAQ
What should I do if a manufacturer provides an SPD graph but it does not clearly show output across 400-700 nm?
Check whether the SPD looks continuous through the PAR window, not just a blue and red peak. If the chart is cropped, unlabeled, or missing the 400-500 nm and 600-700 nm ranges, treat it as non-verified full spectrum and ask for the raw SPD or a test report tied to the exact LED and driver configuration.
Is it safe to assume a high efficacy number means higher PPFD for my canopy?
No. Efficacy (lumens-per-watt or similar) is not a plant-level metric, and strips can have strong efficacy but poor canopy distribution. Require a PPFD map at your intended mounting height, with the same uniformity claim you plan to meet (for example, within ±20% over the grid).
How can I tell whether the PPFD map matches my setup and not the vendor’s?
Verify the test distance (mounting height above canopy), grid spacing, number of measurement points, and whether the measurement used a reflective tent, open-air, or a specified enclosure. If the map does not state those conditions, you should not extrapolate to your layout, especially for dense arrays where overlap and hotspots change the results.
What grid size or number of points is enough to judge uniformity?
Aim for a dense grid with points spaced roughly every 15-30 cm across the coverage area, not a coarse 3x3. If you only see a handful of points, hotspots and dim zones can be missed, and the ±20% uniformity threshold can be impossible to confirm.
Do I need both LM-79 and a PPFD map, or is one enough?
Use LM-79 to validate electrical and optical output at defined conditions, but still rely on PPFD maps to understand coverage and uniformity across your canopy. LM-79 alone usually does not give you the spatial distribution at your mounting height and coverage footprint.
Can I use a color temperature label (like 3000K) as proof of a full-spectrum grow strip?
Not reliably. A Kelvin rating describes correlated white output, it does not confirm meaningful blue 400-500 nm or red 600-700 nm energy for plant goals. If there is no SPD tied to the actual LEDs used, consider the claim unverified.
How do I avoid buying the wrong driver type for constant-voltage versus constant-current strips?
Read the strip datasheet for the exact control architecture. If the strip is marked constant-voltage (12V or 24V), use a constant-voltage driver, and if it is marked constant-current, use a constant-current driver. Mixing them can cause dimming irregularities, unpredictable output, and premature LED failure.
Should I size my power supply exactly to the wattage on the strip listing?
No, size it with headroom. A practical approach is to target 20-25% above the strip load so the driver does not run at its thermal limit continuously, especially if it will be enclosed in a tent or rack with restricted airflow.
What’s the real difference between 0-10V dimming and PWM for grow strips?
0-10V is typically more scalable for multi-driver setups, because each driver receives a separate low-voltage control signal. PWM is common in simpler consumer strips and can be harder to manage at larger scales, especially if you plan to integrate multiple zones or drivers with one controller.
Do IP ratings on the strip guarantee safety and reliability for humid grow rooms?
IP ratings apply to the strip or enclosure, but the driver also needs protection. Match the strip IP rating to your humidity and wetness exposure, and look for a safety-listed driver standard like UL 8750. For condensation-prone areas, use waterproof connectors and route connections away from direct mist.
What happens if I undersize the wiring on long strip runs?
You can see voltage drop, dimmer output at the far end, and extra heat at connectors and conductors. For longer runs and higher currents, step up wire gauge (for example, 18 AWG is a common minimum for shorter, lower-current 24V runs, with 16 AWG or 14 AWG for longer or higher-current cases) and keep line-voltage wiring separate from low-voltage control lines.
How do I decide between mounting height and spacing when coverage is uneven?
If you mount too high, PPFD drops and efficiency suffers, if you mount too low you get hotspots under each strip and deep valleys between them. Use a PPFD map to adjust both spacing and height, and try to keep canopy uniformity within about ±20% across your measurement grid.
If I’m doing supplemental lighting, how much PPFD should I aim to add?
Supplementation targets lower incremental PPFD than full primary lighting. A common planning range is about 50-150 μmol·m⁻²·s⁻¹ of added light depending on crop and existing baseline, and you should still confirm distribution with a PPFD map, not by assuming intensity will be uniform under the strip.
Can strips replace a quantum board or bar fixture for high-yield goals?
They can for some layouts, but you must validate canopy PPFD and uniformity at your exact mounting height. If your plan involves PPFD above roughly 800 μmol·m⁻²·s⁻¹, prioritize verified PPFD maps and driver quality, because it is easy to overspend on output that does not distribute evenly across the canopy.
At rack or commercial scale, what extra verification should I do beyond the buyer checklist?
Demand IES exports or equivalent spatial data so you can model layout in lighting design software and check uniformity before buying. Also verify lumen maintenance using LM-80 data alongside LM-79 initial performance, because depreciation affects multi-year yield projections differently than initial PPFD alone.
What is the most common mistake buyers make when choosing the ‘best’ strip?
They compare strips using lumens or lux, or they trust marketing ‘full spectrum’ and efficacy claims without spectrum and PPFD evidence at canopy height. Another frequent error is buying a strip without a quality driver included, then discovering the correct driver type and cost only after the build starts.
Next Articles
Are LED Grow Lights Good? Honest Verdict and How to Choose
Real verdict on LED grow lights: when they’re worth it, key specs to check, and how to choose for your tent and plants.
Best Full Spectrum 1000W LED Grow Lights: Buyer Guide
Buy the best full spectrum 1000W LED grow light with spec-to-decision tips on PPFD, coverage, wattage, and tent fit.
Best 100W LED Grow Light: How to Choose the Right One
Choose the best 100W LED grow light with PPFD coverage, spectrum, efficiency, dimming, heat, and setup tips.