The best supplemental LED grow light is the one that delivers the right PPFD to the right area without duplicating light your plants already get. That sounds obvious, but most growers skip the math and end up either wasting money on a light that barely moves the needle or running way too much power for what is genuinely a top-up job. Here is how to figure out exactly what you need, which specs actually matter, and which products are worth putting on your shortlist today.
Best Supplemental LED Grow Light: How to Choose the Right One

Marcus Rutherford
8 Apr 2026
What 'best supplemental LED' actually means for your situation
Supplemental lighting is not the same as sole-source lighting. Michigan State University extension materials draw a clear line between the two: sole-source means the fixture is the plant's only light, while supplemental means you are adding photons on top of what natural light or an existing primary fixture already provides. That distinction matters because it changes everything about how you spec a light. You are not trying to hit 600-900 μmol·m⁻²·s⁻¹ PPFD from the supplemental unit alone. You are usually trying to close a gap of 100-300 μmol·m⁻²·s⁻¹ or hit a target daily light integral (DLI) that the sun or your main fixture cannot reach on its own.
DLI is the key concept here. University of New Hampshire extension research makes the point clearly: running supplemental lights for too short a time significantly reduces yield and growth, because total photon accumulation over the day (DLI, measured in mol·m⁻²·d⁻¹) matters more than instantaneous intensity alone. Purdue Extension data puts the sweet spot for vegetable transplant quality at roughly 10-15 mol·m⁻²·d⁻¹ of DLI, which is a useful benchmark for veg-stage work. If your grow space already gets 6 mol·m⁻²·d⁻¹ from a window or a weaker HID light, you only need to add 4-9 mol·m⁻²·d⁻¹ from your supplemental LED, not the full load. That back-calculation (Iowa State Extension walks through the exact unit conversion from square feet to square meters and PPFD to DLI) is the honest way to size the fixture before you shop.
Before going further, it is worth asking whether LED grow lights are the right technology for your supplemental setup in the first place. For nearly every scenario in 2026, the answer is yes, but the reasoning matters: LEDs are uniquely suited to supplemental work because they run cooler per photon delivered, can be dimmed precisely, and do not raise canopy temperature the way high-pressure sodium or metal halide supplemental rigs do.
The specs that actually matter (and the ones that don't)
PPFD and PAR output
PPFD (photosynthetic photon flux density, measured in μmol·m⁻²·s⁻¹) is the number you are designing around. DOE horticulture lighting guidance cites blank" rel="noopener noreferrer">200-300 μmol·m⁻²·s⁻¹ as a reasonable supplemental target for crops like lettuce. Agricultural supplemental LED configurations from U.S. Department of Energy design guidance frequently use ~200 μmol·m⁻²·s⁻¹ as an illustrative benchmark, and greenhouse lighting plans from Greenhouse Grower editorial material describe targeting ~190 μmol·m⁻²·s⁻¹ for 18 hours to hit DLI goals. That gives you a practical ceiling: your supplemental light needs to add roughly 150-250 μmol·m⁻²·s⁻¹ at canopy level across your coverage area. Anything that can't move those numbers is decorative.
Photon efficacy (µmol/J)
Efficacy tells you how efficiently the fixture converts electricity into plant-usable photons. In 2026, a decent bar-style LED sits at 2.5-2.9 µmol/J; top-tier fixtures push 3.0-3.3 µmol/J. For supplemental use you are often running the light 12-18 hours a day, so a 0.3 µmol/J gap compounds fast on your electricity bill. Don't chase the highest efficacy number if it comes at three times the price, but do avoid anything below 2.0 µmol/J, which is the territory of budget strip arrays and older diode tech.
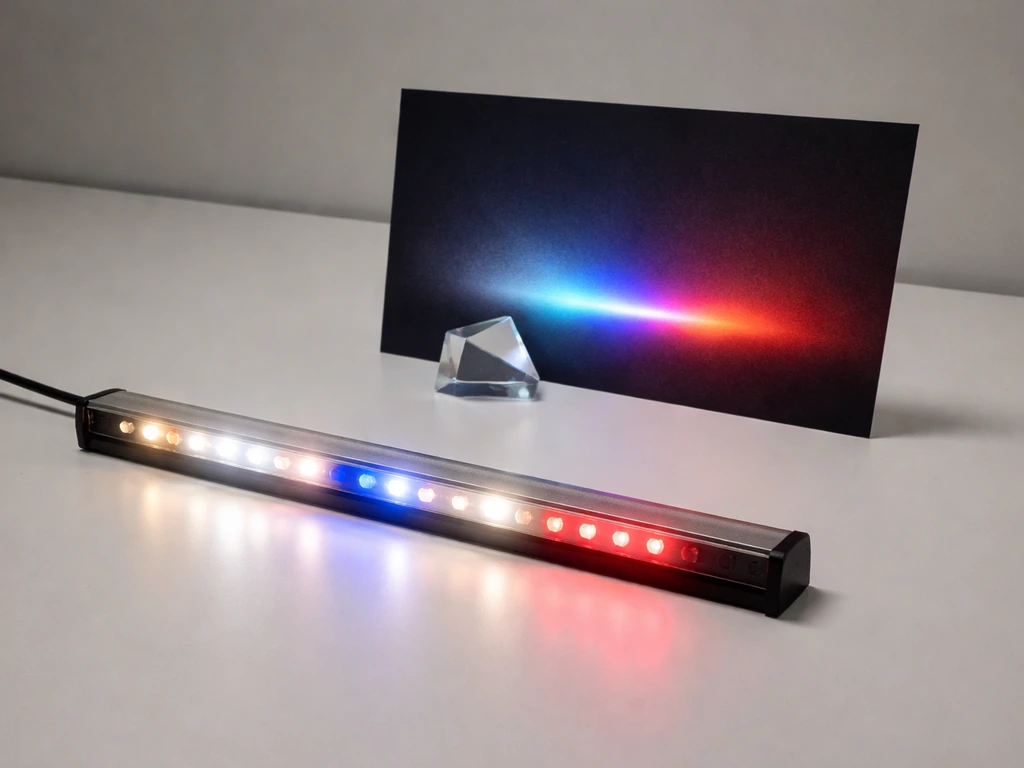
Spectrum
For supplemental work, a broad full-spectrum white LED centered around 3000-4000K with added deep-red (660 nm) covers 90% of use cases. Blue-heavy spectra (5000-6500K) work well for seedlings and veg. If you are supplementing flowering under an HPS primary, adding a white LED rich in blue and green actually fills spectrum holes better than stacking more red. The DLC's V2.1 horticultural technical requirements require fixtures on their Qualified Products List to report a full Spectral Quantum Distribution (SQD) and Photosynthetic Photon Intensity Distribution (PPID) using ANSI/IES TM-33-18 format, which means any DLC-listed fixture gives you real spectral data, not just a marketing color render.
Uniformity
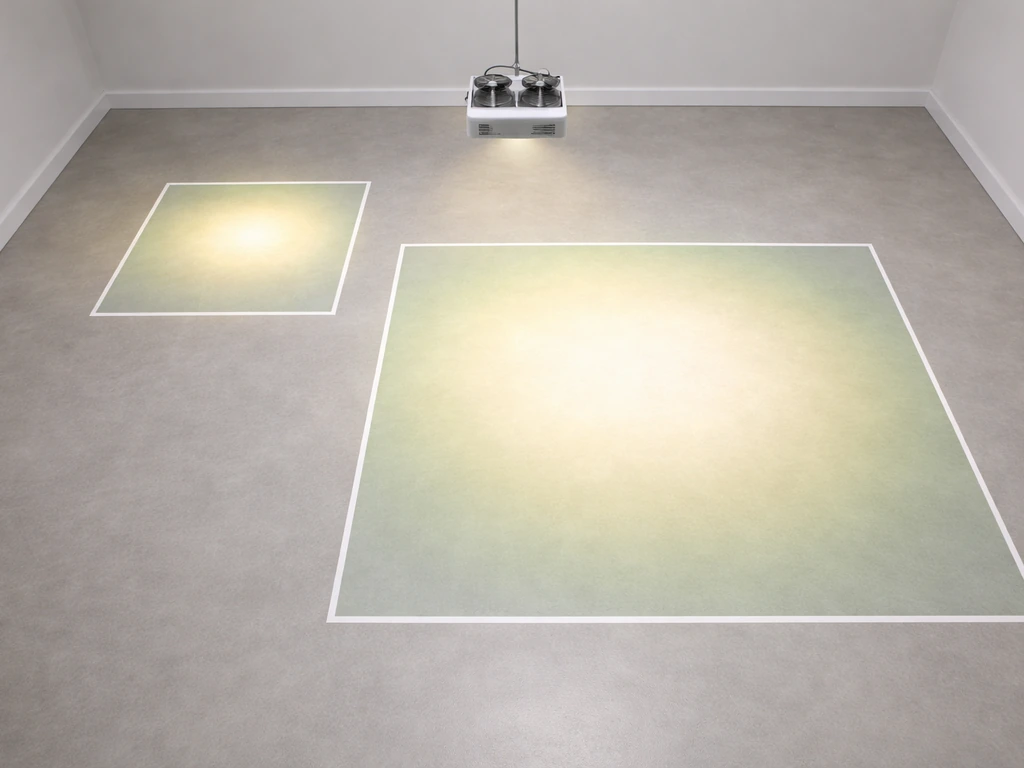
Uniformity is the overlooked spec. IES horticulture lighting guidance describes U90 and U80 metrics: U90 means 90% of measured points within ±5% of the average PPFD, and U80 means within ±10%. For supplemental lighting added to an existing system, U80 is a realistic minimum target. Poor uniformity creates hotspots where plants bleach and dead zones where they lag behind. Single-point puck lights have terrible uniformity over large areas. Bar arrays and strip configurations are almost always better for uniform supplemental coverage.
Wattage and dimming
Wattage is a proxy for heat load and electricity draw, not a performance spec by itself. A 100W fixture at 2.8 µmol/J delivers more usable photons than a 150W fixture at 1.8 µmol/J. For a 2x2 supplemental setup you are typically looking at 40-80W of actual LED draw. For a 4x4 supplemental add-on, 120-200W is a reasonable range, depending on how much your primary light already covers. Dimming is critical: the best dimmable LED grow lights let you dial back output during low-demand stages or when natural light peaks, which protects plants and saves electricity. Any supplemental fixture you buy in 2026 should have 0-100% dimming, ideally with an analog (0-10V) or PWM control port.
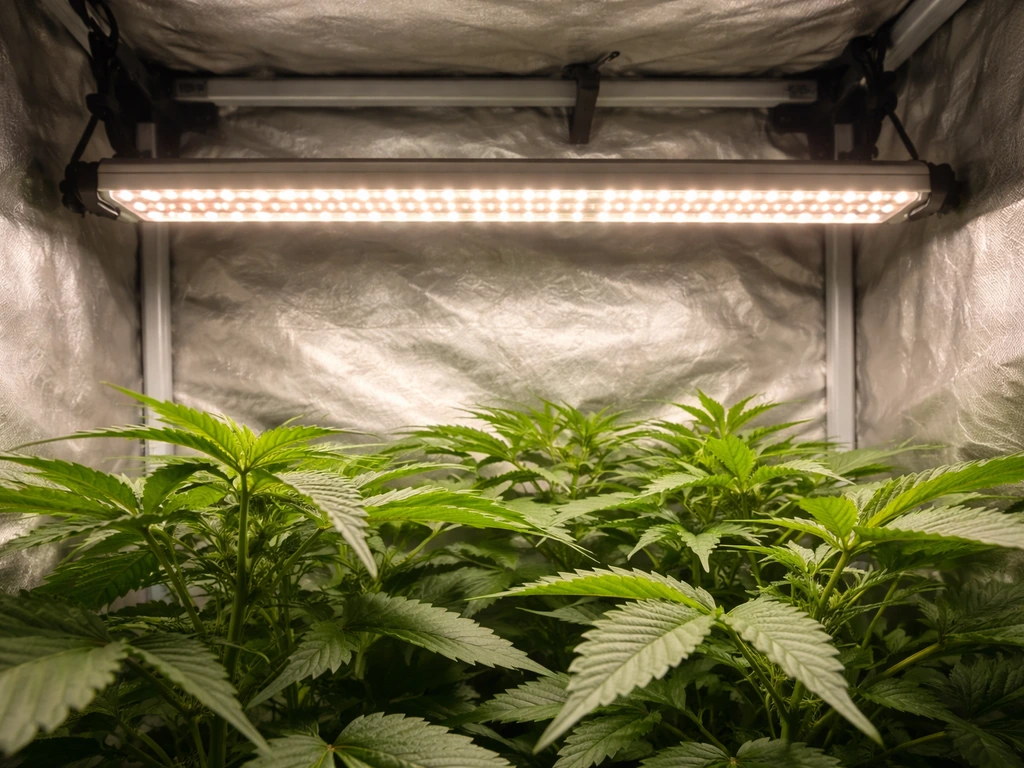
Form factor: bars, panels, strips, and pucks
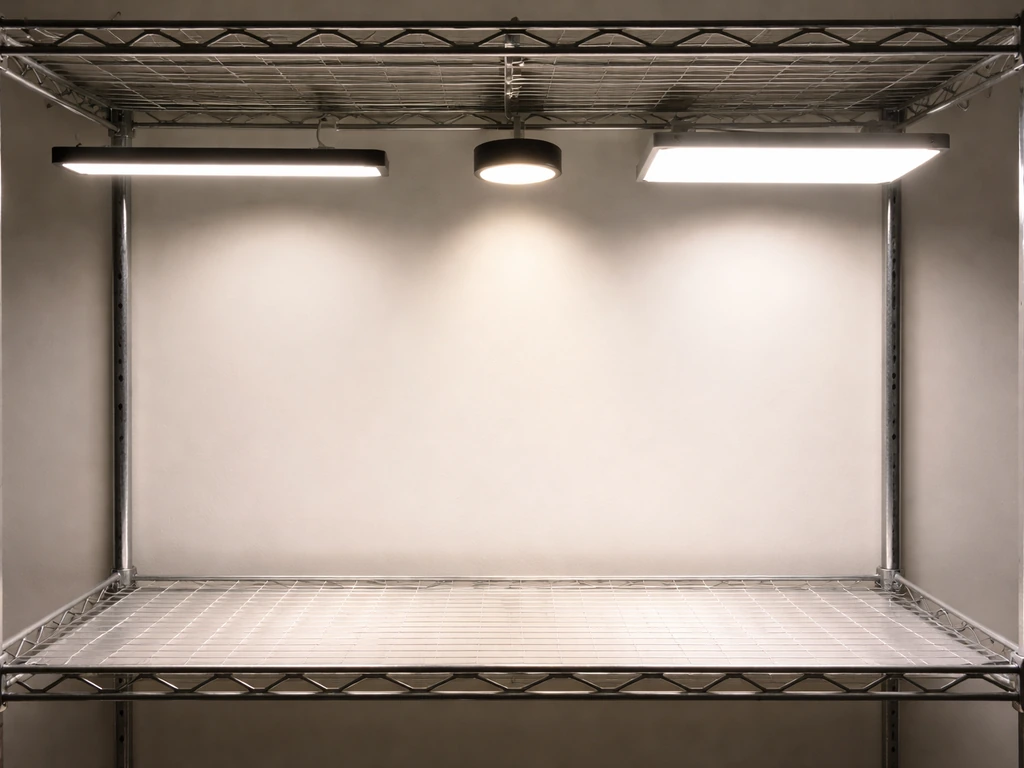
Form factor is where supplemental lighting diverges most sharply from sole-source work. You are often adding light into a space that already has hardware, hangers, and a canopy. Here is how each form factor performs in real supplemental scenarios.
| Form Factor | Uniformity | Best Use | Mounting Flexibility | Heat Dissipation |
|---|---|---|---|---|
| Bar arrays (multi-bar) | Excellent | 4x4 tents, veg/flower supplemental | High, adjustable spacing | Good, passive fins |
| LED strip lights | Good to excellent | Interspersed between rows, low-ceiling racks | Very high, flexible mounting | Moderate, depends on heatsink rail |
| Quantum board / panel | Good over rated area | 2x2 to 3x3 supplemental boost | Moderate, single hang point | Good with passive heatsink |
| Puck / PCB spot | Poor over large areas | Targeted clone/seedling boost, under-shelf | High | Poor at high wattage |
Bar-style fixtures have become the dominant form factor for supplemental work in tents and grow rooms because you can spread the bars across the canopy and tune spacing to hit the uniformity numbers you need. LED grow light strips fill a similar role and are often even more flexible for tight racks, multilevel systems, or situations where you want to run strips between existing bar fixtures. Panels and quantum boards work well for smaller footprints (2x2 to 3x3) where a single hang point is fine. Pucks and individual PCB boards are best kept for targeted applications like under-shelf seedling trays or clone propagators, not coverage-area work.
Tents vs open areas: mounting considerations
In a tent, you are constrained by height and the reflective walls already doing some of your work. Hang supplemental bars at the same level as or slightly below your primary fixture, not above it, so the canopy intercepts photons from multiple angles rather than one overhead cone. In open warehouse or greenhouse environments, bars and strips can be suspended on adjustable wire rope at canopy height, typically 18-36 inches above the top of the plant, and spaced at roughly 12-18 inches apart (center to center) for good U80 coverage. Avoid clustering supplemental fixtures directly under the primary beam of an existing HID or LED: you will stack photons in the center and starve the edges.
Sizing your supplemental light: coverage math for 2x2 and 4x4
Here is the practical calculation. A 2x2 grow area is 0.37 m². To add 200 µmol·m⁻²·s⁻¹ across that space, you need the fixture to deliver 200 × 0.37 = 74 µmol/s of PPF at canopy level (accounting for some edge losses). A quality 40-60W supplemental LED at 2.5 µmol/J delivers 100-150 µmol/s PPF total, which is more than enough for a 2x2 at 18-24 inches mounting height. For a 4x4 (1.49 m²), hitting 200 µmol·m⁻²·s⁻¹ requires ~298 µmol/s PPF from the supplemental fixture alone. A 120W bar at 2.7 µmol/J puts out ~324 µmol/s, so a single 120W bar-style fixture is right at the edge; two 80W bars spaced evenly will give you better uniformity for the same total wattage.
Keep in mind that mounting height changes your PPFD at the canopy dramatically. Most manufacturers rate PPFD at 18 inches. Drop to 12 inches and PPFD roughly doubles; raise to 24 inches and it drops by 30-40%. For supplemental use where you are adding to existing light, erring on the side of 20-24 inches gives you more uniform spread and reduces the hotspot risk under each bar or panel. If your tent has reflective walls, those add effective photons to the canopy and reduce the supplemental load you need from the fixture by a meaningful margin.
Best supplemental LED picks by grow scenario
Seedlings and clones
Seedlings and clones need very low PPFD, typically 50-150 µmol·m⁻²·s⁻¹, with gentle blue-white spectrum. For supplemental purposes here, a single T5-style LED bar or a small quantum board at 20-30W dimmed to 30-50% is ideal. The University of Arkansas greenhouse lighting resources note that photoperiod lighting for propagation needs as little as 10 µmol·m⁻²·s⁻¹, so you genuinely cannot run a 200W fixture at full blast over a seedling tray and expect good results. A small dimmable bar placed 24-30 inches above the tray is the practical answer. Puck lights work here because coverage uniformity matters less for individual seedling cells than for a full canopy.
Vegetative stage
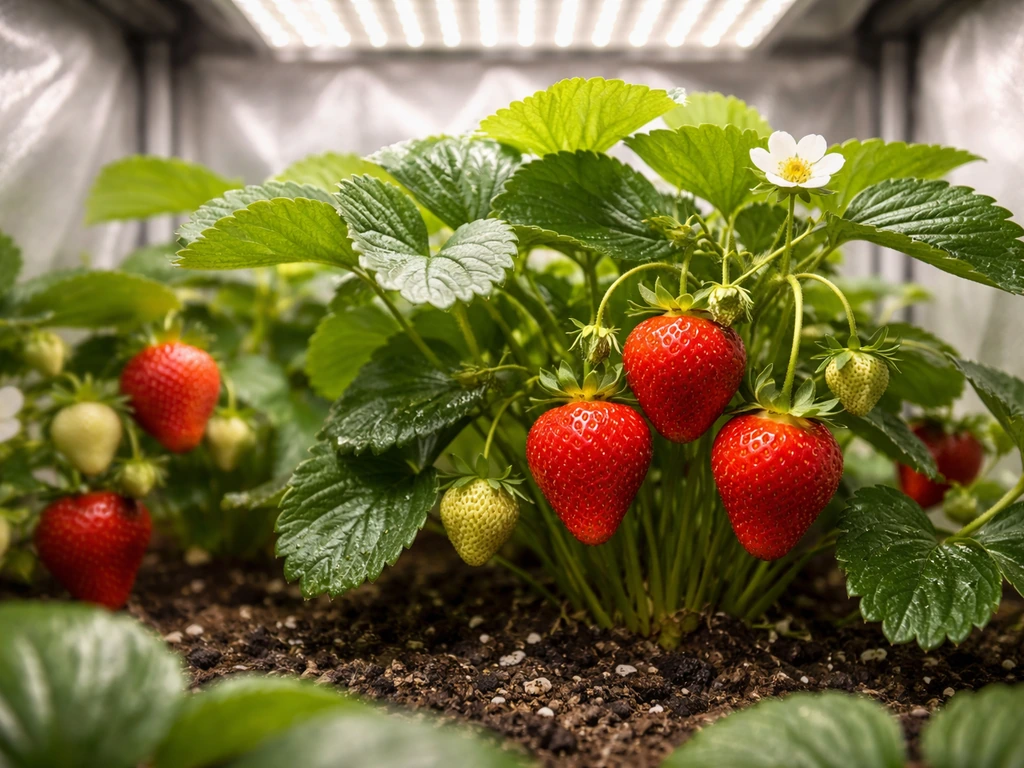
Veg plants want 200-400 µmol·m⁻²·s⁻¹ total at canopy. If your primary light delivers 250 µmol·m⁻²·s⁻¹ and you want to push to 400, your supplemental unit only needs to add 150 µmol·m⁻²·s⁻¹. A 60-100W dimmable bar-style fixture works well for a 4x4 veg tent in this role. Spectrum-wise, blue-white (3500-5000K) is your friend during veg. If you are growing something like strawberries, where yield depends heavily on maintaining consistent veg-stage DLI before fruiting, the right supplemental light makes a bigger difference than many growers expect. LED grow lights tuned for strawberry cultivation are a good reference point for understanding how DLI management in the veg/pre-fruiting window pays off in harvest quality.
Flowering and fruiting
Flowering plants have the highest photon appetite in the growth cycle, often targeting 600-900+ µmol·m⁻²·s⁻¹ total PPFD. If you are running a primary light at 500 µmol·m⁻²·s⁻¹ and want to push into the 700-800 range, your supplemental fixture needs to deliver 200-300 µmol·m⁻²·s⁻¹ reliably across the canopy. For a 4x4 tent, that means a 120-200W bar array with good uniformity metrics. This is also the scenario where high-yield LED grow lights make the most sense as your primary, so the supplemental only needs to fill coverage edges and augment peak DLI rather than carry the whole flowering load. Deep red (660 nm) and far-red (720-730 nm) supplementation during flowering is well-supported in the research and a legitimate reason to choose a bar with a warm, red-weighted spectrum rather than a neutral white.
Low-light boosting (greenhouse and window growing)
This is the classic greenhouse supplemental scenario. Natural light fluctuates seasonally and on cloudy days, and a fixed supplemental LED keeps DLI consistent even when the sun underperforms. Here, a 150-300W bar or strip array covering a 4x6 or 4x8 footprint and delivering 150-200 µmol·m⁻²·s⁻¹ is the standard configuration. Fixtures should be IP65 or better for greenhouse humidity. Community grow discussions, including gear recommendations shared on forums like Rollitup, frequently highlight bar arrays from brands like Gavita, Fluence, and similar for this application, and those community data points are worth cross-referencing with published DLC-listed specs before buying.
Shopping checklist and installation tips
Before you finalize any purchase, run through this checklist. It sounds tedious but takes about 15 minutes and will save you a return shipment.
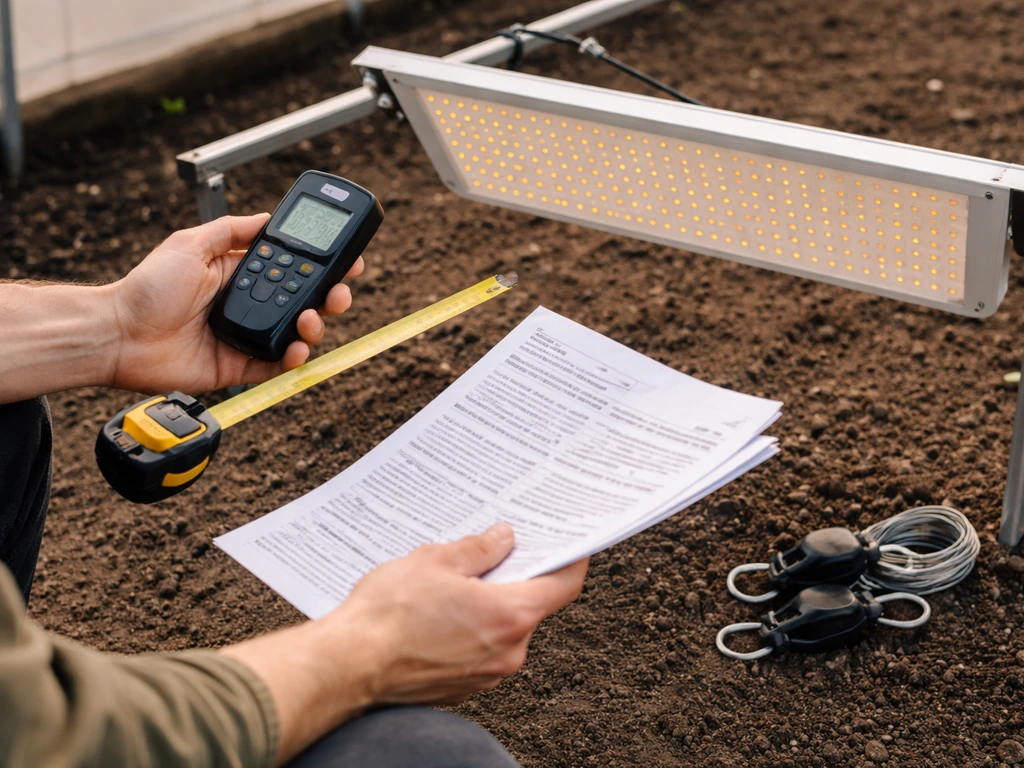
- Calculate your supplemental PPFD gap (target total PPFD minus what your primary light already delivers at canopy) and confirm the fixture's PPFD map covers your footprint at your actual mounting height.
- Check the fixture is on the DLC Horticultural Qualified Products List. DLC qualification requires UL 8800 safety compliance and submission of PPID and SQD data in ANSI/IES TM-33-18 format, which means you get real photometric data, not just a box claim.
- Verify the driver brand. Meanwell HLG-series and Inventronics drivers are the benchmark for reliability and accurate dimming. Off-brand drivers without a model number are a red flag.
- Confirm dimming compatibility. Look for 0-10V or PWM control input if you want to integrate with an environmental controller. Check that the fixture reaches a true 10% or lower minimum dim without flickering.
- Check the IP rating. For enclosed tents with moderate humidity, IP44 is a minimum. For greenhouses, high-humidity rooms, or open grow areas with misting systems, IP65 is the standard. IP67 if the fixture will be exposed to direct water contact.
- Plan heat management. Even efficient LEDs produce heat, and in a sealed tent that heat accumulates. Budget for the supplemental fixture's heat output in your HVAC or exhaust fan sizing: a 120W LED running 18 hours adds ~120W of continuous heat load.
- Set a timer or DLI controller from day one. The DOE agricultural lighting design guidance and university extension materials all point the same direction: running supplemental lights on a consistent schedule tuned to target DLI (not just 'on when it's dark') produces better crop outcomes.
- Verify your electrical circuit can handle the combined load of your primary and supplemental fixtures plus any existing equipment. A 15A circuit handles roughly 1800W; most home tent setups stay well under that, but greenhouse or multi-tent builds should be assessed by an electrician.
Installation specifics worth knowing
For tent installs, use adjustable rope ratchets or aircraft cable with a load rating at least 3x the fixture weight. Most bar arrays in the 100-200W class weigh 3-8 kg; use 4mm steel cable or rated rope ratchets, not zip ties or command strips. Position bars parallel to each other and perpendicular to your primary fixture's bars if you are mixing brands, so the combined PPFD pattern is as even as possible across the canopy. For open greenhouse or commercial rack setups, mount supplemental bars on a second rail system below the primary canopy fixture so you can adjust height independently. Run driver boxes outside the canopy zone so their modest heat output does not affect canopy temperature readings.
Finally, do not obsess over brand loyalty when shopping supplemental fixtures. At the 60-200W supplemental wattage range, the gap between a mid-range bar from a reputable brand and a top-tier fixture narrows considerably, because you are not asking the light to do the heavy lifting your primary fixture does. Prioritize verified PPFD data, a name-brand driver, DLC listing, and a form factor that suits your space over a premium nameplate. That approach will get you the best supplemental LED grow light for your actual grow, not just the most expensive one on the shelf.
FAQ
Do I calculate PPFD and DLI from the supplemental light alone, or should I combine it with my existing light?
Combine them. Use your supplemental fixture to close the gap to your target PPFD and DLI, but base the sizing on total daily photons reaching the canopy. In practice, estimate your current PPFD from your main light or window using photometer estimates, then add the supplemental contribution to get a realistic total DLI for the photoperiod you plan to run.
How do I translate my window or weak HID light into a DLI number without exact PPFD specs?
Use measured light if you can, otherwise use an approximation. A handheld or smartphone-based PAR meter is better than guessing, because window light varies by orientation, season, and cloud cover. If you cannot measure, start with a conservative DLI assumption, size the LED to cover the remaining range, then adjust after 2 to 3 weeks based on plant response and temperature.
What happens if I overshoot the supplemental PPFD target?
You usually do not need to panic, but it can reduce quality and raise stress. Overshooting often shows up as leaf tip burn, bleaching near hotspots, faster drying, or plants stretching less than expected. Because you have dimming in many supplemental setups, the simplest fix is to reduce output or shorten photoperiod rather than changing the fixture.
Is it better to run the supplemental light longer or increase intensity?
For most crops, meeting the DLI is more important than maximizing instantaneous PPFD, but timing matters. Extending photoperiod helps when plants are otherwise light limited, but too-long lighting can increase transpiration and heat load and can disrupt circadian patterns. Use dimming to fine-tune daily photons and avoid long periods of peak intensity.
Can I rely on advertised PPFD numbers if they only mention a single mounting height?
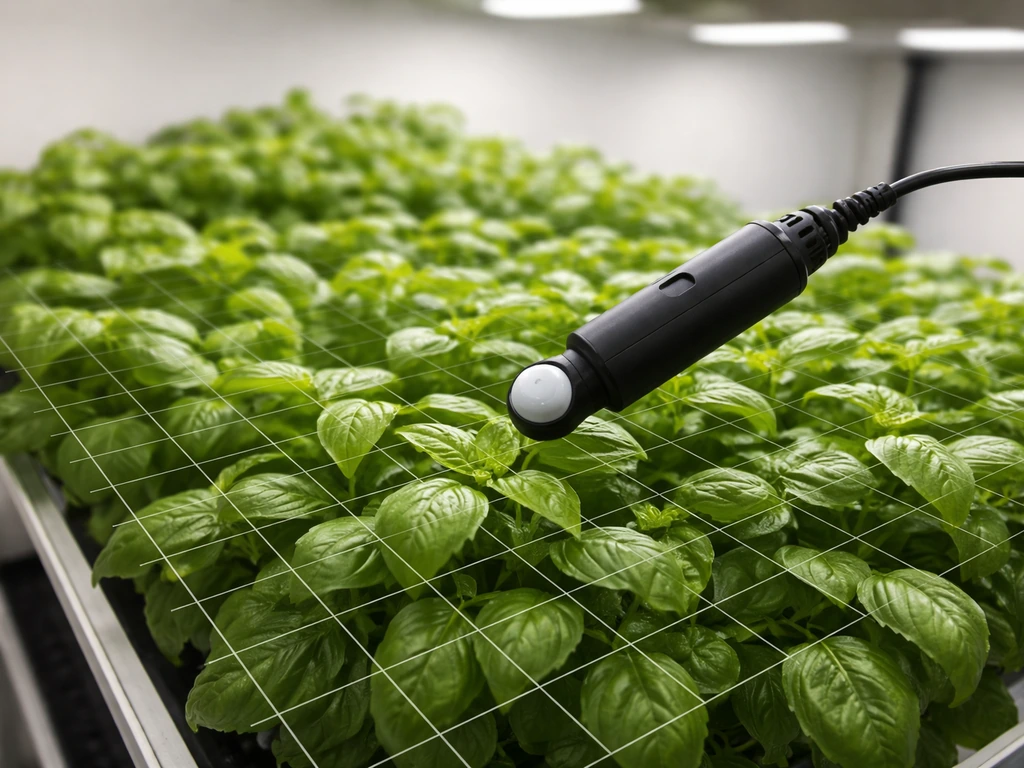
Be cautious. Many manufacturers provide PPFD at a fixed distance and then you get less uniformity off-center. For supplemental use, uniformity matters, so look for mapped PPID or a uniformity claim (U80 or U90) and verify mounting height affects the canopy footprint you actually have.
How do I know if my bar or strip setup is uniform enough for supplemental lighting?
Ask whether the fixture has distribution data and whether the manufacturer reports uniformity metrics for the actual reflector and lens configuration. If you cannot confirm uniformity, use spacing rules and stagger bars to avoid hotspots, then sanity-check with a cheap PAR measurement or by observing where bleaching and slow growth start to appear.
Should I mount supplemental lights above or below my main fixture to avoid hotspots?
In most mixed setups, mount supplemental bars at the same canopy level as, or slightly below, the main fixture. This improves the chance that photons arrive from multiple angles and helps reduce stacked intensity directly under the primary beam. Mounting too high can concentrate light like a single cone and starve edges.
What dimming range is actually useful for supplemental LEDs?
You want true 0 to 100% dimming support, ideally with analog control (0-10V) or a stable PWM method. Useful dimming lets you respond to cloudy days and plant stage without changing hardware. If a fixture only supports limited steps, you may end up with either under-lighting or over-lighting during parts of the crop cycle.
Do I need to worry about IP rating for indoor tents versus greenhouse setups?
Yes if humidity is high. For greenhouse conditions or wet environments, look for IP65 or better, and route cabling so driver boxes stay in drier areas. In tents, basic splash resistance may be fine, but condensation happens, especially with propagation and active humidification.
Is deep red and far-red supplementation worth it for flowering when I already have a strong main LED?
Often, but only as an adjustment, not a replacement. If your main light is missing some far-red contribution or you want better flowering outcomes, a warm, red-weighted supplement can help, and dimming lets you avoid overheating or excessive dominance. If your main spectrum is already heavily red and blue, the benefit of extra red may be smaller.
Can pucks or small boards work as supplemental lights, or are bars always required?
Pucks can work, but they are usually for targeted zones, seedling trays, or edge correction, not full-area supplemental coverage. For a larger canopy, multiple pucks can still fail uniformity due to overlap gaps. If you use pucks, plan for many units and check distribution rather than assuming coverage scales evenly.
What are common mistakes when buying the “best supplemental LED grow light”?
The big ones are chasing raw wattage instead of canopy PPFD and DLI impact, ignoring mounting height and uniformity, and forgetting to subtract the photons you already get from your main light or sun. Another frequent mistake is buying a fixture without real spectral data or without dimming, then being stuck with a fixed output that overdrives early growth.
How should I size the fixture if my grow area is not exactly 2x2 or 4x4?
Size by area and coverage overlap, not by the closest label. Convert your footprint to square meters, estimate the additional PPFD you need, then ensure the fixture delivers the required PPF across that footprint with acceptable uniformity. If your space is oddly shaped, use multiple rows or staggered segments so the center does not receive much more than the corners.
Next Articles
Best LED Grow Lights for Strawberries: Buy Guide
Choose the best LED grow lights for strawberries with coverage, intensity, spectrum, spacing, and setup tips to boost fr

Best LED Grow Light Strips: Buyer’s Guide for Full Spectrum
Buyer guide to the best LED grow light strips, with full spectrum checks, sizing, setup, safety, and setup tips.
Are LED Grow Lights Good? Honest Verdict and How to Choose
Real verdict on LED grow lights: when they’re worth it, key specs to check, and how to choose for your tent and plants.