The right LED grow light for you comes down to four things: how big your grow space is, what you're growing, what stage it's in, and how much you want to spend. Everything else, the brand wars, the wattage debates, the bar-vs-panel arguments, flows from those four inputs. Get them right and the rest of the decision becomes pretty straightforward.
Which LED Grow Light to Buy: Coverage, Spectrum, Wattage Guide

Marcus Rutherford
12 Apr 2026
Start with your grow space and what you're trying to do
Before you look at a single product listing, write down your tent size, your plant type, and whether you're running veg, flower, or both. These three details determine everything: how many fixtures you need, what PPFD targets you're aiming for, and whether a single light or multiple smaller units makes more sense.
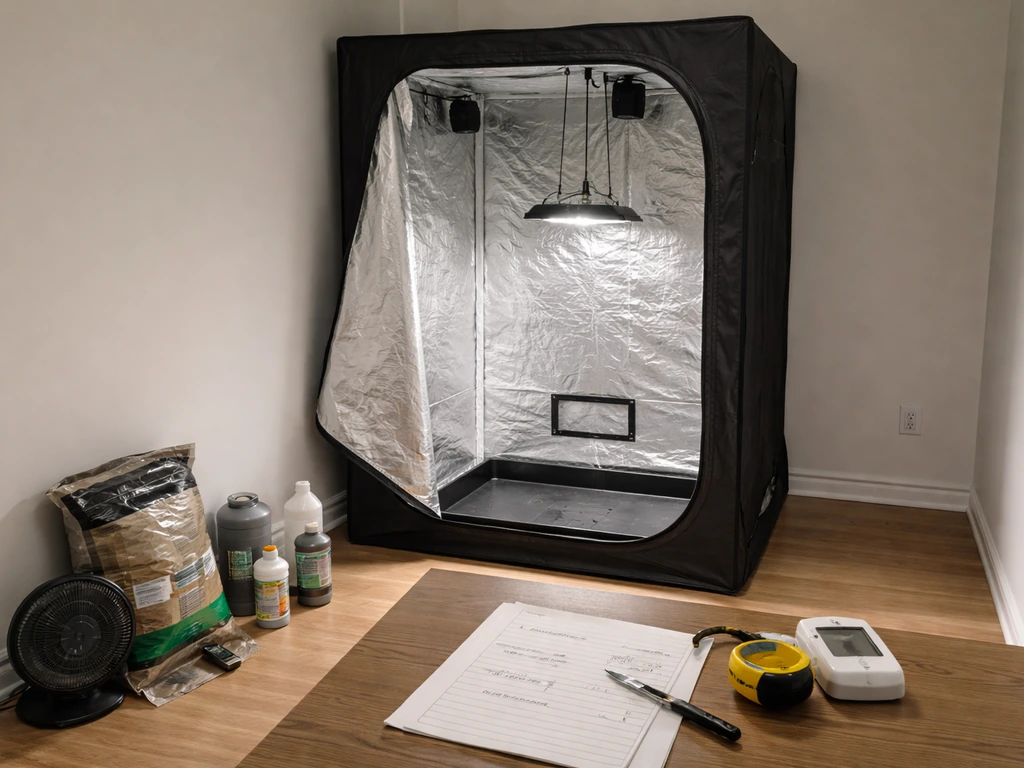
Tent size is the starting point. The most common home-grow footprints are 2x2 (4 sq ft), 2x4 (8 sq ft), 3x3 (9 sq ft), 4x4 (16 sq ft), and 5x5 (25 sq ft). A 2x2 is a tight propagation or personal-use space. A 4x4 is the sweet spot for most hobby growers running 2 to 4 plants in flower. A 4x8 or 5x10 starts pushing into semi-commercial territory where you'll almost certainly run multiple fixtures rather than one large one.
Plant type matters more than most beginners realize. Leafy greens, herbs, and clones are low-demand plants that don't need intense light. Cannabis in flower, tomatoes, and other fruiting crops are high-demand and need significantly more photons delivered to the canopy. Bonsai and ornamental trees are a different scenario entirely, and if that's your focus, there's a more targeted breakdown of the best LED grow lights for bonsai worth reading before you buy.
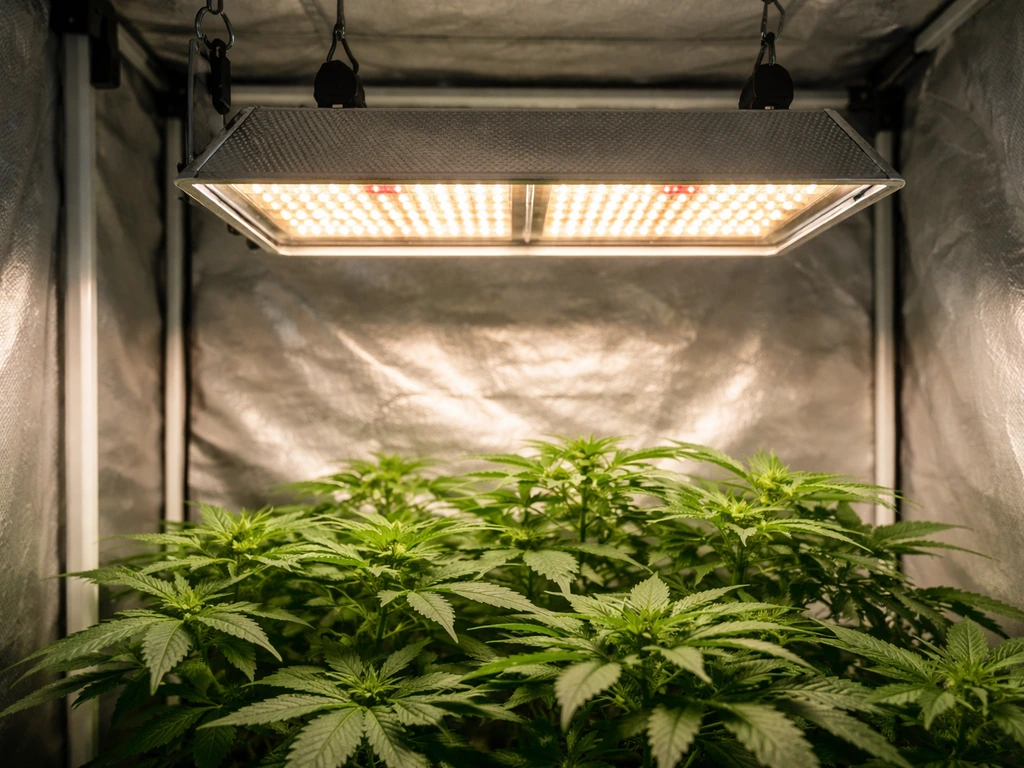
Growth stage changes your intensity target. Seedlings and early veg want around 200 to 400 µmol/m²/s at the canopy. Mid-to-late veg wants 400 to 600. Flowering plants, especially cannabis or fruiting vegetables, want 600 to 900+ µmol/m²/s depending on CO2 enrichment and how hard you're pushing the crop. The reason dimming matters so much is that one light has to cover multiple stages across a grow cycle. The Mean Well HLG-40H series datasheet presentation includes dimming details, including an additive 10V PWM signal dimming input concept for that series dimming matters so much.
Coverage, intensity, and how many fixtures you actually need
PPFD stands for Photosynthetic Photon Flux Density, measured in µmol/m²/s. It tells you how many photons are hitting one square meter of canopy every second. This is the number that actually matters for plant growth, not the watts drawn from the wall. Two lights can draw the same wattage and deliver drastically different PPFD depending on efficiency and optics.
The smarter way to think about light is through Daily Light Integral, or DLI. DLI is an accumulated-light metric measured in mol/m²/day, calculated by combining your PPFD reading with how long the lights run each day (the photoperiod). A DLI of 10 mol/m²/day can be hit with a PPFD of around 150 µmol/m²/s over an 18-hour photoperiod, or around 300 µmol/m²/s over a 9-hour photoperiod.
University extension research puts a minimum target DLI of 10 to 12 mol/m²/day for most greenhouse crops, and indoor growers under artificial light follow similar logic. The practical takeaway: if your light can't push enough PPFD to hit your DLI target at a reasonable photoperiod, you're going to run into slow growth regardless of what the watt rating says.
For most 4x4 tents running cannabis in flower, you want a fixture that can deliver 700 to 900 µmol/m²/s average across the canopy at your typical hanging height. That typically requires 400 to 600 actual watts (from the wall) depending on the efficiency of the driver and diodes. A 2x2 needs roughly 100 to 150 true watts for flower. A 5x5 needs 700 to 900 watts. These are wall-draw numbers, not the inflated "equivalent" numbers manufacturers love to print on packaging.
On the question of one fixture versus multiple: for spaces larger than 4x4, multiple fixtures almost always produce better canopy uniformity than a single large panel. Uniformity, measured by metrics like U90 (the ratio of minimum to average PPFD across 90% of the footprint), matters because uneven light means uneven growth. Hotspots burn the plants directly under the center of a panel while the edges starve. Bar-style fixtures were designed specifically to address this, spreading diodes across a wider area and producing flatter, more even distributions across the canopy.
What "full spectrum" actually means for LED grow lights
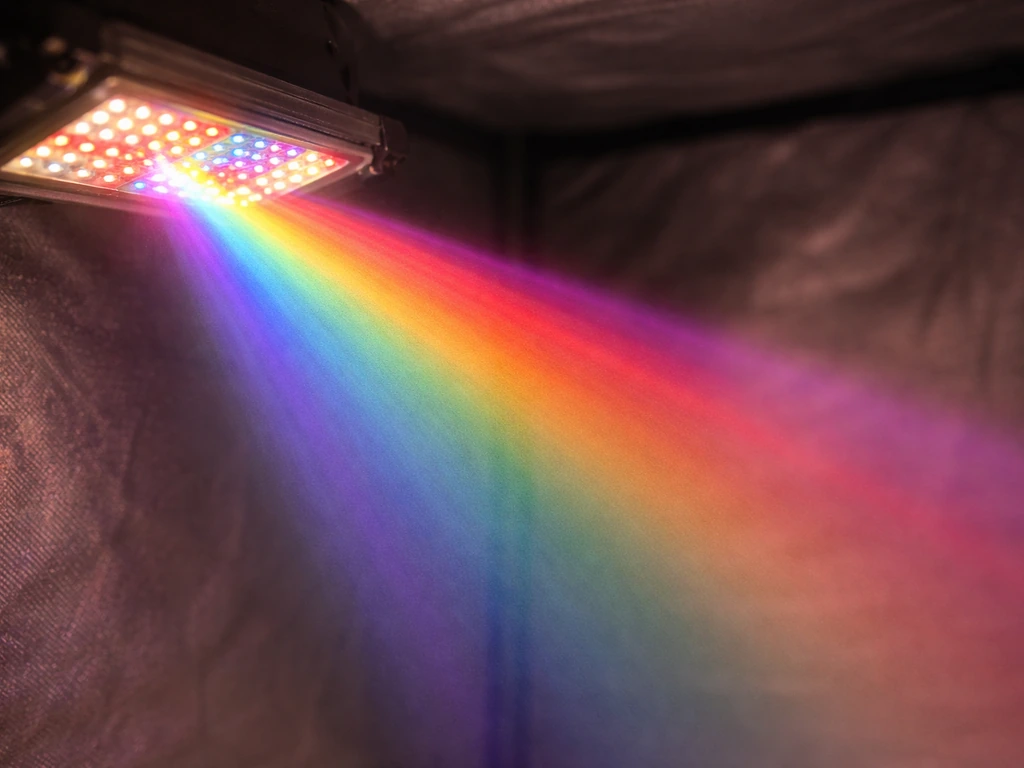
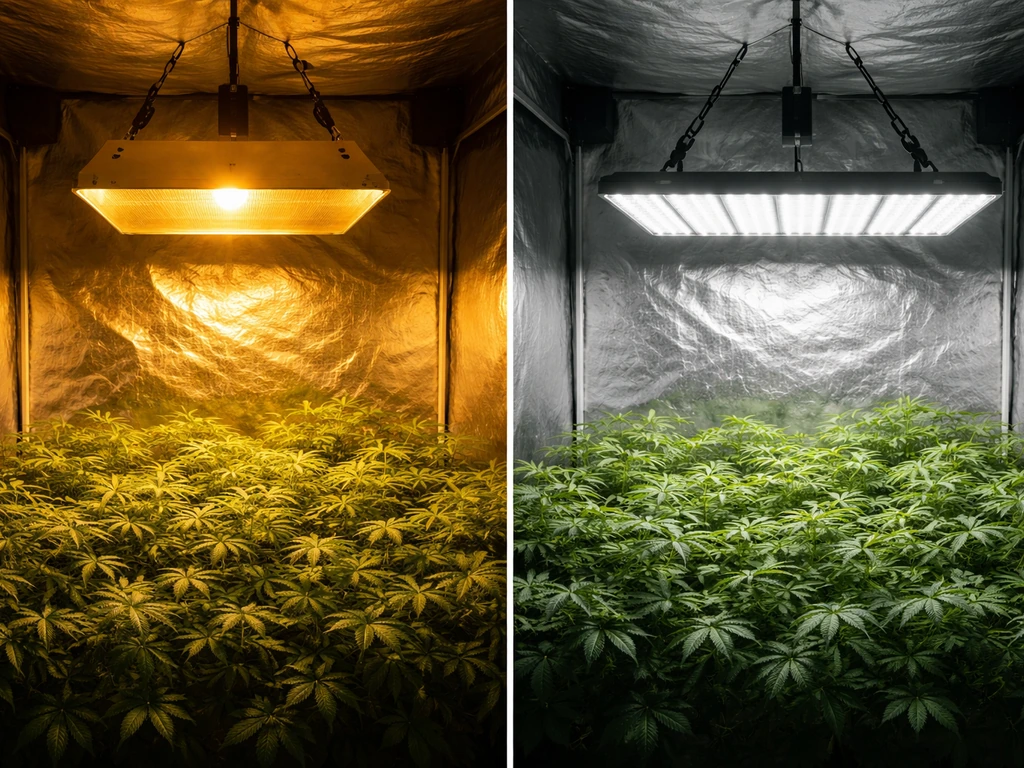
Almost every LED grow light sold today is marketed as "full spectrum," and that label is close to meaningless without more detail. In practice, it usually means the light produces a broad white output (achieved through blue LEDs exciting a phosphor coating, similar to a household LED bulb) combined with some red diodes to shift the ratio toward wavelengths that drive photosynthesis and flowering.
The relevant spectral range for photosynthesis is 400 to 700 nm, called PAR (Photosynthetically Active Radiation). Blue light (roughly 400 to 500 nm) drives vegetative growth and compact structure. Red light (roughly 600 to 700 nm) drives flowering and fruiting. Far-red (700 to 800 nm) is outside the traditional PAR range but influences flowering responses and can accelerate photosynthesis through the Emerson effect. A fixture heavy in warm white LEDs (3000K to 3500K range) skews red-heavy and suits flower. A fixture heavy in cool white (5000K to 6500K) skews blue-heavy and suits veg. Most modern fixtures blend mid-range whites with supplemental deep-red and sometimes far-red diodes to produce a spectrum that works reasonably well across all stages.
The diode brand matters here more than the "spectrum" marketing claim. Samsung LM301H and LM301B diodes are widely regarded as the efficiency benchmark for white-light horticulture LEDs, delivering strong output across the PAR range at high efficiency. If you want to dig into which fixtures are built around these diodes and why it matters to real-world performance, the best Samsung LED grow lights breakdown covers the specific fixtures worth considering.
What you should actually check: look for the spectral power distribution chart in the product listing or spec sheet, not just the "full spectrum" label. A real spec sheet will show you where the energy is distributed across wavelengths. If the manufacturer won't publish that, that's a red flag.
The selection criteria that actually matter
Here's how I'd rank the criteria when evaluating any LED grow light for a real grow:
- Efficacy (µmol/J): This is the efficiency number. It tells you how many photons of PAR you get per watt of electricity. Anything below 2.0 µmol/J is mediocre by 2026 standards. Quality fixtures are hitting 2.5 to 2.9 µmol/J. Higher efficacy means less heat, lower electricity bills, and often better diode quality.
- PPFD map at your coverage area: A fixture claiming to cover a 4x4 should publish actual measured PPFD values across a grid of that footprint at a specified hanging height. If they only publish a single center-point number, the coverage is probably poor at the edges.
- Dimming range and control: You need to be able to run the light at 30 to 50% during seedling and early veg stages without stressing plants. Analog 0-10V dimming is more reliable than some proprietary knob systems. Check whether the dimmer is external or integrated.
- Uniformity: Bar lights and quantum board panels with wider diode spacing generally outperform traditional panel designs on uniformity. Look for published PPFD maps or at minimum a fixture design that physically distributes diodes across the footprint rather than clustering them in the center.
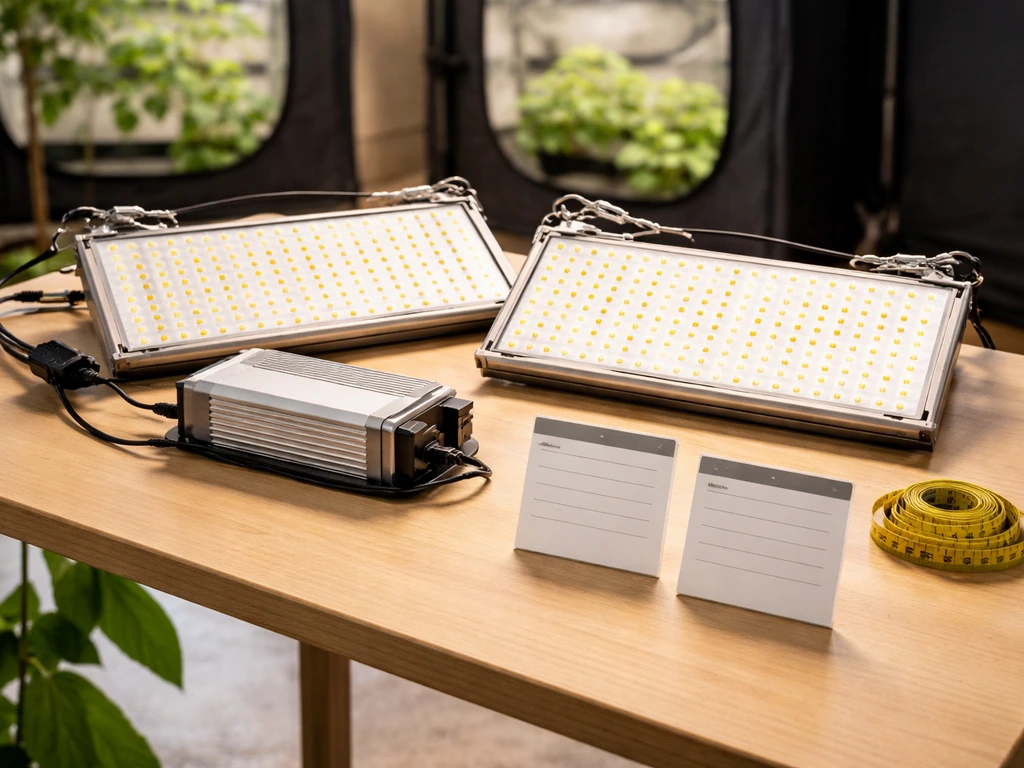
- Driver quality and thermals: Meanwell drivers (HLG series) are the gold standard. Cheaper no-name drivers reduce longevity and can cause flicker or failure. Heat management matters because driver heat shortens LED lifespan. Passively cooled fixtures (no fans) are quieter and have fewer failure points if thermals are managed correctly.
- Form factor: Quantum board panels are great for square footprints. Bar-style fixtures are better for rectangular spaces and larger coverage areas. Strip lights work well for shelf grows or supplemental side lighting.
How to read a product listing without getting fooled
Most product listings are written to obscure the numbers that matter and emphasize the numbers that don't. Here's what to look for and what to ignore:
| Spec on Listing | What It Actually Means | What to Do |
|---|---|---|
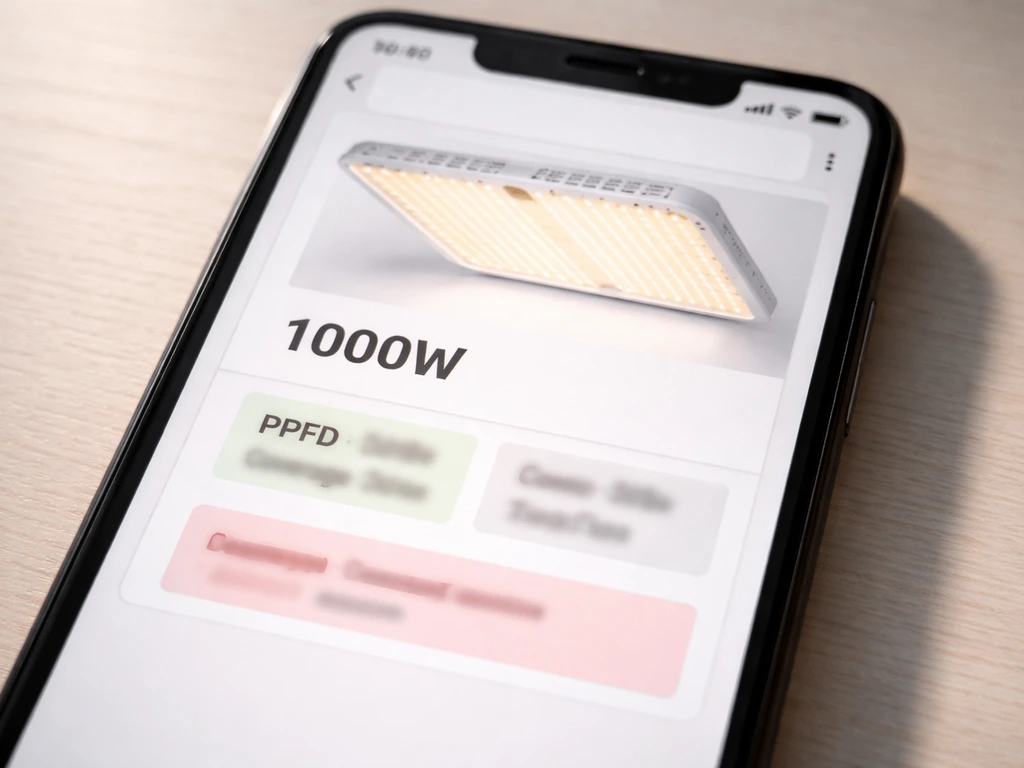
| "1000W LED" or "Replaces 1000W HPS" | Marketing claim, usually the actual draw is 100-200W | Find the actual wall draw in watts — ignore the headline wattage |
| PPFD at canopy center | One-point measurement, often at unrealistic hanging height | Look for a full PPFD grid map across the claimed coverage footprint |
| "Full Spectrum" | Usually broad white + red diodes, not a guarantee of quality | Check the spectral distribution chart or diode model numbers |
| Efficacy (µmol/J) | Photons delivered per watt — the most honest efficiency metric | Aim for 2.3 µmol/J minimum; 2.5+ is good; 2.7+ is excellent |
| Coverage area | Often stated for veg, not flower — flower coverage is smaller | Check if they list separate veg and flower coverage footprints |
| Lifespan (e.g. 50,000 hrs) | Typically L70 rating — when output drops to 70% of original | Meanwell driver + Samsung diodes generally backs this up reliably |
One thing worth knowing: the DesignLights Consortium (DLC) maintains a qualification program for horticultural luminaires that requires blank" rel="noopener noreferrer">standardized PPFD and spectral data reporting in ANSI/IES TM-33-18 format. DLC-listed fixtures have had their photon output independently tested, which is a meaningful quality signal. It doesn't mean non-DLC fixtures are bad, but DLC qualification does give you a baseline confidence in the published numbers. For commercial operations especially, this matters both for subsidy eligibility and for spec-sheet credibility.
If you're shopping from Canada, there are also regional considerations around warranties, shipping, and DLC compliance for rebate programs. The best LED grow light options available in Canada covers those specifics so you're not chasing fixtures that don't ship or qualify domestically.
Mistakes to avoid and quick recommendations by budget and space
The most common buying mistakes aren't about choosing the wrong brand. They're about mismatching the fixture to the scenario. Knowing what to avoid is half the battle, and if you want a list of fixtures that have genuinely failed growers in real conditions, the worst LED grow lights to avoid is worth a look before you finalize anything.
- Overspending on wattage for a small space: A 2x2 tent does not need a 400W fixture. You'll cook plants, waste electricity, and fight heat you never needed. Match wattage to footprint.
- Undershooting for flower: The inverse problem. Growers who buy a light marketed for a 4x4 in veg find it can't push enough PPFD to flower properly. Always check the flower coverage spec, which is typically one size smaller than veg.
- Ignoring uniformity: A cheap blurple or center-heavy panel will produce noticeably larger buds or fruits directly under the center and smaller ones at the edges. Bar lights and wide quantum boards solve this, but only if the fixture is actually sized to the space.
- Buying on watts alone: A 600W fixture with 2.0 µmol/J efficacy delivers fewer photons than a 400W fixture at 2.7 µmol/J. Always convert to actual PPFD output or photon output (µmol/s) before comparing.
- Skipping the dimmer check: If you can't run the light at 30-50% intensity, you can't use it for seedlings or early veg without supplemental distance. Most quality fixtures include dimming; some budget options don't.
- Trusting vague "full spectrum" claims without checking the spectral data: Especially relevant for UV and far-red claims, which are often present in tiny, almost useless quantities just to put it on the spec sheet.
Quick recommendation paths by budget and space
| Space | Stage | Budget Range | What to Buy |
|---|---|---|---|
| 2x2 | Veg + Flower | $80–$150 | 100–120W quantum board; look for Samsung LM301B diodes, Meanwell driver |
| 3x3 | Veg + Flower | $150–$280 | 200–250W quantum board or 2-bar fixture; verify PPFD map covers edges |
| 4x4 | Flower | $300–$500 | 400–480W bar-style or large quantum board; 2.5+ µmol/J efficacy target |
| 4x4 | Flower, top yield | $500–$750 | 480–600W bar fixture with Meanwell HLG driver and Samsung LM301H diodes |
| 5x5 or 4x8 | Flower | $700–$1,200 | Two 400–480W fixtures; bar style preferred for better uniformity across footprint |
| Commercial / 10x10+ | $1,500+ | Scale | Multiple commercial bar fixtures with 0-10V dimming; prioritize DLC-listed units |
Getting the setup right after you buy
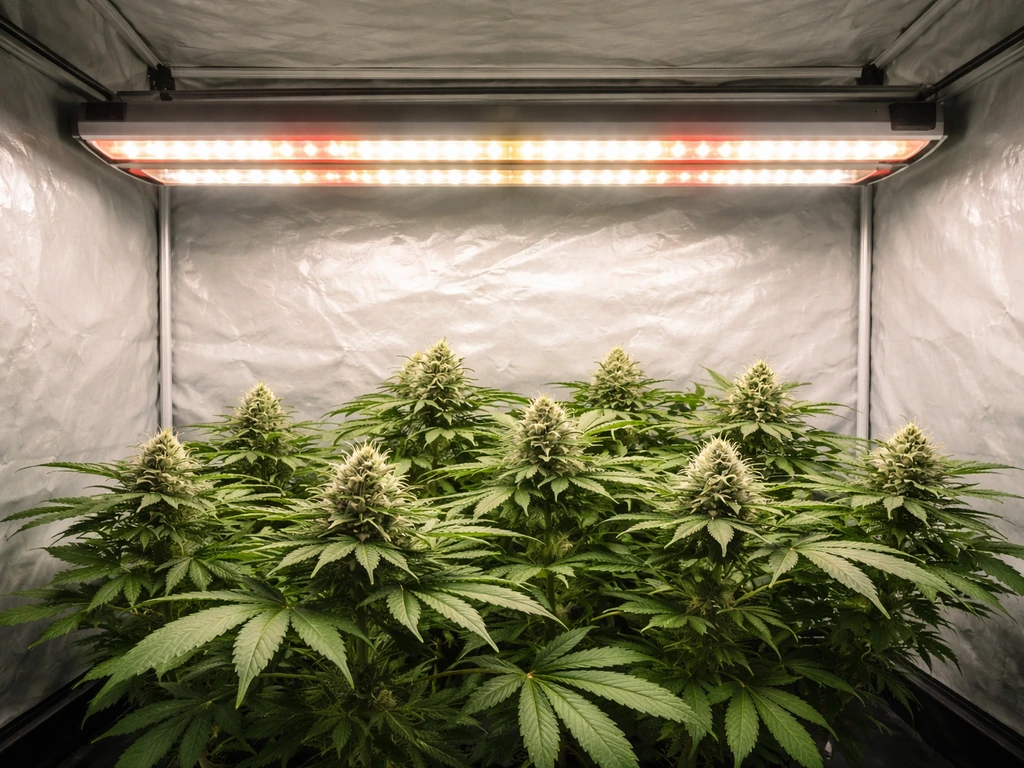
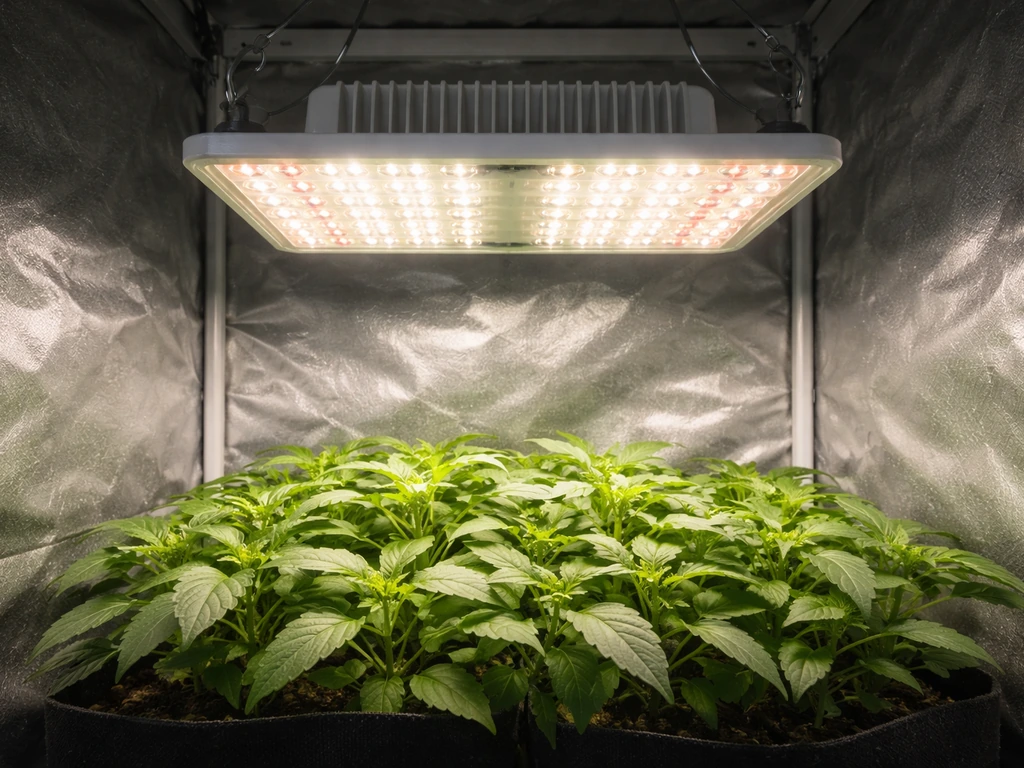
Even the right fixture performs poorly if it's hung wrong or run at full blast from day one. Hanging height is your primary intensity adjustment, and you need to know the right range for your specific fixture before the light arrives. Manufacturer guidance varies by fixture: as a real-world example, Mars Hydro's SP Series guidance recommends starting at around 20 inches above the canopy and only moving down to around 16 inches by flowering. That's a typical range for mid-power bar fixtures, but higher-power units may need to start at 24 to 30 inches to avoid light stress.
The right approach to dialing in a new light is to start high and dim down, not start low and hope for the best. On day one of a new grow, hang the fixture at the upper end of the manufacturer's recommended range and set the dimmer to 50 to 60%. Watch the plants for the first week. Slight upward leaf curl or bleaching means too much intensity. Slow growth and stretching toward the light means too little. Adjust hanging height and dimmer in small increments, not big jumps.
Spacing matters too if you're running multiple fixtures. For two lights in a 4x8, position them so the footprints overlap slightly at the center of the tent rather than placing them at the quarters. This improves edge-to-edge PPFD uniformity and avoids a dark strip down the middle. Use a cheap PAR meter or even a smartphone app with a calibrated sensor to check actual readings at several points across the canopy before you commit to a final hanging configuration.
One more thing on heat: LED fixtures run cooler than HPS, but they still generate real heat. In a 4x4 tent with a 480W fixture, you're adding roughly 480W of heat to that space. Make sure your exhaust fan is sized to manage it, especially in summer. A fixture with a passive heatsink and no internal fans is quieter, but it needs adequate airflow from your tent's ventilation to keep driver and diode temperatures in range. If your driver gets hot to the touch (not just warm), airflow is insufficient and you're shortening the fixture's lifespan.
The bottom line is this: pick the right wattage for your footprint, verify the PPFD map, confirm the diode and driver quality, and start conservative with height and intensity. A well-chosen fixture run at 70% with good airflow will outlast an overpowered budget light run at 100% in a hot tent every single time.
FAQ
If I buy a higher watt LED grow light, can I just dim it down to match my tent stage needs?
Yes, but only if the controller and light are truly dimmable (most have an external driver dimming interface, often 0-10V or PWM). Check the listing for a supported dimming range and confirm the PPFD they claim is for your dim level, not only at 100%. If the spec sheet shows PPFD only at full power, plan on validating with a PPFD meter after installation.
What’s the safest way to tell whether the watts on the box are real or just marketing? (which led grow light to buy)
“True watts” should be the actual wall draw reported as Input Power (W) by the driver specs or verified by a kill-a-watt style meter. Be cautious with marketing like “equivalent” watts or “up to” power, those are often at peak diode drive or at a different thermal or dimming state. A simple test is to measure wall watts at your intended dimmer setting for the first day of use.
How do I choose between one large fixture and multiple smaller fixtures if the product only lists “coverage area”?
Look for a minimum PPFD spec that matches the footprint, ideally a published PPFD map and mounting height. If the listing only says “covers X area” without showing uniformity, you may end up with edge starvation. For any tent larger than 4x4, prioritize models that either publish U90 (or similar uniformity metrics) or include a map so you can size spacing confidently.
What’s the most common mistake people make when using PPFD and DLI together? (which led grow light to buy)
If you run cannabis, tomatoes, or other fruiting plants, you usually need higher DLI targets than leafy crops. The practical decision rule is to match the fixture to your canopy PPFD at your normal hanging height and then choose a photoperiod that achieves your daily DLI without forcing you to run the light at 100% and high temperatures.
Can a ‘full spectrum’ LED still underperform if the spectrum looks good on the marketing photo but the plants don’t react?
It can, because some fixtures have stronger output in certain bands (for example red heavy) while still advertising full spectrum. If the spectral power distribution chart is missing, ask whether they provide TM-33-18 spectral data. Also note that “blue vs red” on the box often refers to LED type, not the actual photon distribution across PAR.
What exact signs tell me my light is too strong versus too weak during the first week?
Start with the highest end of the manufacturer’s recommended hanging height and dim to about mid range (as your article suggests), then move gradually. If you see leaf tacoing, bleaching, or crisp edges, raise the light or reduce intensity. If you see stretching or long internodes, decrease hanging height slightly or increase dimmer, then re-check after several days.
Do I calculate hanging height and intensity based on the floor of the tent, or the top of the plants?
Use the canopy as your reference, not the floor. Hanging height changes PPFD quickly, especially with taller plants or when you lower the light to “chase” growth. When you reposition plants (training, topping, or transplanting upward), re-check your PPFD points because the distance from the diode array can change the delivered photons more than the watt setting.
Can I rely on a smartphone app or cheap PAR meter to validate PPFD instead of buying a real meter?
A smartphone PAR app is only useful if it uses a truly calibrated sensor with the right spectral response for horticulture, otherwise it can misread LED spectra. A dedicated PAR meter is the better choice. If you do use an app, treat results as directional, verify with at least one trusted reference point, and focus on consistent readings across the canopy rather than absolute numbers.
What should I check in the warranty terms for LED grow lights, beyond the length of coverage?
Consider whether the warranty covers the driver and diode array for the specific operating conditions. Some brands give long diode warranties but shorter driver coverage, or they exclude overheating. If you run in a very hot tent or have weak exhaust, the coverage may become meaningless. Before buying, check warranty terms about allowable ambient temperature and whether dimmer use is covered.
How can I tell if my LED light’s heat setup is harming the driver, even if the plants look okay?
Heat can shorten lifespan even if the fixture “feels” fine, because drivers may run hot internally. If the internal driver is too warm to touch, stop and improve airflow, and if possible measure exhaust air temperature or keep tent ambient within the manufacturer’s specified range. Also remember that passive heatsinks still need forced airflow in most sealed tents.
When I run multiple fixtures, how do I know whether to overlap more or space them farther apart for uniformity?
Overlapping fixtures can improve uniformity, but the best layout depends on how wide the fixture’s effective PPFD footprint is at your hanging height. Use your PPFD map or measure several points (center, edge, and near corners) after you place fixtures. If you still see a dip, adjust spacing and consider raising the lights slightly before adding more power.
Should I always choose a light that includes far-red diodes for flowering?
Far-red can influence flowering responses, but it is not automatically “better” for every crop or every setup. More far-red can increase canopy photosynthesis in some conditions, yet it can also affect stretch and morphology depending on the plant and environment. The decision aid is to look at how much far-red is included in the spectral chart, and whether it matches your actual photoperiod and CO2 plan.
If a fixture isn’t DLC-listed, how can I still judge reliability of its PPFD claims?
DLC listing is valuable mainly because it ties published photon output and spectrum to standardized test formats. If a fixture is not DLC-listed, verify they still publish TM-33-18 style PPFD and spectral data, and check whether the map is for your actual hanging height and wiring mode. For budget lights that omit both, assume you will need PPFD verification after purchase.
Next Articles
Best Full Spectrum 1000W LED Grow Lights: Buyer Guide
Buy the best full spectrum 1000W LED grow light with spec-to-decision tips on PPFD, coverage, wattage, and tent fit.
Best 100W LED Grow Light: How to Choose the Right One
Choose the best 100W LED grow light with PPFD coverage, spectrum, efficiency, dimming, heat, and setup tips.
Best LED Grow Light to Replace 1000W HPS: Sizing Guide
Sizing and buying guide to replace a 1000W HPS with the right LED using PPFD, layout, mounting, and spectrum for yields.