The short answer: for a 3x3 tent, you want a light that pulls somewhere between 200W and 320W at the wall, delivers at least 2.0 µmol/J efficacy, and can actually cover your full 9 square feet at 700–900 µmol/m²/s for flower. Several fixtures under $200 can do exactly that today. The tricky part is cutting through the marketing noise to find them.
Best Cheap LED Grow Light for 3x3 Tent: Buyer Guide

Marcus Rutherford
10 Apr 2026
How much light a 3x3 tent actually needs
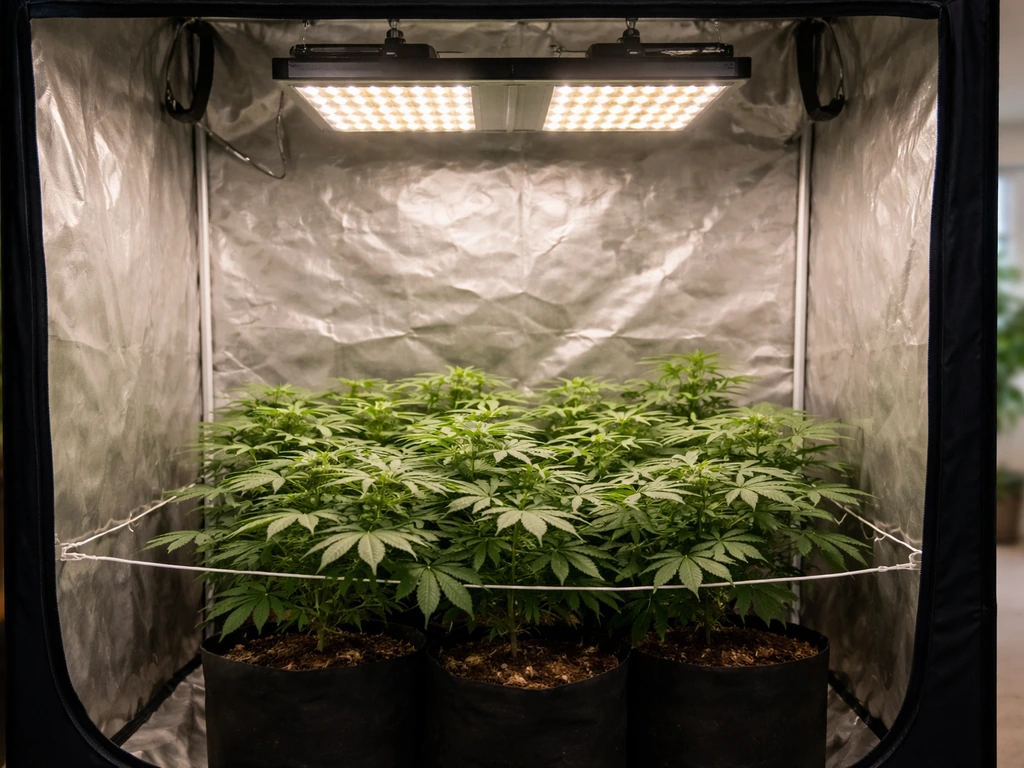
A 3x3 tent gives you 9 square feet of canopy, but that number alone doesn't tell you much. What matters is hitting the right PPFD (photosynthetic photon flux density, measured in µmol/m²/s) at canopy level, and sustaining it long enough each day to accumulate a useful DLI (daily light integral). For cannabis without CO₂ supplementation, the practical targets are: seedlings at roughly 100–300 µmol/m²/s, veg at 300–600 µmol/m²/s, and flower at 700–900 µmol/m²/s. Those aren't made-up numbers, they reflect what the plant can actually use at each stage before you start hitting diminishing returns or light stress.
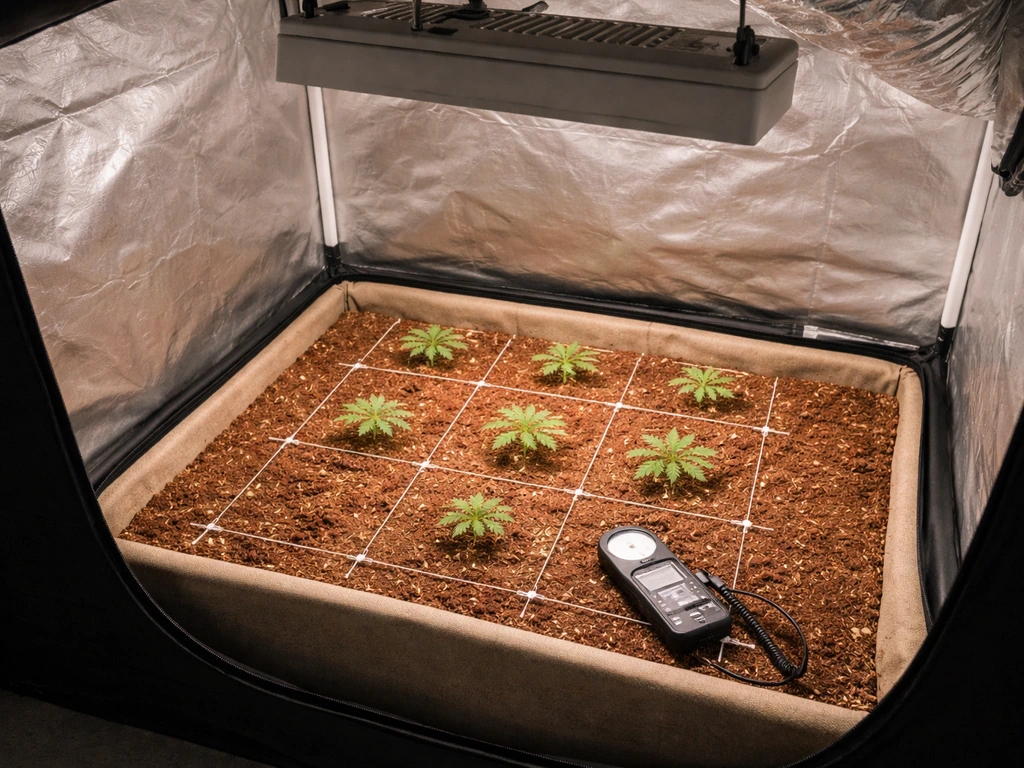
DLI matters too. The formula is straightforward: DLI (mol/m²/day) = PPFD × photoperiod in hours × 0.0036. Running 18/6 veg at 450 PPFD gives you a DLI of roughly 29 mol/m²/day, which sits comfortably in the 20–35 mol/m²/day target range. For flowering at 12/12, the same 800 PPFD delivers about 34.6 mol/m²/day, again right in the productive zone. Where growers get tripped up is targeting a high PPFD at dead center while the corners bleed down to 400 µmol/m²/s or less. That's a coverage problem, not a wattage problem, and it's why fixture design matters as much as raw numbers.
In practical terms, a well-designed 200–280W fixture is genuinely enough for a 3x3 in veg. For flowering, you want to push toward 280–320W actual draw from a quality diode array. Anything marketed as a "600W equivalent" pulling 150W at the wall will underwhelm you in flower. That's the single most important thing to understand before shopping.
Cheap LED grow lights: value metrics that matter
"Cheap" in grow lighting has a real meaning: it means you're spending less upfront, but you still need the light to work. The metrics that separate a genuinely good-value fixture from a waste of money are efficacy (µmol/J), actual watt draw (not marketing watts), and verified PPFD output over the intended footprint.
Efficacy tells you how efficiently a fixture converts electricity into usable plant light. Premium fixtures from 2024–2026 hit 2.7–3.0 µmol/J. Budget fixtures from reputable brands realistically land in the 2.0–2.4 µmol/J range. Anything below 1.7 µmol/J is either outdated technology or a poorly binned board, and you'll pay for that inefficiency in electricity costs over a few grows. For reference, independent PAR test data for the Mars Hydro FC-E3000 shows an efficacy of roughly 2.17 µmol/J at a measured draw of ~284W, with an average PPFD of around 760 µmol/m²/s across a 3x3 footprint. That's a real benchmark to compare other options against.
Marketing watts are almost always inflated. A fixture listed as "300W" frequently pulls 180W or less at the wall. Always look for the actual wall draw spec, and if you can find an independent test review, use that number. If the listing only shows "equivalent watts" without a real draw figure, treat it as a red flag. The same principle applies to PPFD claims: a center-point reading of 1200 µmol/m²/s is useless if the edges drop to 300.
The best cheap LED grow light options for a 3x3
These aren't exhaustive reviews, they're a targeted shortlist of fixtures that earn their place at the budget end without embarrassing themselves in actual grows. I've grouped them by style because the right choice depends on what you prioritize.
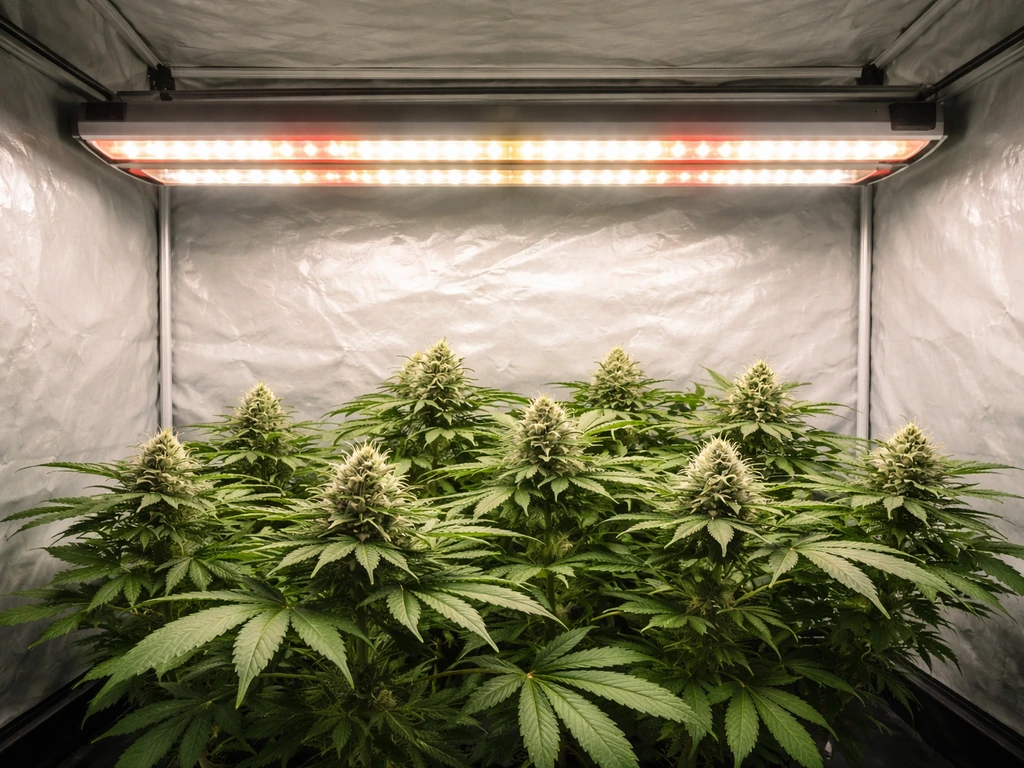
Bar-style: best uniformity for a tight budget
The Mars Hydro FC-E3000 is the go-to bar-style option for a 3x3. It pulls ~284W at the wall, averages ~760 µmol/m²/s across the canopy, and carries ETL, CE, and IP65 certifications, which matters for humidity tolerance in a tent. The bar design spreads diodes over a larger frame, which consistently outperforms single-dense boards on edge-to-center uniformity. If you only have one light and can't add a second to patch dead corners, that uniformity advantage is meaningful. It's dimmable, uses Bridgelux diodes, and is realistically priced in the $150–$180 range depending on sale cycles. This is the fixture I'd recommend first for a 3x3 flower tent on a tight budget.
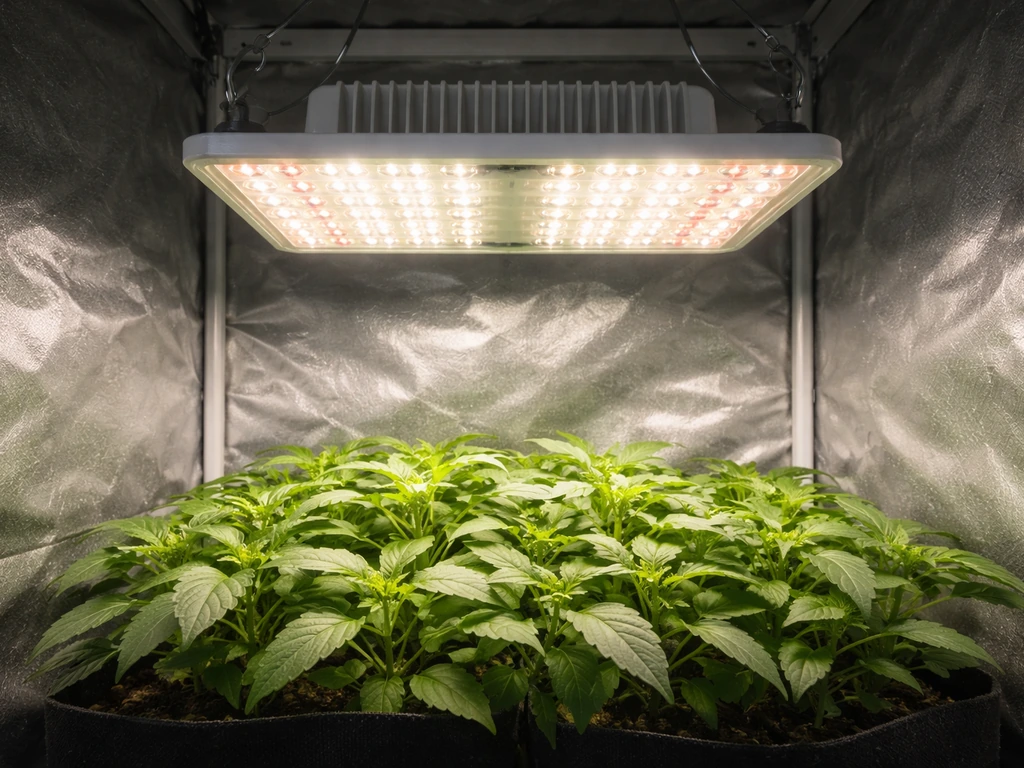
Quantum board style: efficient and tunable
The ViparSpectra KS3000 uses Samsung LM301H diodes and includes a 3-year warranty, which is unusually strong coverage for a budget fixture. Measured draw sits around 298W during testing, and the Samsung diodes are genuinely quality components, not bargain-bin chips. The 3-year warranty reduces the financial risk considerably. The tradeoff with quantum board-style fixtures is that they require a bit more attention to hanging height to avoid hotspots at the center, but if you dial it in (more on that below), you get excellent output per dollar.
High-efficacy board on a tighter budget
The UPLUX 240W quantum board claims a photon efficacy of up to 2.7 µmol/J with an approximate PPF of ~650 µmol/s. Those are strong numbers on paper for a fixture in this price tier. As always, treat manufacturer efficacy claims as a starting point and verify with your own measurements. Still, if those specs hold up even partially in real conditions, this fixture punches above its weight class for veg and early flower in a 3x3, especially for a single-plant or low-plant-count setup where you can position plants under the strongest part of the coverage zone.
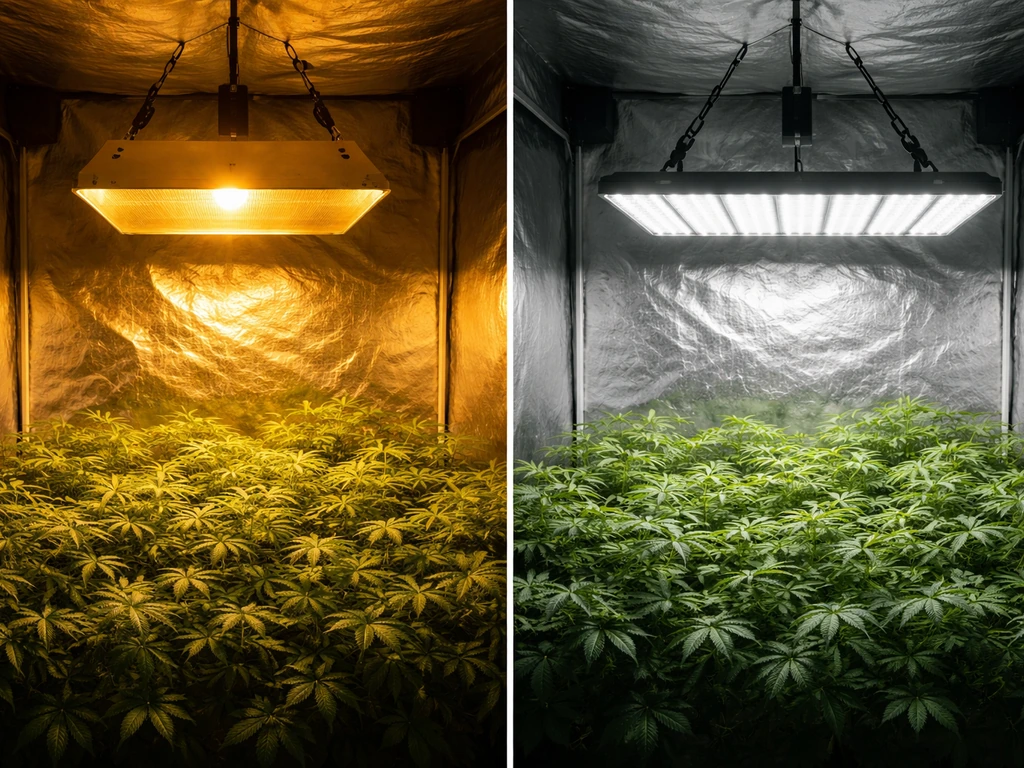
Full-spectrum vs dimmable and bloom-friendly setups
For most budget growers running a single tent through a full cycle, a full-spectrum white LED is the right call. These fixtures use a phosphor-coated diode that emits a broad spectrum including red and blue wavelengths, and they handle both veg and flower without any switching or separate fixtures. The KS3000 and FC-E3000 are both full-spectrum in this sense.
"Bloom" or "flower" switches and dual-channel lights are a holdover from older blurple-era LED design. Modern full-spectrum boards don't need a separate bloom mode because the spectrum already covers what plants need in flower. What does matter is [dimming quality](https://www. meanwell.
com/catalog/led/files/basic-html/page40. html). A smooth, reliable dimmer lets you run the light at 40–50% during veg and seedling stages (protecting young plants while saving electricity) and ramp to 80–100% for flower. Look for fixtures with a 0–10V or potentiometer-style dimmer control built into the driver.
Look for fixtures that include 0, 10V and PWM “2 in 1” dimming options, which MEAN WELL describes in its LED driver catalog 0–10V or potentiometer-style dimmer control built into the driver.
Avoid fixtures where "dimming" is just a two-position switch. Understanding the difference between bar-style and quantum board grow lights can help you figure out which form factor fits your specific tent layout and dimming preferences before you commit.
If you're running two separate spaces, one for veg and one for flower, a more targeted spectrum (higher red ratio) for the flower tent can squeeze a few more percentage points of efficiency. But for a single-tent 3x3 budget grower, that's an optimization worth skipping. Get the dialing-in right first.
Hanging height, spacing, and dialing in for veg vs flower

Hanging height is one of the most underestimated variables in a small tent, and getting it wrong is the number-one reason growers think their light is underpowered. The physics are simple: PPFD drops with the inverse square of distance, so moving a light from 18 inches to 24 inches above the canopy roughly halves the intensity at the center point.
General guidance by technology type: quantum boards typically perform best at 18–24 inches for veg and 12–18 inches for flower. Bar-style fixtures, because they have a wider spread, often work better at slightly greater distances: 24–30 inches for veg and 18–24 inches for flower. Mars Hydro's own guidance for the TSW2000, for example, calls for 12-inch hanging height with 25% dimmer during veg to hit a 550–1000 PPFD range, and 12 inches at 100% for flower targeting 700–1300 PPFD. That's a useful data point for understanding how much impact small height changes have when you combine them with dimmer adjustments.
For a practical setup routine, here's what actually works in a 3x3:
- Hang the light at the manufacturer's recommended starting height (usually 18–24 inches for quantum boards, 24 inches for bar style).
- Run the dimmer at 40–50% during seedling stage and early veg. This protects plants and lets them establish root systems without light stress.
- As plants develop through veg, gradually lower the light or increase dimmer output, targeting 400–600 µmol/m²/s at canopy level.
- Transition to flower: lower the light toward 12–18 inches (quantum board) or 18–20 inches (bar style), set dimmer to 80–100%, and target 700–900 µmol/m²/s.
- Verify actual PPFD at canopy level using a reliable meter. Using something like the Photone grow light meter app to confirm your real canopy readings is far more reliable than trusting a manufacturer's coverage chart.
For the ViparSpectra KS3000 specifically, blank" rel="noopener noreferrer">forum data from growers running it in a 3x3 reports manufacturer-suggested settings of 24 inches at 50% for seedlings, 24 inches at 75% for veg, and 12 inches at 100% for flowering. Those are reasonable starting points, but your specific tent's reflectivity and plant canopy density will affect the final numbers.
What to check before you buy
Budget fixtures can be legitimately great value or quietly terrible. The difference usually shows up in five areas: driver quality, thermal management, certifications, warranty, and dimming controls.
Driver quality and dimming
The driver is the component most likely to fail in a cheap fixture. Look for fixtures that name their driver (Mean Well is the gold standard; some budget options use in-house drivers that can be hit or miss). Dimming method matters: 0–10V dimming gives smooth, reliable control across the full range. Potentiometer-style (a dial on the driver) is also acceptable. Avoid any fixture where dimming specs are vague or where the only "dimmer" is a physical switch with two or three positions. A quality driver like those in the KVD series of UL-listed drivers supports full 0–10V dimming and proper safety certification, which is the kind of spec you want backing your light.
Thermal management
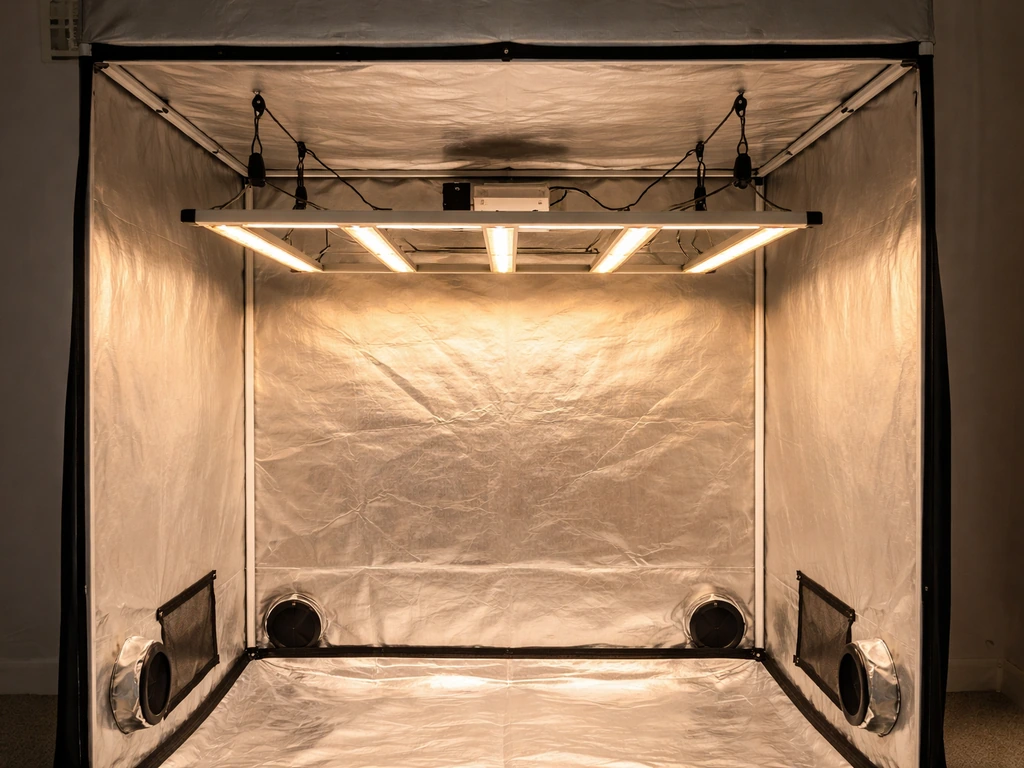
Fanless (passive) cooling is common in modern LED fixtures and is generally preferred for a quiet grow tent. Passive cooling is fine as long as the heatsink is properly sized. A fixture that runs hot to the touch after 30 minutes of operation is throttling output and shortening its lifespan. Fan-cooled fixtures are louder but can handle higher sustained loads. For a 3x3 tent where noise matters and you're not pushing extreme wattage, passive cooling from a well-designed bar or board is the better choice.
Certifications and safety
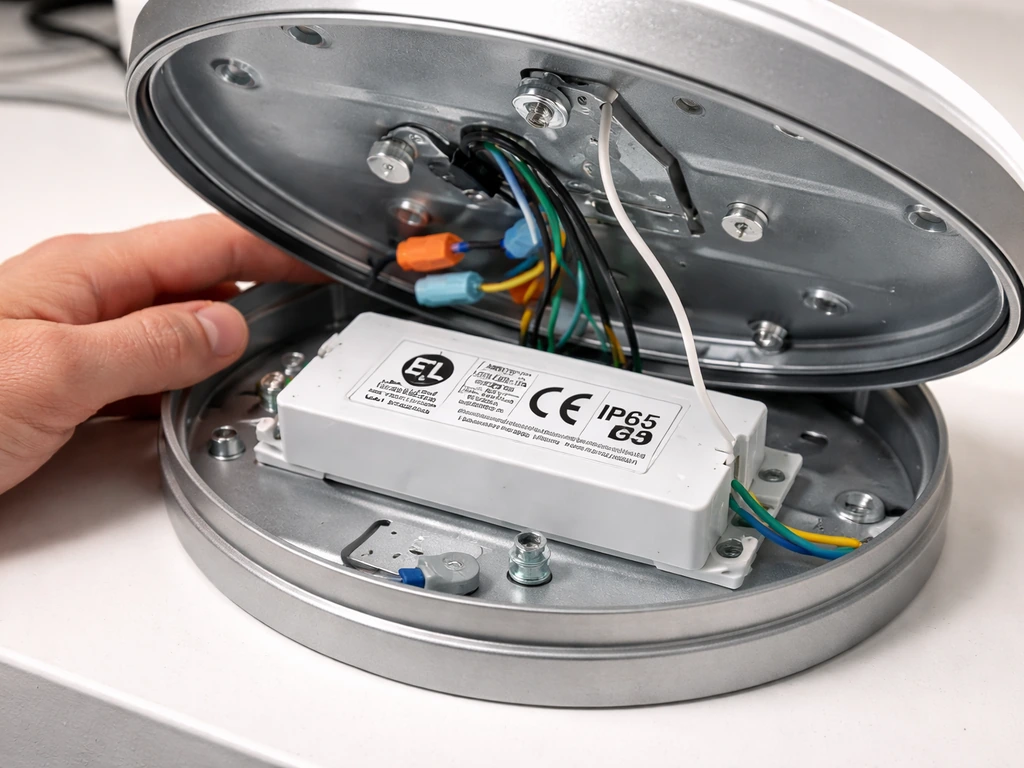
At minimum, look for ETL or UL listing (North American safety standard) or CE (European). IP ratings matter in a grow tent: IP65 means the fixture is protected against moisture and dust, which is directly relevant when you're watering plants below an electrical fixture. The FC-E3000 carries ETL, CE, and IP65, which is a solid trifecta for a budget fixture. Anything with no listed certifications should be treated with real skepticism.
Warranty and support
A 1-year warranty on a budget fixture is the bare minimum. Three years, like what ViparSpectra offers on the KS3000, is genuinely good and reflects confidence in the hardware. Check whether the warranty requires you to ship internationally for repairs, which can negate the cost savings entirely. US-based support teams and domestic return policies are worth paying a small premium for.
Quick comparison: FC-E3000 vs KS3000 vs UPLUX 240W
| Fixture | Style | Actual Draw | Efficacy | Diodes | Warranty | IP Rating | Approx. Price |
|---|---|---|---|---|---|---|---|
| Mars Hydro FC-E3000 | Bar-style | ~284W | ~2.17 µmol/J (tested) | Bridgelux | 3 years | IP65 | ~$150–$180 |
| ViparSpectra KS3000 | Quantum board | ~298W | ~2.2 µmol/J (est.) | Samsung LM301H | 3 years | Not specified | ~$160–$200 |
| UPLUX 240W | Quantum board | ~240W | Up to 2.7 µmol/J (claimed) | Not specified | Not specified | Not specified | ~$100–$130 |
If I had to pick one for most 3x3 growers, the FC-E3000 wins on uniformity and verified real-world data. The KS3000 is the better choice if you prioritize diode quality and warranty confidence. The UPLUX 240W is worth considering if you're on the tightest budget and doing veg-heavy grows or running a smaller plant count.
Common mistakes with budget 3x3 lights and how to avoid them
The mistakes I see most often aren't really about choosing the wrong fixture. They're about misusing a decent one, or falling for spec sheet theater before even buying.
- Trusting marketing watts: A fixture listed as '600W LED' that pulls 150W at the wall is a 150W light. Always confirm actual wall draw before buying, and use that number for all your calculations.
- Hanging too high and dimming too low at the same time: Combining these two settings compounds the PPFD drop dramatically. If you're getting poor results, raise the dimmer before raising the light.
- Not measuring: Manufacturer PPFD charts are a starting point, not a guarantee. Your tent's reflectivity, the age of the diodes, and your actual hang height all affect real canopy readings. Measure and adjust.
- Ignoring uniformity: A single dense quantum board hung too high over a 3x3 can leave the corners at 40% of center intensity. How to choose the best grow light based on your grow space covers this in detail, including how to evaluate coverage maps before you buy.
- Buying the cheapest fixture without checking certifications: An uncertified driver in a humid grow tent is a fire and shock hazard. ETL or UL listing is not optional.
- Skipping the warm-up period: New LED fixtures, especially budget ones with passive cooling, can take 15–20 minutes to stabilize. Don't measure PPFD immediately after switching on.
- Overlooking plug and cord readiness: Some budget imports ship with non-standard plugs or short cords. Check that the fixture comes ready to plug into a standard outlet without an adapter you then forget to order.
- Running full power during seedling stage: It wastes electricity and stresses young plants. Use your dimmer. That's what it's there for.
One last thing worth flagging: cheap doesn't mean permanent. A $160 FC-E3000 or KS3000 is a solid light for a 3x3 today, but diode efficiency is improving fast. If you're expanding your grow in a year or two, understanding how grow light technology compares across quantum board and bar-style formats will help you make smarter upgrade decisions when the time comes. For now, pick a fixture with real specs, hang it right, and measure your canopy. That's the whole playbook.
FAQ
If I buy a “300W” or “600W equivalent” light, how do I know it will actually hit my 3x3 coverage needs?
For a 3x3 tent, aim for the target PPFD at the canopy after you lock your hanging height, then adjust with dimming. If you raise the light or increase plant canopy density, reduce the PPFD you chase at the center, because edges will drop more than center. A cheap way to confirm is a budget PPFD meter at both the center and corners, then tune dimmer and height until corners are in the same ballpark as your plan.
What’s the best way to verify PPFD coverage over a 3x3 when specs are unreliable?
Measure at canopy height, not from the fixture’s marketing “test height.” PPFD meters often read differently depending on sensor calibration and spectrum matching, so treat the number as directional. The key is consistency: compare your center and corner readings before and after adjustments. If you cannot verify coverage, choose designs known for uniformity (bar-style tends to spread better in a single-light 3x3).
How should I use the dimmer for seedlings and early veg in a 3x3 with one budget light?
Use dimming during the earliest stages, seedlings especially, because young plants are more sensitive to intensity and distance changes. A common pitfall is running 100% immediately at the start of veg, then “fixing” by raising the light. If you want a simple schedule, start around 40 to 50% output and 18 to 24 inches (depending on fixture style), then step up every few days based on your meter or plant response (leaf posture, clawing, slow recovery).
How do I calculate my real monthly electricity cost for the “best cheap” 3x3 light?
Only trust a wattage claim that includes actual wall draw, ideally measured by a plug-in meter. If a listing shows only “equivalent” output, assume it is marketing and do not base your electricity or plant targets on it. For budgeting, also account for driver efficiency losses, so plan around the real draw spec, not the advertised number.
Do I really need a bloom switch or separate flower mode for a 3x3?
No, “full spectrum” does not automatically mean “optimal flower spectrum” for every setup. For most single-tent, one-light grows, a quality full-spectrum white LED is sufficient, as long as it can deliver the needed intensity. The real decision point is dimming quality and uniformity, not whether there is a “bloom switch,” because modern full-spectrum designs already include red and blue without separate modes.
My PPFD center is fine but corners are low, what should I do first in a 3x3?
If your corners consistently run far lower than your center, you have three options: lower the center intensity by raising the fixture and compensating carefully with dimming, reduce plant height differences so canopy is flatter, or add a second light to eliminate the single-fixture uniformity problem. For truly uniform one-light coverage, bar-style fixtures usually require fewer “patches” than dense single boards.
What dimming type matters most for dialing in DLI, and which should I avoid?
Smoother dimming is important if you want stable results across stages. A two-position switch makes it hard to hit your PPFD and DLI targets without overshooting. Prefer 0–10V or a driver potentiometer style control so you can fine-tune in small steps, especially when you change hanging height or move from veg to flower.
Can I just raise PPFD to chase higher DLI in flower, or are there limits?
DLI targets depend on CO2 and cultivar, but since the article focuses on non-CO2 typical home grows, your practical ceiling is usually set by PPFD stability and heat. Before increasing intensity, confirm your airflow and canopy temperature are under control. If you push PPFD higher without cooling or with weak ventilation, you can cause stress and reduce usable yield even if the meter looks great.
Why does the recommended hanging height not match my results exactly?
Those hanging-height ranges are not universal, they depend on how uniform the fixture is and how reflective your tent is. In a small tent, reflective lining and plant canopy management can add a meaningful boost, while darker walls can reduce effective PPFD in the corners. Use the height guidance as a starting point, then confirm with corner readings and adjust by small increments.
What warranty details should I check beyond the length of coverage?
A strong warranty is only valuable if support logistics are reasonable. Check whether repairs require you to ship internationally, who covers shipping, and how long the downtime can be. For budget fixtures, also check what triggers warranty denial (water ingress, damaged drivers, missing serial labels). If shipping costs are large, a “cheap” fixture can become expensive quickly.
Is IP65 actually useful in a grow tent, or is it marketing?
Yes, but do it intentionally. If your tent has high humidity and you splash water while watering, pick an IP-rated fixture and route cords so they are not in the splash zone. Even with moisture protection, avoid running the fixture where condensation drips onto drivers or dimmer controllers. A simple guard is to use a drip shield or reposition the driver away from direct water exposure.
How can I tell if my cheap LED is throttling and not performing as expected?
If the fixture stays uncomfortably hot after 30 minutes, that can be a sign of poor thermal design or blocked airflow around the heatsink. Thermal throttling reduces output, which ruins your PPFD targets and shortens lifespan. In that case, give clearance around the fixture, ensure the tent is ventilating, and if possible, switch to a model with better thermal headroom rather than continuing to run at full output.
Next Articles
Best Full Spectrum 1000W LED Grow Lights: Buyer Guide
Buy the best full spectrum 1000W LED grow light with spec-to-decision tips on PPFD, coverage, wattage, and tent fit.
Best 100W LED Grow Light: How to Choose the Right One
Choose the best 100W LED grow light with PPFD coverage, spectrum, efficiency, dimming, heat, and setup tips.
Best LED Grow Light to Replace 1000W HPS: Sizing Guide
Sizing and buying guide to replace a 1000W HPS with the right LED using PPFD, layout, mounting, and spectrum for yields.