The best LED grow light in 2026 is the one that actually hits your target PPFD across your entire canopy, not just in the center spot. That sounds obvious, but most buying mistakes happen because growers focus on wattage and brand names instead of real coverage data. If you nail PPFD, coverage uniformity, and efficiency for your specific tent size, you're 80% of the way to a great decision. Everything else is details.
Best LED Grow Lights 2026: Top Picks by Tent Size

Marcus Rutherford
16 Apr 2026
How to choose the best LED grow light for your grow
Start with three numbers: your tent footprint in square meters, your target PPFD for the crop stage you're running, and the efficiency rating (µmol/J) of any fixture you're considering. Those three data points will filter out 90% of the bad options before you even look at a product page.
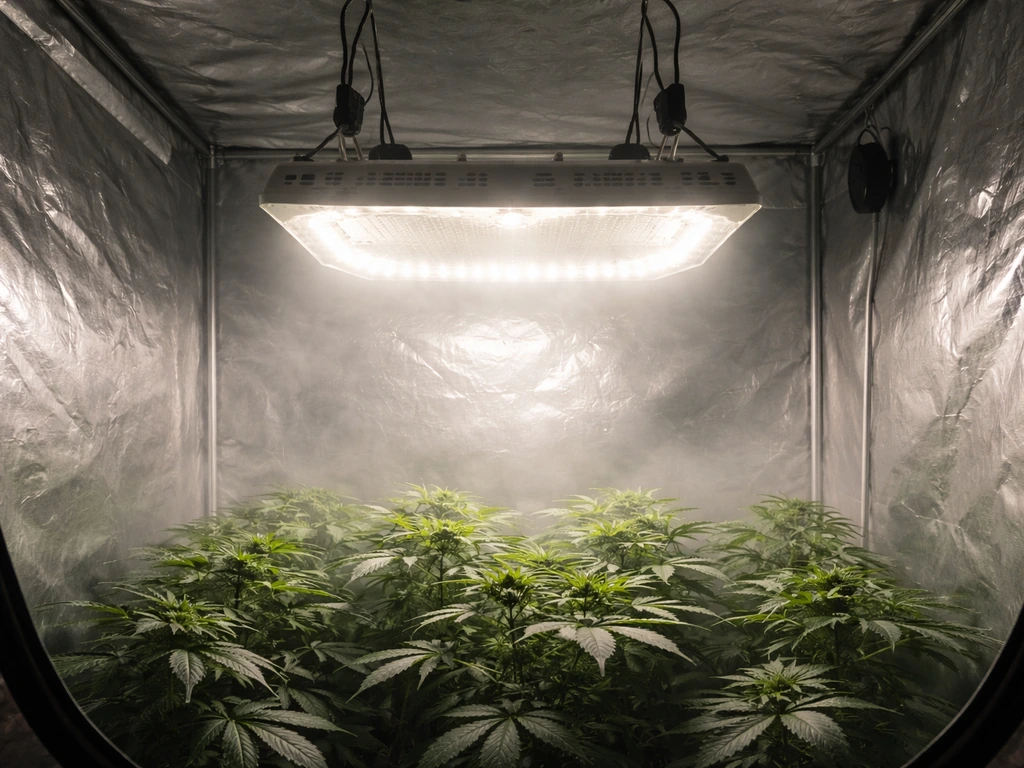
PPFD (photosynthetic photon flux density, measured in µmol/m²/s) is the only honest way to compare grow lights. For a practical reference point: unrooted clones and seeds need around 125 µmol/m²/s with the fixture about 50 cm above the canopy. Rooted seedlings in week 1 want roughly 200 µmol/m²/s at 40 to 55 cm. By vegetative week 4, you're targeting 625 µmol/m²/s with the light anywhere from 15 to 44 cm depending on the fixture's intensity range. Flowering week 4 pushes to around 1050 µmol/m²/s at similar heights. These aren't arbitrary numbers, they drive biomass accumulation and determine how fast your crop cycles.
Efficiency matters because heat is the silent tax on every indoor grow. A fixture running at 2.5 µmol/J is genuinely efficient by 2026 standards. Anything below 2.0 µmol/J is burning money on electricity and heat management. Premium commercial fixtures from Fluence, Gavita, and Photontek are now publishing spec sheets with photon efficacy figures, so there's no excuse for buying blind. If a manufacturer won't publish efficacy in µmol/J alongside a canopy PPFD map, treat that as a red flag.
Coverage uniformity is the third leg. A light that hits 1200 µmol/m²/s in the center but drops to 400 at the edges isn't covering your 4x4 tent, it's covering a circle in the middle of it. Look for PPFD maps, not just center readings. A solid fixture should maintain at least 75% of its peak PPFD across the stated footprint. Understanding how LED grow light distance affects your canopy is just as important as the fixture itself, because the same light can perform dramatically differently depending on how high you hang it.
2026 ranking criteria: what actually matters vs marketing claims
The 2026 grow light market is noisier than ever. Bar-style fixtures, quantum boards, and hybrid designs all compete at nearly every price point, and the marketing language has gotten creative. Here's what I actually look at when ranking a fixture, and what I've learned to ignore.
What actually matters
- Published photon efficacy in µmol/J from a credible spec sheet, not just lumens or 'high efficiency' language
- Canopy-average PPFD at a stated footprint and height, ideally verified by a third-party test rather than manufacturer-only claims
- Driver quality and brand: Meanwell HLG or ELG series drivers and Inventronics units are the benchmark; unknown drivers are a reliability gamble
- Compliance listings: UL 8800 (the horticultural lighting safety standard) plus CE/IEC60598-1 markings confirm the fixture has been evaluated for photobiological safety and code compliance
- Warranty length and what it covers: a 5-year limited warranty like Gavita's RS 2400e carries means the manufacturer has skin in the game on long-term reliability
- Dimming range and control interface: 0-10V analog, RJ45 daisy-chain, or app-based control all have different use cases
- Uniformity ratio across the stated footprint, not just peak center PPFD
What to ignore or verify independently
- 'Equivalent to X00W HPS' claims, which are usually based on cherry-picked center readings
- Lux-based brightness comparisons, which measure the wrong thing entirely for plants
- Wattage as a proxy for coverage without a PPFD map to back it up
- Vague 'full spectrum' labeling without a published spectral power distribution chart
- 'Samsung LM301H' branding without driver and thermal management details
The 2026 shift worth noting: efficiency thresholds have moved up. Two years ago, 2.3 µmol/J was excellent. Today, top-tier bar fixtures are hitting 2.8 to 3.0 µmol/J, and mid-range boards are catching up to where premium fixtures were in 2023. This means older staples from 2021 and 2022 that were considered the gold standard may now be outdone on efficiency by newer, similarly priced options. Always check if there's a 2025 or 2026 revision of a model you're considering.
Best LED grow lights by grow size and coverage
The right wattage class for your tent is less about raw watts and more about hitting the PPFD target across the full footprint. Here's how to think about it by space size, with ballpark fixture wattage ranges and what to look for at each tier.
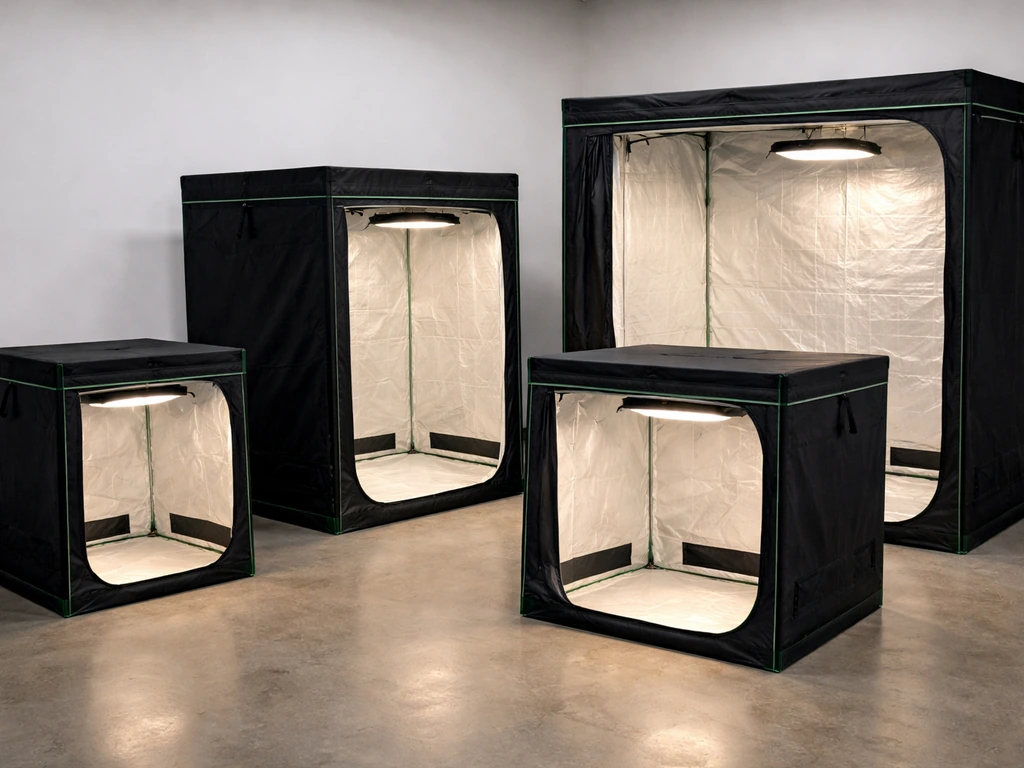
2x2 (0.37 m²): seedlings, propagation, small veg
A 2x2 tent only needs 100 to 200 true watts from an efficient fixture. For seedling and clone work targeting 125 to 200 µmol/m²/s, even a quality 100W board-style light with dimming is enough. Look for fixtures with a wide, even beam and a dimmer you can actually set precisely, since the risk in a 2x2 isn't underpowering, it's burning seedlings with too much light. A 200W dimmable fixture gives you headroom to push veg harder later. Good picks in this class include the Spider Farmer SF-2000 (200W draw, around 2.35 µmol/J) and similar boards from Mars Hydro.
3x3 (0.84 m²): veg, early flower, specialty crops
For a 3x3, you want 250 to 350W of efficient draw to hit flowering-level PPFD across the full footprint. A single quality 300W bar-style fixture or a 315W LEC equivalent will work well here. This is where dimming really earns its keep: you can run at 60% for veg and push to 100% for flower. The Photontek X 600W PRO (600W draw) is slightly oversized for a 3x3 used solo but becomes ideal for 4x4 coverage, so if you're planning to upsize your tent, it's worth considering now.
4x4 (1.5 m²): the most common home grow tent size
The 4x4 is where most of the market is focused, and for good reason. To hit 800 to 1000+ µmol/m²/s across the full canopy in flower, you need roughly 500 to 650W of efficient draw. The Photontek X 600W PRO is a strong choice here: its spec sheet lists a canopy average PPFD of approximately 602.3 µmol/m²/s at a standard configuration, and third-party testing has measured max PPFD around 996 µmol/m²/s, which aligns with real flowering targets. The Gavita Pro RS 2400e's eight-bar array with purpose-built optics for PPFD uniformity is another top-tier option if budget allows, especially if you're running a room with multiple units.
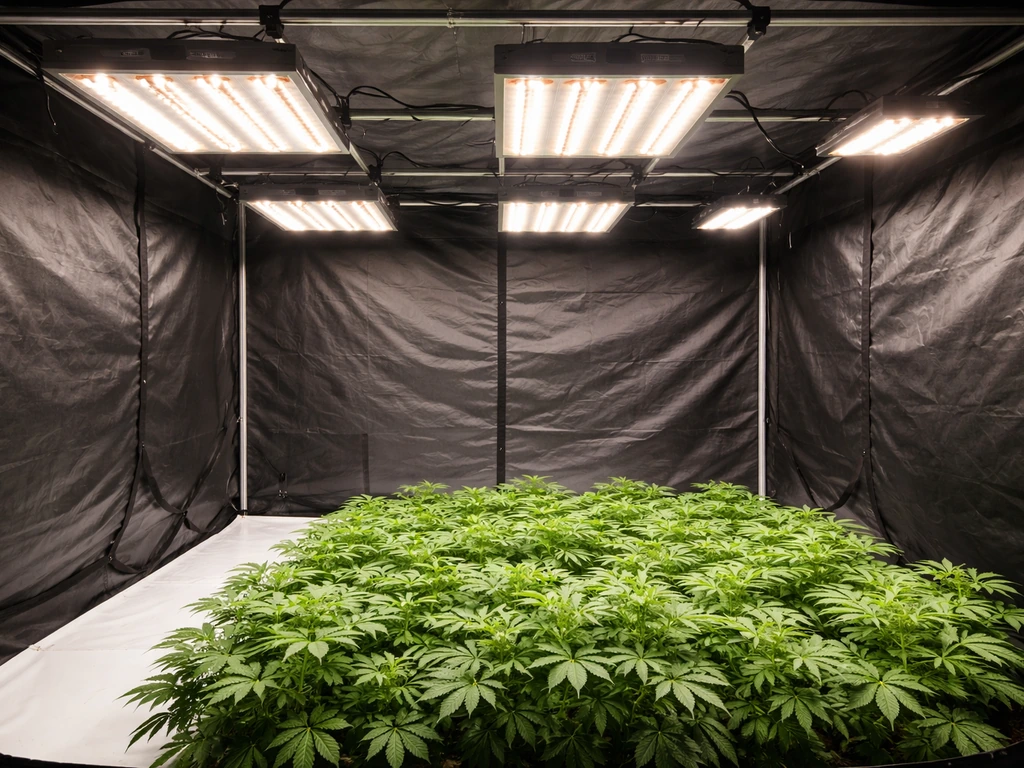
5x5 and larger: high-output single fixtures or multi-fixture arrays
A 5x5 (2.3 m²) in full flower needs 800W to 1000W+ of efficient draw to maintain 900 to 1100 µmol/m²/s across the canopy. The Photontek XT 1000W CO2 Pro is a useful benchmark here: its spec sheet shows a canopy average PPFD of approximately 1031.2 µmol/m²/s over a 5x5 footprint, which is exactly the flowering target for most high-demand crops. For spaces larger than 5x5, multi-fixture arrays with individual dimming zones and uniformity-optimized bar spacing will outperform a single oversized fixture every time.
| Tent Size | Footprint (m²) | Recommended True Wattage | Target Flower PPFD | Fixture Type |
|---|---|---|---|---|
| 2x2 | 0.37 | 100–200W | 300–600 µmol/m²/s | Compact board or small bar |
| 3x3 | 0.84 | 250–350W | 600–900 µmol/m²/s | Mid-size board or bar |
| 4x4 | 1.5 | 500–650W | 800–1050 µmol/m²/s | Single high-output bar or board |
| 5x5 | 2.3 | 800–1000W | 900–1100 µmol/m²/s | High-output bar or dual fixture |
| 6x6+ | 3.3+ | 1200W+ | 1000–1200 µmol/m²/s | Multi-fixture array with zones |
Best lights by use case: seedlings, veg, bloom, and full-cycle
Your crop stage changes everything. A light that's perfectly sized for peak flower will obliterate seedlings if you don't dial the dimmer way down. Here's how to think about fixtures by use case.
Seedling and propagation
Seedlings and unrooted clones want around 125 µmol/m²/s. Almost any decent dimmable fixture at low power will do the job, which means you don't need a specialty seedling light if your main flower light has a wide dimming range (10% to 100%). If you're running a dedicated propagation space, a T5 or low-wattage LED panel at a fixed height is simpler and cheaper. The main mistake growers make here is running a powerful fixture at full blast, too close, and frying tender tissue. Mount higher and dim down.
Vegetative growth
Veg targets roughly 400 to 700 µmol/m²/s depending on crop and week. Blue-heavy or white-dominant spectra are popular here because they promote compact, bushy growth, but the evidence for spectrum-specific veg benefits is less dramatic than marketing implies. A well-dialed white or broad-spectrum fixture at the right PPFD will produce excellent veg growth. The more important variable is uniformity: uneven PPFD during veg creates uneven canopy height, which then compounds into uneven flower development.
Bloom and high-PPFD applications
Flowering crops with high light demand (cannabis, tomatoes, peppers) want 800 to 1100 µmol/m²/s across the canopy. Red-heavy or broad-spectrum fixtures with far-red supplementation are the standard recommendation for maximizing yield. Far-red (700 to 780 nm) promotes the Emerson enhancement effect and can meaningfully extend the photosynthetic response at the high end. Fixtures that let you tune red and far-red output separately, like Signify's Philips GreenPower variants with spectral options, give you more control over flowering response versus stretching.
Full-cycle fixtures: the practical choice for most home growers
Most hobby growers want one light that handles veg and flower across the full cycle. A broad white-spectrum LED with deep dimming (10% to 100%), good PPFD uniformity, and either adjustable spectrum channels or a fixed full-spectrum output is the practical answer. You're trading some bloom optimization for simplicity, and for most crops that trade is worth it. Fixtures like the Spider Farmer SE series, Mars Hydro FC/FC-E line, and the mid-range Photontek X series are built specifically for this use case.
Form factors and build types: bars, boards, and fixtures
In 2026, bar-style (strip) lights dominate the high-performance segment, while quantum boards still hold value at the mid-range. Here's the honest breakdown of each.
Bar and strip-style lights
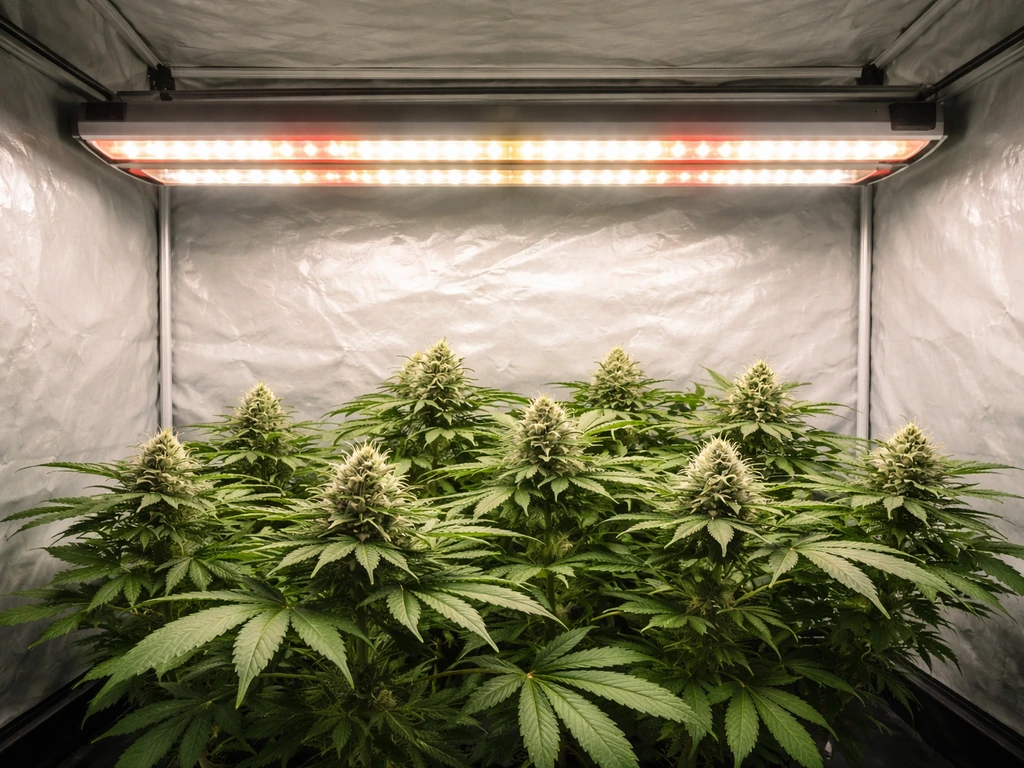
Bar lights distribute LEDs across multiple arms or strips, which creates more even PPFD across a wide footprint compared to a single central source. The Gavita RS 2400e uses eight light bars specifically to achieve what its product page describes as exceptional PPFD uniformity and deep canopy penetration. The physics back this up: spreading the light source reduces the hotspot effect and softens the PPFD drop-off toward the tent corners. Bar lights also tend to run cooler per LED since the heat is distributed across more surface area. The trade-off is that they're bulkier, often heavier, and more expensive at equivalent wattage.
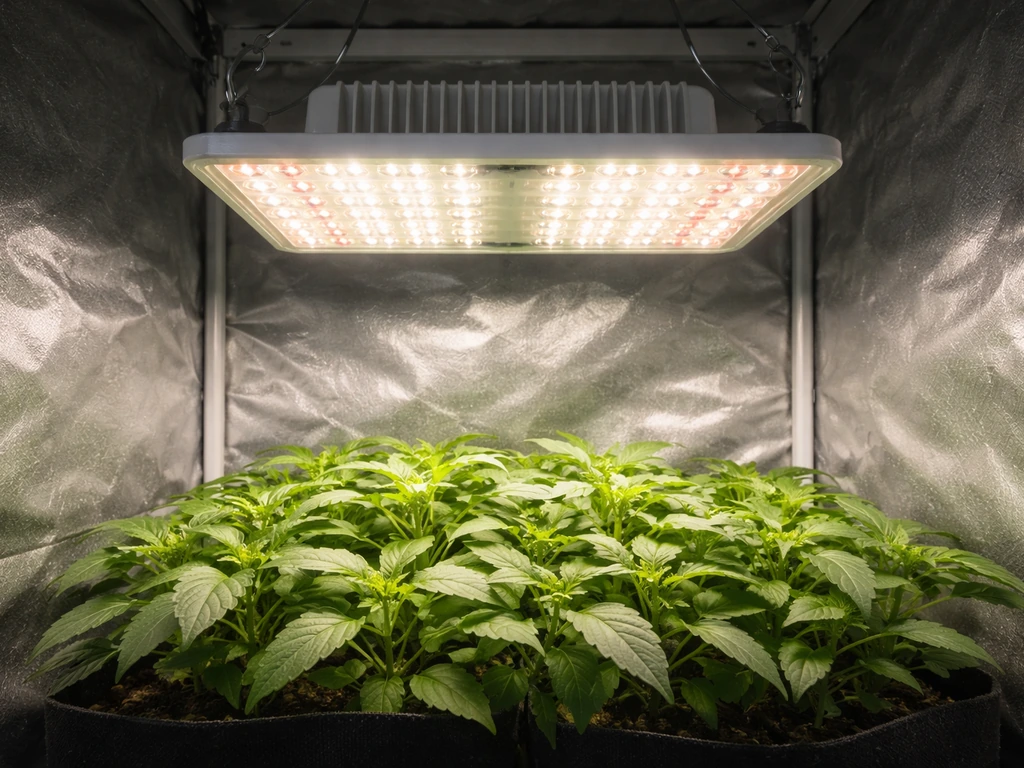
Quantum board-style lights
Quantum boards pack LEDs onto a single large panel. They're compact, well-priced at the 200 to 400W range, and easy to mount. The downside is that the single-point source creates a stronger center hotspot relative to the edges, which matters more in larger tents. For 2x2 and 3x3 spaces, the uniformity difference versus bar lights is minimal. For 4x4 and up, bars win on coverage. Boards are also harder to integrate into multi-zone dimming setups compared to bar systems with RJ45 control ports.
Enclosed fixtures and commercial-grade housings
Commercial and semi-commercial fixtures like the Gavita Pro and Fluence SPYDR lines come in rigid enclosed housings with integrated drivers, rugged mounting hardware, and full compliance documentation. Commercial and semi-commercial fixtures may need blank" rel="noopener noreferrer">full compliance documentation because safety standards like UL 8800 address photobiological effects such as eye and skin exposure hazards from horticultural light sources. They cost more, but they also come with blank" rel="noopener noreferrer">proper UL 8800 compliance (the horticultural lighting safety standard that covers photobiological safety per IEC 62471), which matters if you're in a regulated grow environment or working with an electrician who needs to sign off on the install. For home hobby tents, compliance is less critical, but driver quality and thermal management still matter for longevity.
| Form Factor | Best For | Uniformity | Price Range | Typical Efficiency |
|---|---|---|---|---|
| Bar/Strip | 4x4+ flowering, commercial | Excellent | $400–$2000+ | 2.5–3.0 µmol/J |
| Quantum Board | 2x2–4x4, full-cycle, hobbyist | Good | $100–$600 | 2.2–2.6 µmol/J |
| Enclosed Commercial Fixture | Commercial, multi-unit arrays | Excellent | $800–$3000+ | 2.5–2.9 µmol/J |
Dimming, controls, spectrum options, and mounting height
Dimming is one of the most underrated features in a grow light. A fixture with a 10% to 100% dimming range lets you use one light across the full crop cycle without changing hardware. Analog 0-10V dimming is reliable and simple. RJ45-based daisy-chain control (common on Gavita and Fluence fixtures) lets you sync multiple lights from a single controller, which is essential once you're running more than two lights. App-based dimming is convenient but adds a point of failure and usually requires a hub device.
Spectrum control is more nuanced than most marketing implies. Signify's Philips GreenPower documentation shows that dimming behavior actually changes delivered efficacy in some spectral configurations, so a fixture that's 2.7 µmol/J at full power may not be 2.7 µmol/J at 50%. This matters if you're calculating DLI targets and dialing in daily light integrals. Always ask for efficiency data at the dimming level you'll actually run.
Mounting height is a critical variable that most growers set once and forget. The right height changes as plants grow. During early veg in a 4x4, you might hang a 600W bar at 40 cm and dim to 60%. By week 4 of flower, you may need to lower it to 20 to 25 cm and push to 90% to maintain 1000 µmol/m²/s at the canopy. Manufacturer PPFD-at-distance tables (like those published in the Fluence SPYDR Fang lighting guide) show exactly how output changes with height for that specific optic configuration. Use those tables. Do not guess.
Beam overlap is the other reason height matters in multi-fixture setups. Closer bar arrays improve beam overlap and reduce dark spots between fixtures, but they also raise peak PPFD and can create hot zones if you're not remapping regularly. The practical approach is to re-measure canopy PPFD weekly during the first run with any new fixture, adjusting height and dimming to stay on target. This is especially important if you're optimizing your vertical farm LED setup where tier spacing limits how much height adjustment you have.
Buying tips, setup checklist, and how to verify performance after purchase
Once you've narrowed to a shortlist, here's how to avoid the common last-mile mistakes and confirm your light is actually performing as advertised after it arrives.
Before you buy: the spec sanity check
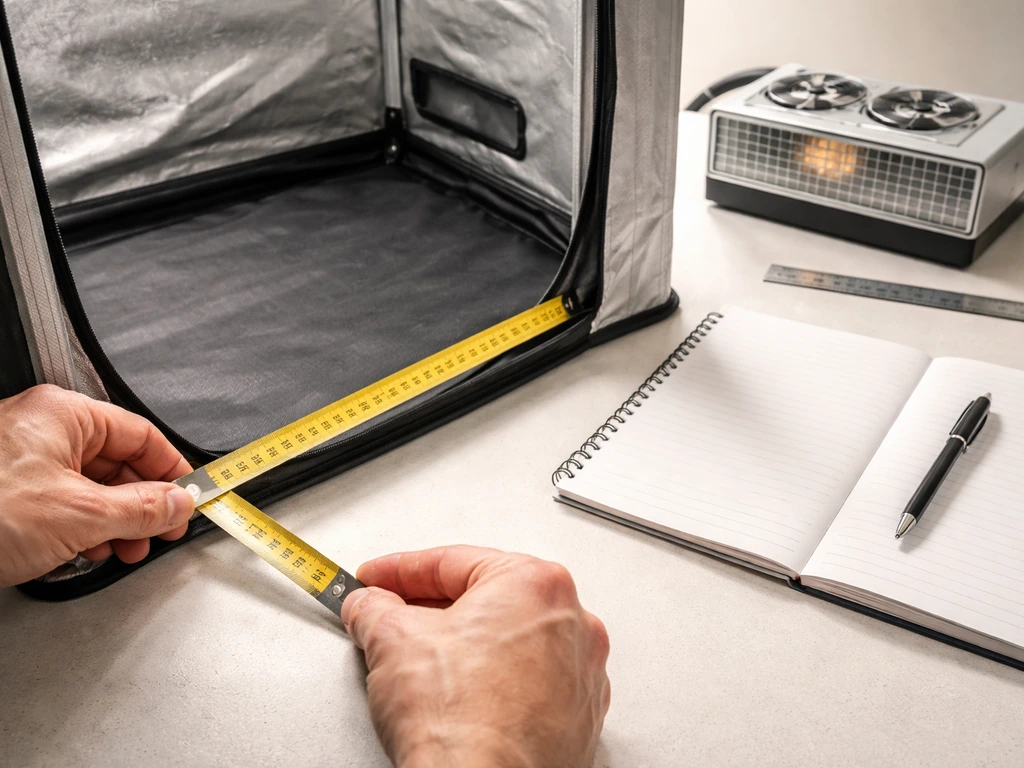
- Measure your tent footprint in meters (length x width) and confirm your target PPFD for the primary crop stage you're running
- Find the fixture's canopy-average PPFD at your footprint size and a realistic hang height, not just the center peak reading
- Check the efficiency rating in µmol/J and confirm it's from a published spec sheet, not marketing copy
- Verify the driver brand and model: Meanwell HLG or ELG, Inventronics, or equivalent names you can look up independently
- Confirm dimming range and control type match your setup (standalone dimmer, controller port, or app)
- Look for compliance markings: UL 8800, CE, and IEC60598-1 are the baseline for any fixture you're hanging in an occupied space
- Check the warranty: 3 years minimum, 5 years preferred for fixtures above $400
After it arrives: measuring real-world performance
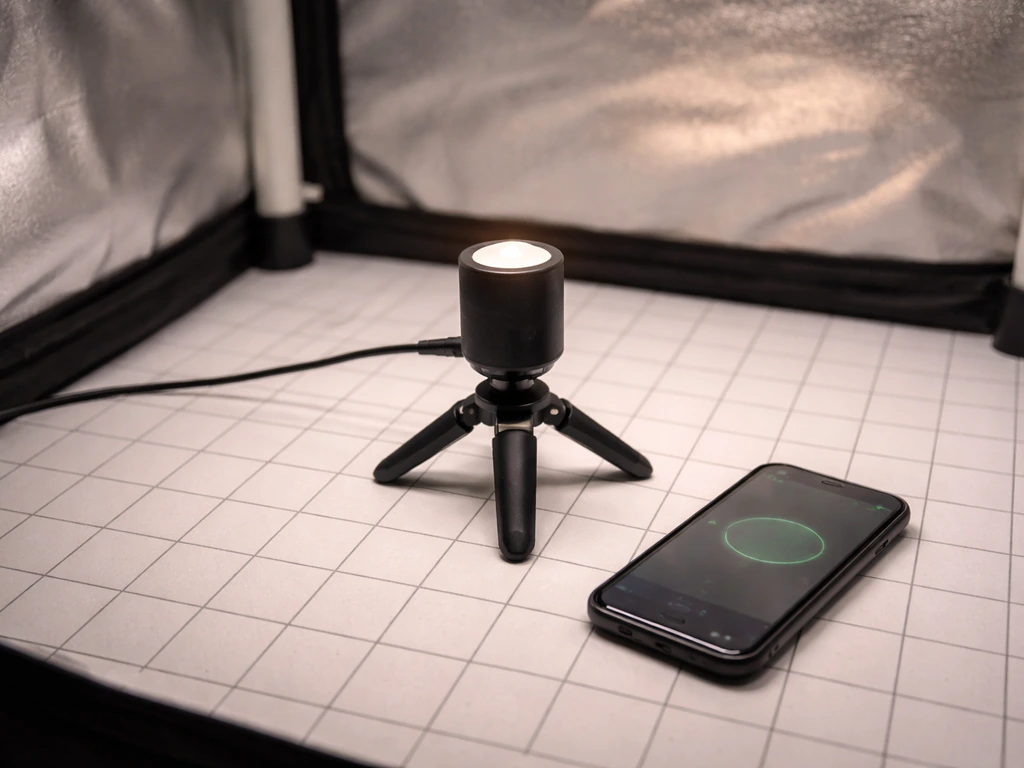
Don't trust the manufacturer's PPFD map as your final verification. Actual output depends on your specific setup, reflective walls, optics condition, and line voltage. The right tool for the job is a quantum (PAR) sensor, not a lux meter or a phone app. A dedicated quantum sensor measures PPFD in the wavelengths plants actually use (400 to 700 nm), whereas lux meters are weighted for human vision and will give you misleading readings under red-heavy LED spectra.
The measurement protocol that actually works: set your fixture at the target hang height, let it warm up for 15 minutes, then take PPFD readings at a minimum of nine points across the canopy in a 3x3 grid pattern. Average those readings. If your average is within 10% of the manufacturer's stated canopy-average PPFD for that footprint and height, the fixture is performing as spec'd. If the center reading is hitting 1000 but the corners are at 400, you have a uniformity problem and need to either raise the fixture or add supplemental side lighting. For a structured approach to this workflow, a quantum PAR meter user guide will walk you through calibration and measurement steps in detail.
Some growers use online PPFD visualization tools to get a rough sense of how a fixture's output might distribute before buying. These are useful for conceptual planning, but they're no substitute for real measurements. A PPFD LED PAR map generator can help you visualize distribution patterns, though the tool itself notes that precise measurements require an actual quantum sensor in your specific grow space.
One more thing worth testing: run your fixture at the dimming level you'll actually use, not 100%. As noted above, efficiency and output characteristics can shift at partial power. If you're running a 600W fixture at 70% for veg, measure at 70%. Your actual delivered PPFD at that setting is what determines your DLI, and DLI is what drives your crop cycle speed and yield. Getting this right from week one means you won't spend the back half of a grow cycle wondering why your plants look slightly underwhelmed.
Finally, revisit your measurements as the canopy develops. A young plant at 30 cm height has a very different light environment than a plant at 90 cm. As the canopy rises toward the fixture, PPFD at the leaf surface increases significantly, and what was a comfortable 700 µmol/m²/s in week 2 of flower might become a stressful 1300 µmol/m²/s by week 6 if you don't adjust height or dimming. Weekly spot-checks with a quantum sensor are the simplest way to stay on top of this. Tools like the Link4 quantum PAR light sensor are purpose-built for exactly this kind of ongoing canopy monitoring in a grow environment.
FAQ
If two lights have the same wattage, how can one be much better than the other?
Not necessarily. Start from canopy uniformity and your target PPFD at the height you can actually hang the light. If the fixture cannot maintain at least about 75% of its peak PPFD across your full footprint at your intended hang height and dimming level, more watts will not fix uneven growth.
Why do my PPFD measurements not match the manufacturer’s numbers?
Be sure your sensor reading is in the 400 to 700 nm range (PAR/PPFD), and take measurements after a 15 minute warm-up. Also avoid “photo” apps or lux meters, because they are not calibrated to photon flux and will overestimate output under red-heavy spectra.
Do I need to measure PPFD every day if I want accurate DLI?
Yes, but you have to consider what “DLI target” you’re actually aiming for, not just PPFD at a single moment. Measure PPFD at the exact dimming percentage you will run, then use your real daily photoperiod to calculate DLI.
How much do tent setup and reflectivity change the “best led grow lights 2026” results?
Use your grow’s reflective reality. If your tent walls are not in good condition (dusty, wrinkled, yellowing), you can expect lower effective delivery than a clean test enclosure. Re-measure once you have everything set up (fans, ducting, and any reflective panels) because airflow and placement can subtly change how the canopy “sees” the light.
What should I do if my center PPFD is on target but the edges are too low?
If your corners are far below target while the center hits PPFD, first try adjusting height slightly and verify again at that height. If uniformity still misses, add fixture count, use side supplementation, or switch from a single-panel style to a multi-bar layout that reduces hotspotting.
Can I rely on µmol/J efficiency specs if I mostly run my light at 50% to 80% power?
It depends on how the manufacturer reports it. Efficiency in µmol/J can shift at partial dimming, so treat the spec as “at a given operating point.” If you plan to run 60% or 70%, validate efficiency by measuring PPFD at that dimming level in your space and hang height.
Is it safe to use my main flowering light for clones and seedlings?
Start by making sure the dimming range actually reaches the low end you need for propagation. Many lights claim wide dimming, but at the bottom end the optical output and uniformity can drift. Measure PPFD at your intended low setting over the canopy before committing to clones.
Will a light that is “best for flowering” work in early vegetative stages?
Not the same. If the light is tuned for maximum flower output (higher intensity and potentially different spectral balance), the same fixture might fry tender tissue early veg if you do not dial it down. The safe approach is to hang for stability, then use dimming and PPFD verification to hit the seedling or veg targets.
How accurate are manufacturer PPFD-at-distance charts in real tents?
Those tables are optic-specific, so only use the one published for your exact model and configuration. If the light has multiple lens options or different bar spacing modes, the distance-to-PPFD relationship changes. Confirm by measuring at the actual hang height you plan to use.
What is the best way to place PPFD sensor points when checking uniformity?
Most often, it is a measurement position and grid issue. Use a 3x3 grid across the canopy at the same leaf plane (not the floor, not the tent floor). If canopy height changes during growth, repeat the grid measurement weekly for the first run so you don’t chase a moving target.
What if I do not have a quantum PPFD meter?
If you cannot measure PPFD, you can still reduce risk by using dimming presets cautiously and keeping a conservative starting distance, then observing plant response over several days. However, without a quantum sensor you will not know whether you are truly meeting target PPFD across the footprint, so results can vary widely between tents.
How should I think about dimming control when using multiple lights in one room?
Plan for failure-proof control if you run multiple lights. RJ45 daisy-chain is helpful for syncing intensities, while app or hub-based setups can add complexity. For multi-fixture rooms, ensure your controller can maintain the same dimming level across all units at the same time, then verify with a PPFD grid.
Next Articles
Best Full Spectrum 1000W LED Grow Lights: Buyer Guide
Buy the best full spectrum 1000W LED grow light with spec-to-decision tips on PPFD, coverage, wattage, and tent fit.
Best 100W LED Grow Light: How to Choose the Right One
Choose the best 100W LED grow light with PPFD coverage, spectrum, efficiency, dimming, heat, and setup tips.
Best LED Grow Light to Replace 1000W HPS: Sizing Guide
Sizing and buying guide to replace a 1000W HPS with the right LED using PPFD, layout, mounting, and spectrum for yields.