The best 300 watt LED grow light for your setup is the one that delivers the right PPFD at your canopy, covers your actual tent footprint, and does it efficiently enough that you're not burning extra electricity for nothing. That sounds obvious, but 90% of the confusion in this category comes from the fact that "300W" is a marketing class, not a measured number. Two lights with "300W" on the box can pull anywhere from 210 to 300 watts at the wall and put out wildly different amounts of usable light. This guide cuts through that and gives you a real framework for picking the right fixture.
Best 300 Watt LED Grow Light: How to Choose and Buy

Marcus Rutherford
7 Apr 2026
What "300W" really means for LED grow lights
Here's the short version: "300W" on an LED grow light is almost always the diode wattage rating or the marketing tier name, not the actual power draw from your wall outlet. When the Mars Hydro SP3000 was measured in an AC-input power test at 120V, it pulled roughly 266 watts, not 300. A separate field test of the same model recorded ~297 watts, which is much closer but still shows unit-to-unit and voltage variation. The ViparSpectra KS3000, which sits in the same class, measured ~298 watts in testing and specifies 300W ±3% in its documentation. So you can get lights that are close to their rated draw, but you should never assume they match.
Why does this matter? Because you're not buying watts, you're buying photons. The number you actually care about is PPF (total photon output in µmol/s) and PPFD (photon flux density at the canopy, in µmol/m²/s). A fixture drawing 266W but [delivering 816 µmol/s of PPF](https://green-cult.
com/wp-content/uploads/2023/11/SPEC-SHEET-ATS300W-PRO. pdf) is doing better per watt than one drawing 297W and putting out 630 µmol/s. Efficiency is expressed as µmol/J (or µmol/W, effectively the same at steady state), and modern quality fixtures in the 300W class should be landing at 2. 7–2.
8 µmol/J or better. The Lumatek ATS300W PRO and Treegers GL300W both hit ~2. 7–2. 8 µmol/J.
Mars Hydro publishes 2. 8 µmol/J for the SP3000. A tech data sheet for a generic 300W full-spectrum unit shows PPF of ~690 µmol/s at ~210W input, which works out to about 2. 3 µmol/J, noticeably lower.
That gap adds up over a full cycle.
The takeaway: when you're comparing two "300W" fixtures, ignore the name and look at measured input watts, PPF output, and efficacy (µmol/J). If a manufacturer won't publish those numbers, or only lists "equivalent HPS wattage," move on. <a data-article-id="39">Differences in PPFD between fixtures of the same claimed wattage come down to driver efficiency, diode binning quality, and thermal design, and those differences can be significant even within the same price tier.
How to match a 300W light to your grow space and canopy target
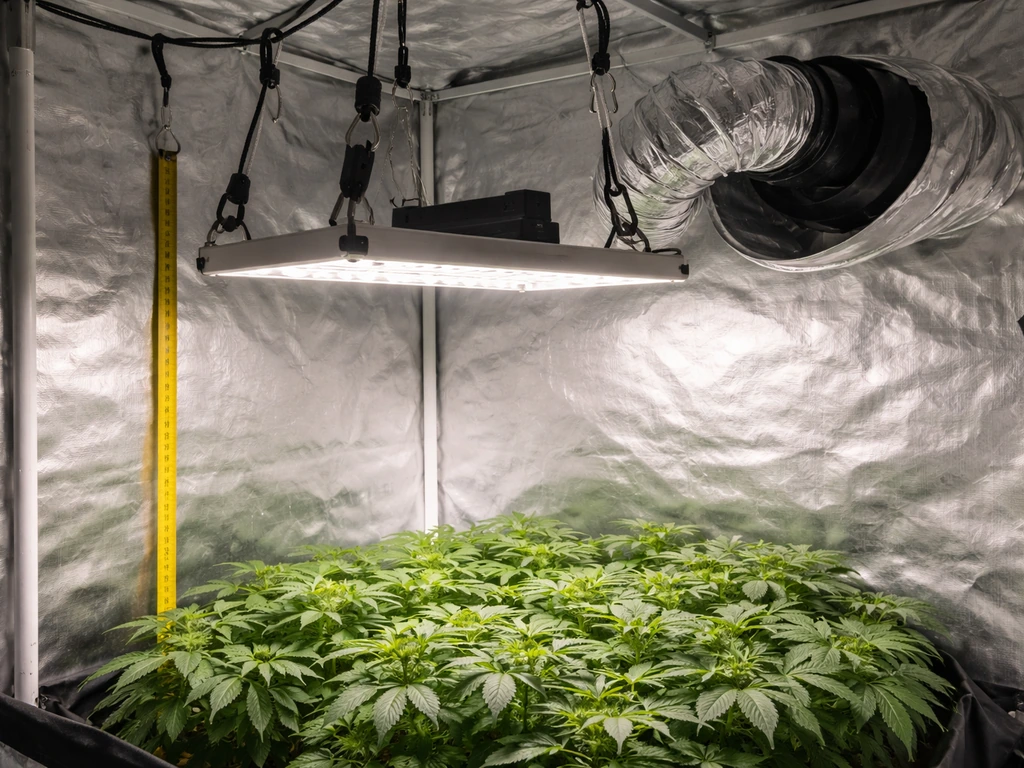
A 300W-class LED is generally the right tool for a 2x2 to 3x3 footprint in flower, or a 3x3 to 4x4 footprint in veg. If you're trying to flower a full 4x4 tent with a single 300W unit, you're going to be light-limited at the edges. The Treegers GL300W, for example, lists a coverage area of roughly 0.8x0.8m to 1.0x1.0m (about 2.6x2.6 to 3.3x3.3 feet) in flowering mode. The ViparSpectra KS3000 manual specifies flowering coverage at 12 inches as approximately 3.0x3.0 ft. That's your realistic canopy, not the "up to 4x4" you'll see in product listings.
PPFD uniformity is the real limiter. A 4x4 PPFD map from a single 300W bar will show strong output in the center and significant roll-off at the edges. Performance data sheets (like the Treegers GL300W's published maps at 30cm, 40cm, and 50cm heights) make this edge roll-off visible. You can partly compensate by raising the light, which spreads the beam but drops center intensity. The right approach is to match the light to the footprint where uniformity is acceptable, then choose your hanging height to hit your PPFD target within that zone.
If you're running a 4x4 and want to stay in the 300W class, consider a 400 watt LED grow light instead, which gives you more headroom for full-canopy flowering coverage. For a 2x4 or 3x3, a single 300W bar-style fixture is genuinely the right fit.
Key specs that determine real performance
PPFD and coverage maps
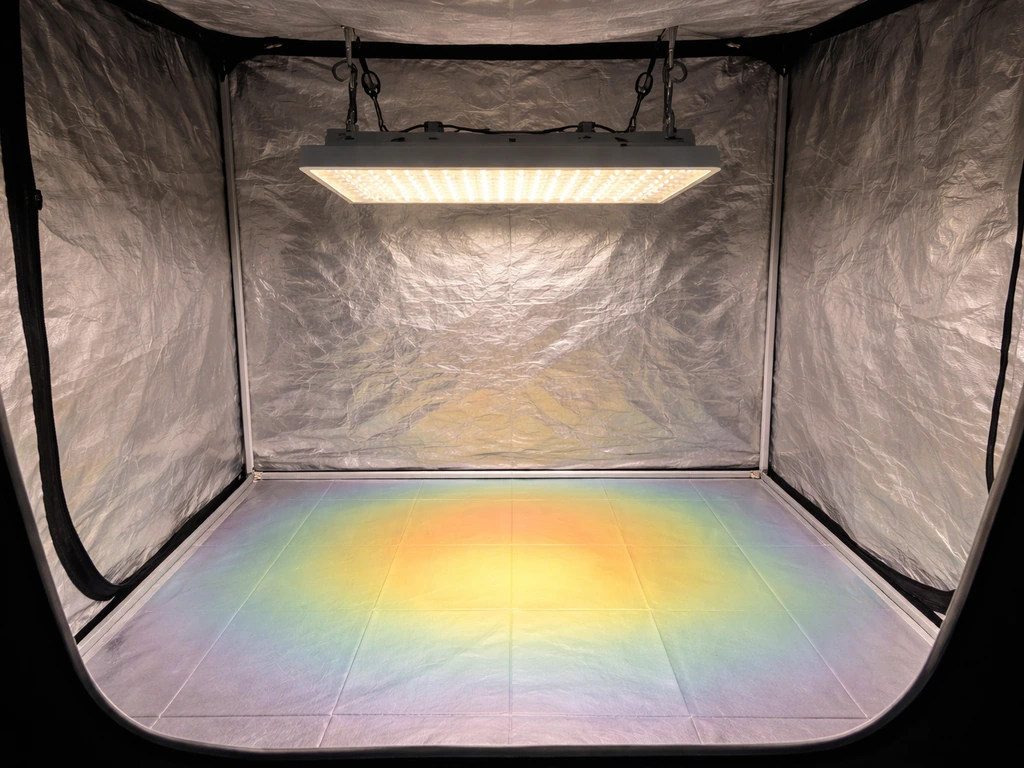
PPFD is the single most important number on a grow light spec sheet. Target ranges by stage: seedlings want roughly 100–300 µmol/m²/s; vegetative growth runs well at 400–600; flowering needs 600–1,000; and if you're running supplemental CO₂ in flower, you can push 800–1,500 µmol/m²/s. A manufacturer's PPFD map shows you what the light actually delivers at a given height across the canopy grid, and it's far more useful than any coverage area claim. Always look at the map, not the headline number. If the map isn't published, that's a red flag.
Efficacy (µmol/J)
Efficacy tells you how efficiently the fixture converts electricity into photosynthetically active photons. In 2026, anything below 2.3 µmol/J in the 300W class is outdated technology. Good fixtures sit at 2.7–2.8 µmol/J. The best currently available push past 3.0 µmol/J in higher wattage classes, but 300W fixtures are constrained somewhat by thermal density. A 2.8 µmol/J fixture drawing 300W puts out 840 µmol/s of PPF. One at 2.3 µmol/J drawing 210W puts out only 483 µmol/s. That's a massive difference despite both being sold as "300W."
Spectrum
Most quality 300W fixtures today use a broadband white LED approach, usually a mix of 3000K–4000K white diodes supplemented with 660nm red and sometimes 730nm far-red. ViparSpectra KS-family documentation describes a blend including white LEDs plus red (660 nm) and IR (730 nm) LEDs, as detailed in the PDF’s spec section.
The Lumatek ATS300W PRO uses a 4000K white, 660nm red, and 730nm far-red diode blend specifically to improve canopy penetration and trigger flowering responses. Far-red at 730nm accelerates flowering through the Emerson effect and is worth having in a flowering fixture. For veg-heavy or seedling use, a higher color temperature white base (closer to 4000K–6500K) works well.
If you're running seedlings or need a high-color-temperature option for vegetative growth, a fixture designed around 6500K LED grow lights may be worth exploring alongside a 300W option.
Dimming and control
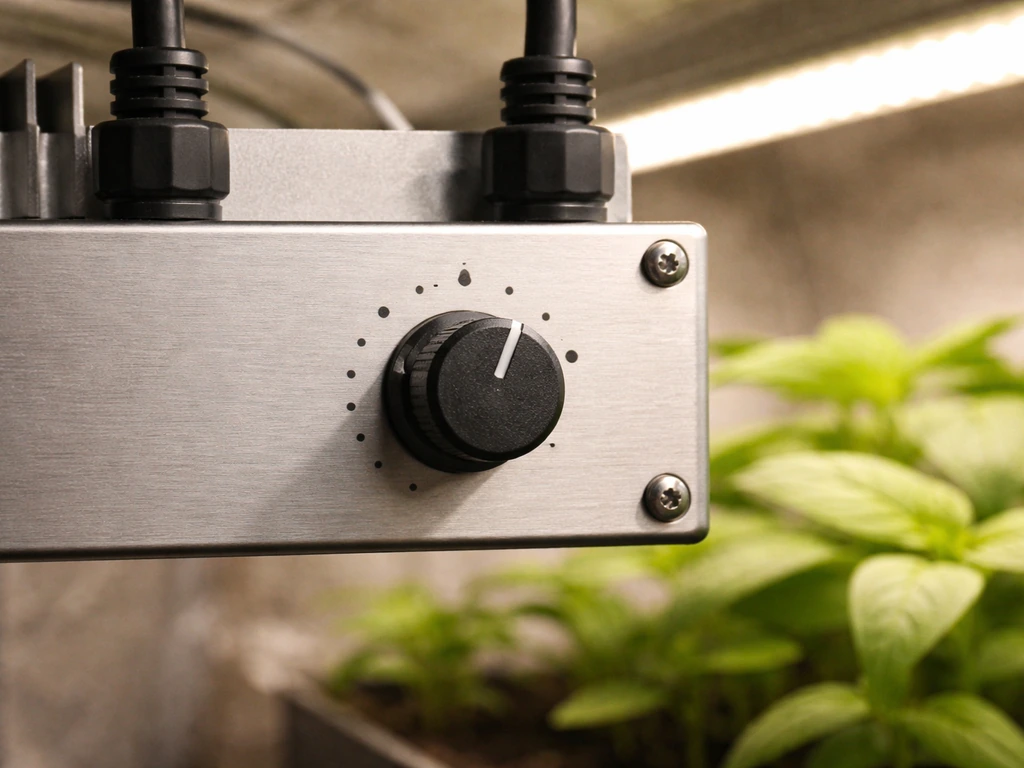
Dimming is not optional for a 300W fixture. You need it for seedlings, you need it for adjusting intensity as plants grow closer to the light, and it's essential if you're running multiple fixtures and want to balance the canopy. Look for smooth 0–100% dimming via an onboard knob or external controller port. The Treegers GL+ family, for example, documents multi-level dimming steps in its specifications.
The Treegers GL300W user guide lists dimming support from 0 to 10 to 100% using a 0, 10V dimmer and also reports efficacy up to 2. 8 µmol/J documents multi-level dimming steps in its specifications. Some budget fixtures only offer a high/low switch, which is limiting.
A real 0–10V or PWM dimmer port is the standard you should expect.
Best options by grow scenario
| Scenario | Tent Size | Target PPFD | Recommended Class | Notes |
|---|---|---|---|---|
| Seedlings / clones | 2x2 or tray | 100–300 µmol/m²/s | 300W dimmed to 30–50% | Most 300W fixtures are too intense at full power for seedlings; always dim |
| Vegetative (solo plant or small SOG) | 2x4 or 3x3 | 400–600 µmol/m²/s | 300W full coverage | Bar-style fixtures give better uniformity than blurple UFOs here |
| Flowering (dense canopy) | 2x4 or 3x3 | 600–900 µmol/m²/s | 300W at correct height | Confirm center PPFD hits 700+ at canopy; watch edge uniformity |
| Autoflowers (full cycle) | 2x2 to 3x3 | 200–600 µmol/m²/s | 300W dimmed to 50–80% | Autos do well with moderate intensity and longer photoperiods |
| 4x4 single-light flowering | 4x4 | 600–900 µmol/m²/s | Step up to 400–600W class | 300W will under-light edges; not recommended as sole source in 4x4 flower |
For autoflowers specifically, target PPFD in the range of 200–600 µmol/m²/s depending on the growth stage, and lean on DLI calculations to dial in total daily light exposure since autos typically run 18–20 hour photoperiods. If your setup is growing and you're thinking about scaling past a single 300W fixture, a pair of 500 watt LED grow lights can efficiently cover a 4x4 or 4x8 without the coverage gaps you'd get from multiple smaller units.
Value vs quality tradeoffs
Drivers
The driver is the single component most likely to fail in a grow light. Quality fixtures use Mean Well, Inventronics, or similar industrial-grade drivers. Budget fixtures often use no-name drivers with poor thermal regulation, which leads to efficiency drop over time and premature failure. You can usually tell by whether the driver is listed by name in the spec sheet. If it just says "constant current driver," that's not enough information. Mars Hydro and Lumatek both use name-brand drivers in their flagships. If a brand won't disclose the driver manufacturer, treat it as a budget-tier product regardless of the price.
Thermal management

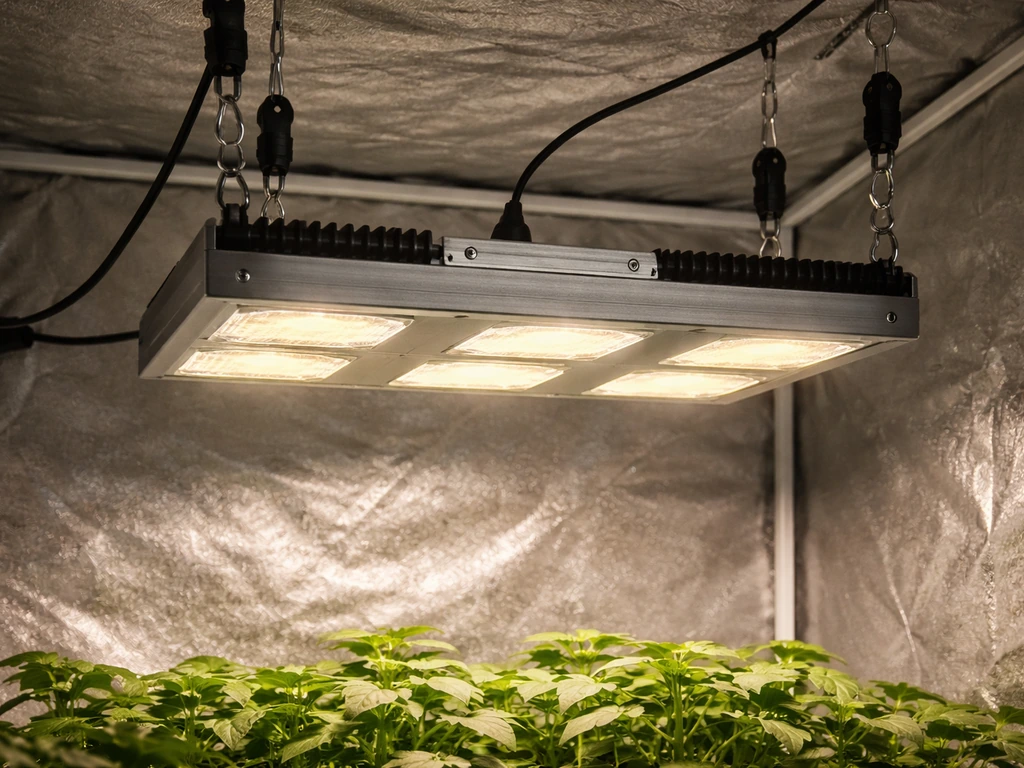
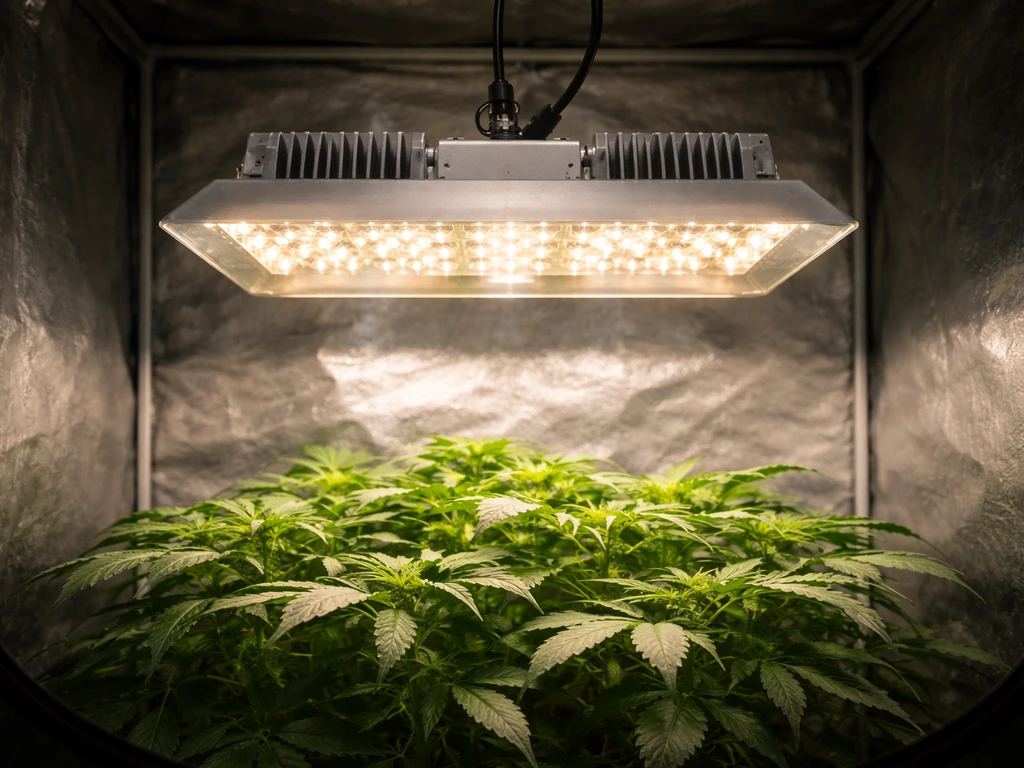
Bar-style LED fixtures like the SP3000, KS3000, and GL300W handle heat better than blurple panel designs because the diodes are spread across a wider aluminum surface, reducing hotspots and improving passive cooling. If a 300W fixture is getting uncomfortably hot to touch on the heatsink under normal operation, that's a sign of poor thermal design and your diodes are degrading faster than they should. Passive cooling is fine for bar fixtures at 300W. Active cooling (fans) can add noise and is a wear point; some growers prefer to avoid it at this wattage.
Warranties and build longevity
A 3-year warranty is the minimum acceptable for a 300W fixture. Treegers offers a 3-year warranty on the GL300W (with longer coverage on their larger GL+ models). Mars Hydro and ViparSpectra typically offer 3 years as well. If a brand offers only a 1-year warranty on a fixture in this price range, that tells you something about their confidence in the build. Also look at whether the warranty covers the driver and the diodes separately, as some warranties exclude component-level failures.
What the budget tier actually gets you
In the 300W class, budget options (under $100–120) will generally show lower efficacy (2.0–2.3 µmol/J), no-name drivers, minimal PPFD documentation, and limited dimming. Mid-tier ($150–200) gets you into name-brand drivers, published PPFD maps, and real dimming. Premium options ($250–350) add better efficacy (2.7–2.8 µmol/J), far-red spectrum, and more robust warranties. The premium tier is worth it if you're running the light for multiple years or if your canopy target is tight. Budget options are fine for propagation or supplemental light, but risky as your primary flowering source.
If your budget is flexible and you're finding that 300W-class options feel limiting, it's worth comparing against 600 watt LED grow lights, which open up full 4x4 and 5x5 coverage for serious flowering setups. And if you're in the UK and sourcing locally, the options available in the 600W LED grow light UK market may give you a better sense of comparable pricing and availability for premium fixtures at that wattage.
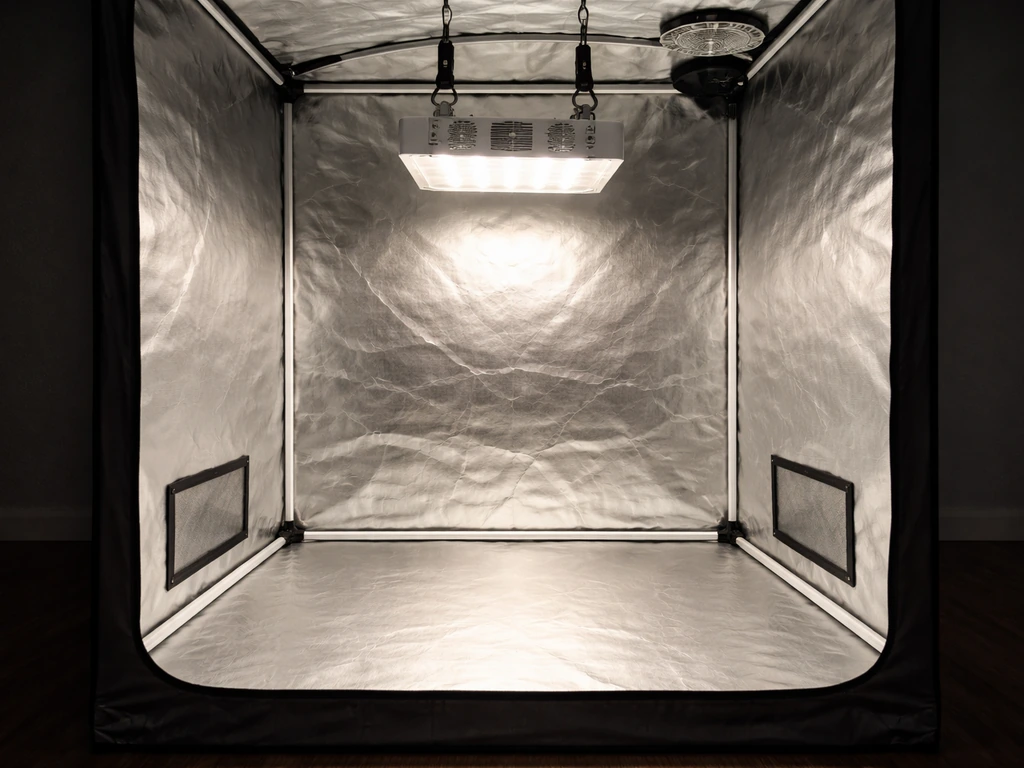
Installation and setup: hanging height, dimming, and ventilation
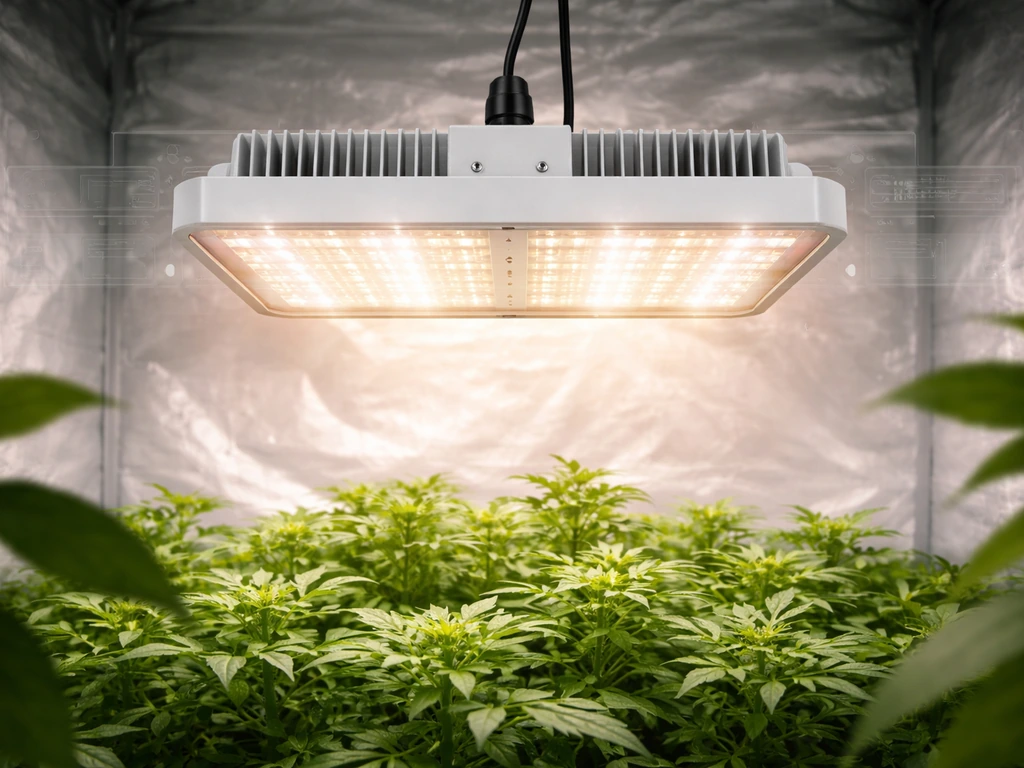
Hanging height is one of the most impactful adjustments you can make with a 300W fixture. Lower the light and you get higher center PPFD with more edge roll-off and a smaller usable footprint. Raise it and you get better uniformity across a larger area but lower peak intensity. For a 3x3 flowering canopy, starting at 18–24 inches above the canopy and adjusting from there based on measured PPFD is a reasonable approach. For seedlings, 24–36 inches is a safer starting point at reduced power. The manufacturer's PPFD map is your guide here: it tells you what intensity to expect at each height.
Dimming at seedling and early veg stage is critical. Running a 300W bar at full power 6 inches above seedlings will stress or bleach them. Start at 30–40% power for seedlings, ramp to 60–70% in early veg, and work up to 80–100% in late veg and flower as the plants can handle it. This ramping approach also extends diode life by reducing thermal stress during the periods when full power isn't needed.
Ventilation in a tent running a 300W fixture matters more than people expect. Even with passive cooling on the fixture itself, 270–300 watts of electrical input generates real heat in an enclosed space. A 3x3 tent needs at minimum a 4-inch inline fan for exhaust; a 6-inch fan gives you temperature headroom. Maintain 75–85°F at canopy with lights on. If the tent is running above 85°F consistently, your VPD and transpiration rates will suffer and the diodes will degrade faster. Keep the driver out of the tent if your fixture allows it (some bar-style fixtures have external driver options), which reduces heat load significantly.
How to verify results and fine-tune after purchase
After you hang the light and set it up, the most useful thing you can do is verify the actual PPFD at your canopy before you put plants under it. A dedicated quantum flux meter (apogee SQ-500 series or similar) is the gold standard, but even an inexpensive smartphone-based PPFD app gives you directionally useful data. The workflow is simple: set the light to your intended operating power and height, then measure PPFD at the center and at several points toward the edges of your canopy plane. This gives you a real footprint picture.
For a practical grid, measure at the center, four midpoints, and four corners. If the corner measurements are below 400 µmol/m²/s when you're targeting 700+ at center for flowering, your usable canopy is smaller than the full tent. Either move plants toward the center or raise the light to improve uniformity at the cost of some peak intensity. Community growers using fixtures like the <a data-article-id="41">ViparSpectra KS3000 in a 3x3 have shared PPFD maps at multiple heights that illustrate this exact trade-off and are worth looking at before you finalize your hanging height.
Once you have your PPFD number, convert it to DLI (Daily Light Integral) to confirm you're hitting stage targets. DLI = PPFD × photoperiod hours × 0.0036. A flowering photoperiod of 12 hours at 800 µmol/m²/s gives you a DLI of about 34.6 mol/m²/d, which is in the ideal range for most flowering cannabis. For veg at 18 hours and 500 µmol/m²/s, you get a DLI of 32.4, which is solid. <a data-article-id="44">PPFD targets combined with DLI calculations give you a complete picture of whether your light is actually doing its job, not just whether it's turned on. You can also use <a data-article-id="37">Lumatek's grow calculator to cross-check your PPFD and DLI figures against stage targets.
If your measurements show you're consistently under target PPFD across the canopy, first try lowering the light before increasing dimmer setting, since height adjustments are free. If you've already maxed out hanging height adjustment and you're still light-limited, that's a sign the fixture is undersized for the footprint. At that point, either reduce your canopy target (fewer plants in a tighter area) or step up to a higher-wattage class. If you're already looking at stepping up, the best 300W LED grow lights comparison can help you confirm whether a different fixture in the same wattage class closes the gap before you commit to a bigger purchase.
A practical shortlist approach
Here's how to think about the decision quickly. If you want maximum yield per watt from a 300W-class fixture, prioritize efficacy (2.7–2.8 µmol/J or better), a published PPFD map, and a name-brand driver. The Lumatek ATS300W PRO (816 µmol/s PPF, 2.7 µmol/J, far-red included) and Treegers GL300W (825 µmol/s PPF, 2.8 µmol/J, detailed performance data sheets) are both legitimate top-tier options for a 2x4 or 3x3 flower tent.
If you want best value for a 3x3 veg or moderate-intensity flower setup, the ViparSpectra KS3000 (~298W measured, ~1042 µmol/m²/s peak PPFD) and Mars Hydro SP3000 (2.8 µmol/J, widely available, strong community support) both punch above their price. Both have published PPFD data and real dimming. The SP3000's measured draw varying between 266W and 297W depending on test conditions is worth knowing, but real-world growers report good results from both fixtures in 3x3 tents.
If you want the easiest setup with the least fuss, buy a bar-style fixture with an onboard dimmer, ratchet hangers included in the box, and a published PPFD map. Hang it at 24 inches, set it to 60% for the first two weeks, and work up from there as you take measurements. Avoid any fixture that doesn't publish a PPFD map, claims "coverage up to 5x5" on a 300W unit, or won't name the driver. Those are the three fastest signals that a product is built around marketing numbers rather than real performance.
For growers who are scaling up and want to understand how 300W fits into a broader wattage strategy, looking at the best 1500W LED grow light options gives useful context on how efficacy and coverage scale at the high end, which helps you understand whether running multiple 300W fixtures or a single large unit makes more economic sense for a larger room.
FAQ
If I buy the best 300 watt led grow light, can I just run it at full power and lower it later?
Not automatically. A 300W bar can be dimmed safely if the dimmer is true 0–100% (or a proper 0–10V/PWM option) and you keep to the manufacturer’s rated operating range. Avoid “high/low” lights for early stages, and never assume dimming preserves the spectrum balance you get at 100%, some drivers alter current behavior as intensity drops.
What should I do if my tent is larger than the light’s “coverage” claim, but I still want a single light?
For flowering, you usually need a fixture that maintains your target PPFD across most of the canopy, not just the center. If the PPFD map shows heavy roll-off, raising the light can improve edge uniformity, but it also lowers peak intensity, so your overall DLI can drop. The practical fix is often trimming plant count or using a smaller effective canopy than the tent size.
How can I tell whether a 300W LED grow light’s coverage claim is trustworthy?
You still want a published PPFD map, because real coverage depends on height and uniformity. If a seller only lists “equivalent HPS” or “coverage up to X feet,” treat it as marketing until you see measured PPFD at specific heights. A good sign is a map at multiple distances (for example, 30 cm, 40 cm, 50 cm), because that tells you how usable your canopy will be as you adjust hanging height.
Can I estimate my PPFD just from the watt draw or the PPF number?
Yes, but only as a cross-check, not as a substitute for PPFD mapping. Watt-based estimates often mislead because different fixtures produce different PPF per watt and have different beam spread. If you can’t measure PPFD, the next best option is to compare published PPF, efficacy (µmol/J), and PPFD maps at the same height you plan to use.
Once I buy a 300 watt LED grow light, how do I measure and verify PPFD correctly?
Start by measuring at the height you intend to run, at your actual power setting. If you measure at full power and then dim later, you must confirm that the PPFD scales in a predictable way, because some fixtures lose efficacy differently as drivers change current. Re-check PPFD after you finalize the hanging height and dimmer setting, at center and corners.
What’s the difference between PPF and PPFD, and why should I care more about PPFD?
Not exactly. PPF (µmol/s) is total photon output from the fixture, while PPFD (µmol/m²/s) is what plants receive across the canopy at a given height and position. Two lights can have similar PPF but very different PPFD uniformity, especially with bar-style optics, so uniformity and the PPFD map matter as much as total output.
What are the early warning signs that a 300W grow light will degrade quickly?
Watch for overheating patterns that differ from “getting warm.” If the heatsink is uncomfortably hot to touch during normal operation, and the fixture uses unclear thermal management, diode degradation risk increases. Also check whether the driver is inside the tent, because that can raise ambient temperature and reduce longevity even if the LED bar itself looks fine.
Is a longer warranty always better, or what details should I look for?
If your warranty excludes component-level failures or limits coverage tightly to the first year, treat that as a risk signal for long runs. For most growers, a 3-year warranty is the minimum acceptable in this class, and it matters whether the driver and diodes are covered separately, because drivers often fail first.
Does ventilation actually matter with a 300W LED grow light if the fixture is passively cooled?
Yes. In tents, heat management affects plant performance and can indirectly lower PPFD effectiveness through driver behavior or by forcing you to raise the light to manage temperature. Keep the driver preferably outside the tent when possible, size the exhaust (4-inch for a small 3x3, 6-inch if temps run high), and target stable canopy temps to protect both plants and electronics.
How do I dial in intensity for autoflowers using PPFD and DLI?
For autos, your biggest mistake is ignoring DLI and focusing only on PPFD at one point in time. Because autos often run 18 to 20 hours, even a “good” PPFD number can produce excessive or insufficient daily light exposure if your photoperiod differs. Measure PPFD, then calculate DLI, and adjust intensity using dimming rather than changing only your hanging height.
When my PPFD meter shows weak corners, does it mean I chose the wrong light?
Don’t size based on tent dimensions alone. The effective canopy may be smaller if corners fall short on the PPFD map, so plant density matters. If your corner readings are far below your target, consider fewer plants, a shorter canopy plan (for example, training to occupy the high-PPFD region), or a higher-watt class fixture.
If I change my tent setup (fans, hangers, ducting), should I re-measure PPFD?
Measure airflow and temperature near the driver and canopy, then recheck PPFD if you relocate components. Changing tent configuration, reflector placement, or moving the light can change distance and angles, which shifts uniformity. If you add circulation fans or switch from passive to active airflow, your microclimate changes, and you may be able to lower the light safely, improving uniformity.
Next Articles
Best 500 Watt LED Grow Light: Buyer Guide and Setup Tips
Real guide to the best 500W LED grow light: compare PPFD, coverage, spectrum, efficiency, setup height, and safety.

Best 6500K LED Grow Light: How to Choose and Optimize
Choose the best 6500K LED grow light using real PPFD, coverage, spectrum strategy, setup, and claim checks.
Best 400 Watt LED Grow Light: Top Picks and Buying Guide
Top 400W LED grow lights picked by PPF, spectrum, coverage, drivers, dimming, and heat with setup tips and checklist.