The best LED grow light under $200 for most home growers is the Mars Hydro TS1000. It draws a real 150W, covers a 2x2 core footprint up to 2. If you are specifically comparing options in the best 1500 watt LED grow light category, use the same approach: check actual power draw, coverage, and dimming support 150W. 5x2.
Best LED Grow Light Under 200: Buy Guide and Picks

Marcus Rutherford
21 Apr 2026
5 at max, hits 2. 3 µmol/J efficiency, and comes with a proper dimmer so you can dial it back for seedlings without cooking them. If your space is even smaller or you're mostly vegging, the ViparSpectra P600 at 100W actual draw is a cleaner, cheaper fit for a strict 2x2 tent. And if you want just a bit more room to grow (say, a 2.
5x2. 5 to a tight 3x3 in veg), the PB1500 Pro at 150W actual draw with a 3x3 veg footprint at 20 inches gives you slightly more reach. The right pick depends on your tent size and whether you're pushing into flower. Here's exactly how to figure that out.
What 'best under $200' really means for grow tents
Under $200 is a real budget constraint, not a marketing tier. At this price point you are not getting a light that covers a 4x4 tent in full flower with the intensity a serious yield demands. What you are getting is a solid, purpose-built fixture for small tents, typically 2x2 to maybe a tight 3x3 in veg, running modern Samsung or equivalent mid-grade diodes with actual efficiencies in the 2.0 to 2.5 µmol/J range. That is genuinely useful. A few years ago, $200 bought you a blurple panel with made-up wattage numbers. Today it buys you a bar-style or quantum board light with real specs and real results for the space it is designed to cover.
The honest tradeoff is coverage and peak PPFD. You will not saturate a 3x3 canopy in flower with a single sub-$200 fixture the same way a $350 to $400 light does. Seedlings and veg stages are more forgiving because they need less intensity (100 to 300 µmol/m²/s is plenty for early veg), so the budget ceiling matters less early in a grow. Flower is where intensity starts to matter more, and that is where you have to be realistic about what a 100W to 150W actual-draw light can deliver across a given footprint.
Also worth flagging: the word 'wattage' is abused relentlessly in this category. Ignore any number that says '1000W equivalent' or 'replaces 1000W HPS.' Look only at actual power draw, which is the real watts pulled from the wall. Every good light in this price range will list it. If a product page buries that number or only shows a suspiciously round 'equivalent' figure, that is a red flag.
Key specs that actually matter under $200
Actual power draw (not 'equivalent' watts)
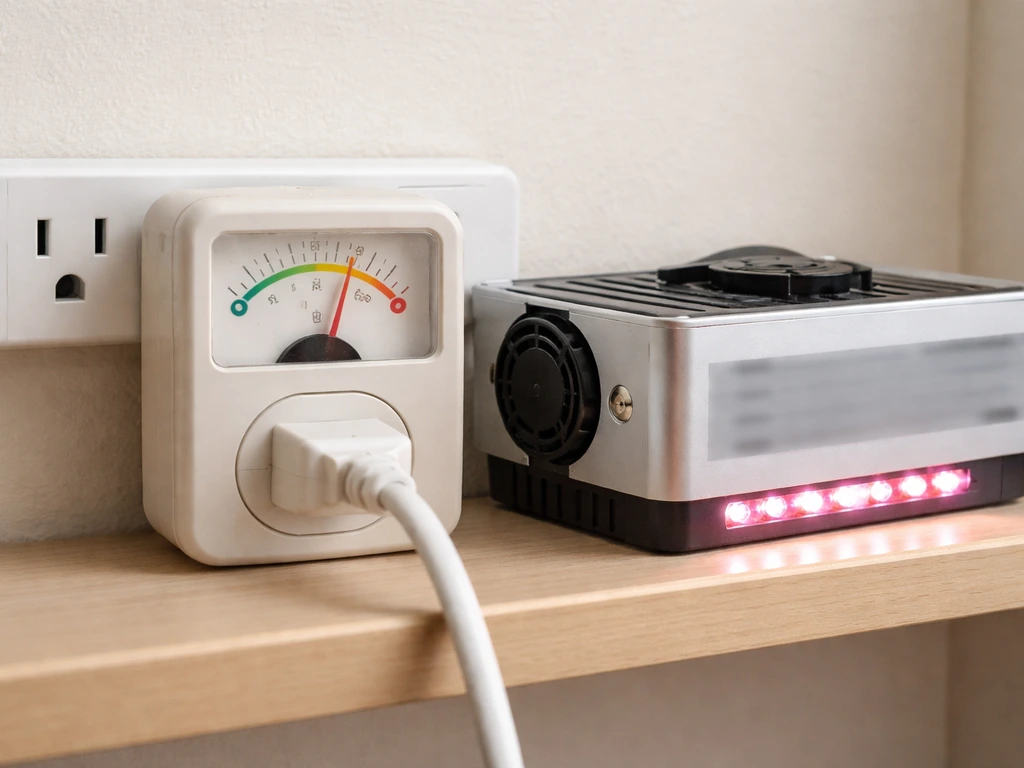
This is the number that tells you what your electricity meter will see and roughly how much photon output you are working with. The three lights most worth your time under $200 right now draw 100W (ViparSpectra P600), 150W (Mars Hydro TS1000), and 150W (PB1500 Pro). All three spec sheets list their actual draw within a ±3 to 5% tolerance, which is honest. Anything claiming to be a 'full 1000W light' for under $200 is not pulling anywhere near that from the wall.
Efficiency (µmol/J) and total photon output (PPF)
Efficiency tells you how many usable photons you get per watt. DesignLights / DLC-related PDF materials provide a term mapping for PPFD as “PPF per unit of growth area, μmol/m2/s” and for DLI as the sum of PPFD received in a day in mol/m2/day PPFD is “PPF per unit of growth area, μmol/m2/s”.
The Mars Hydro TS1000 is rated at 2. 3 µmol/J with a total PPF of 343 µmol/s. That is a solid number for this price range. For context, premium lights in the $400+ range hit 2.
7 to 3. 0 µmol/J, so you are giving up some efficiency but not catastrophically so. The P600 and PB1500 Pro sit in a similar efficiency band. Higher µmol/J means more light per dollar of electricity over the life of the fixture, so do not ignore it when comparing.
Coverage area (and what those numbers actually mean)
Coverage specs are often listed in two ways: a 'core' or 'flowering' footprint and a 'max' or 'veg' footprint. The flowering coverage is what matters if you are pushing plants to fruit or bud, because that area will hit the higher PPFD targets (ideally 600 to 900+ µmol/m²/s at canopy). The veg footprint is looser because plants need less intensity. The TS1000 lists a 2x2 core and 2.
5x2. 5 max. The P600 flowering coverage is 1. 5x1.
5 ft, which is very small but fine for a single plant or a 2x2 tent in early stages. The PB1500 Pro gives you a 3x3 veg footprint at 20 inches and a 2. 5x2. 5 flowering footprint at 16 inches, making it the most versatile for slightly larger spaces in this price category.
The PB PRO Series (PB1500 Pro) spec sheet lists the vegetative and flowering coverage dimensions along with the height guidance for those modes.
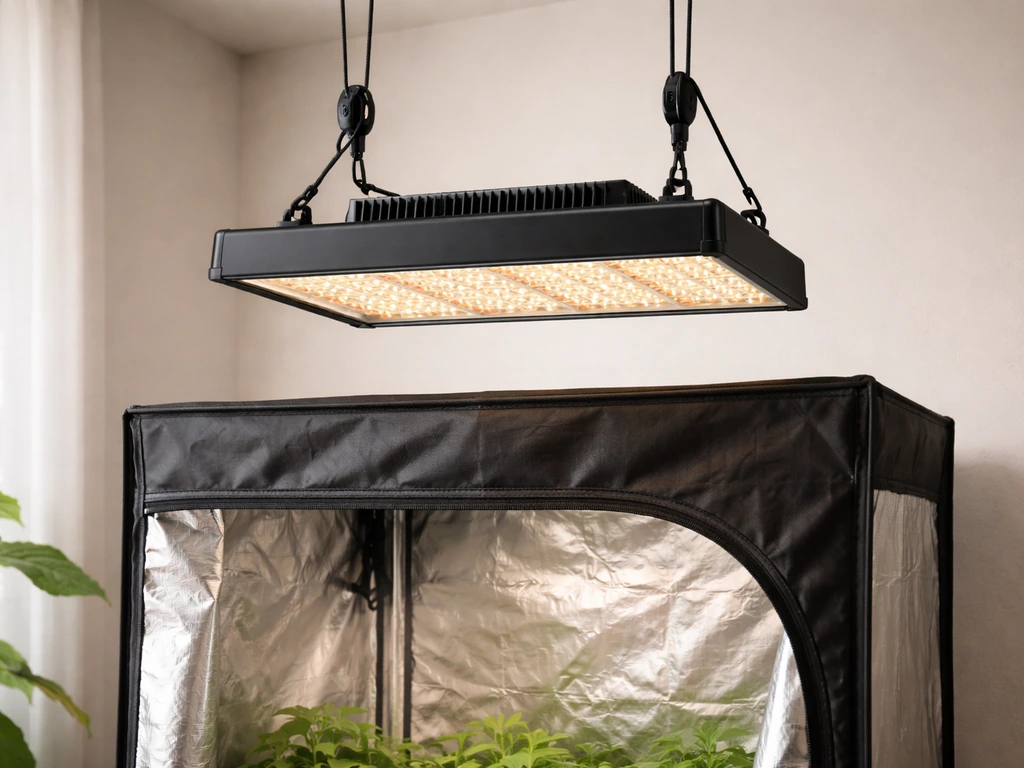
Spectrum, dimming, and build quality
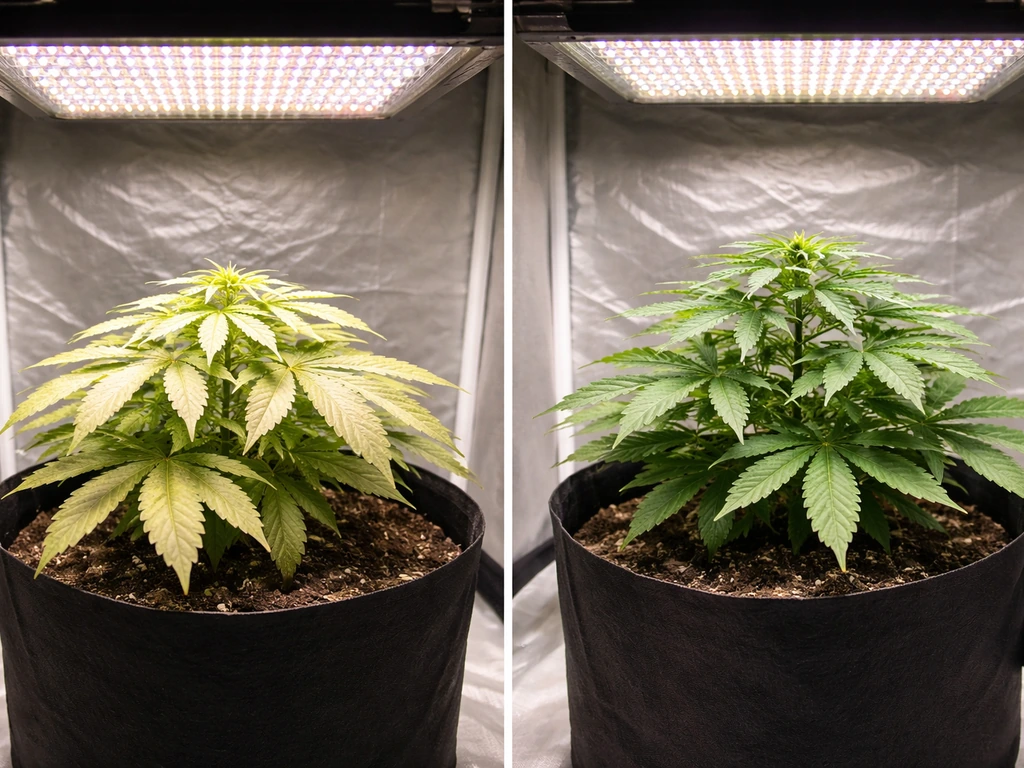
All three lights run a full-spectrum white LED approach, which is the right call. The old red/blue blurple panels are functionally obsolete for anything but the most basic setups. Full-spectrum boards deliver a much more plant-usable light distribution across the PAR range (400 to 700nm) and produce better canopy penetration. Dimming is important at this price point because it lets you run one light through seedling, veg, and flower stages by adjusting intensity rather than buying separate fixtures.
The TS1000 has an external 0 to 100% dimmer knob. The P600 manual includes a dimming/usage schedule with 12/12 flowering settings. Look for a meanwell or equivalent quality driver, passive or active cooling, and aluminum construction for heat dissipation. Cheap drivers and plastic housings are where budget lights fail after 12 to 18 months.
Best picks by grow scenario
| Light | Actual Draw | Flowering Coverage | Veg Coverage | Best For |
|---|---|---|---|---|
| ViparSpectra P600 | 100W ±3% | 1.5 × 1.5 ft | ~2 × 2 ft | Single plant, seedlings/veg, micro-grows |
| Mars Hydro TS1000 | 150W ±5% | 2 × 2 ft (core) | 2.5 × 2.5 ft | 2x2 tent, full cycle veg to flower, beginners |
| PB1500 Pro | 150W ±3% | 2.5 × 2.5 ft at 16" | 3 × 3 ft at 20" | Tight 3x3 veg, 2.5x2.5 flower, slightly bigger builds |
Seedlings and early veg in a 2x2
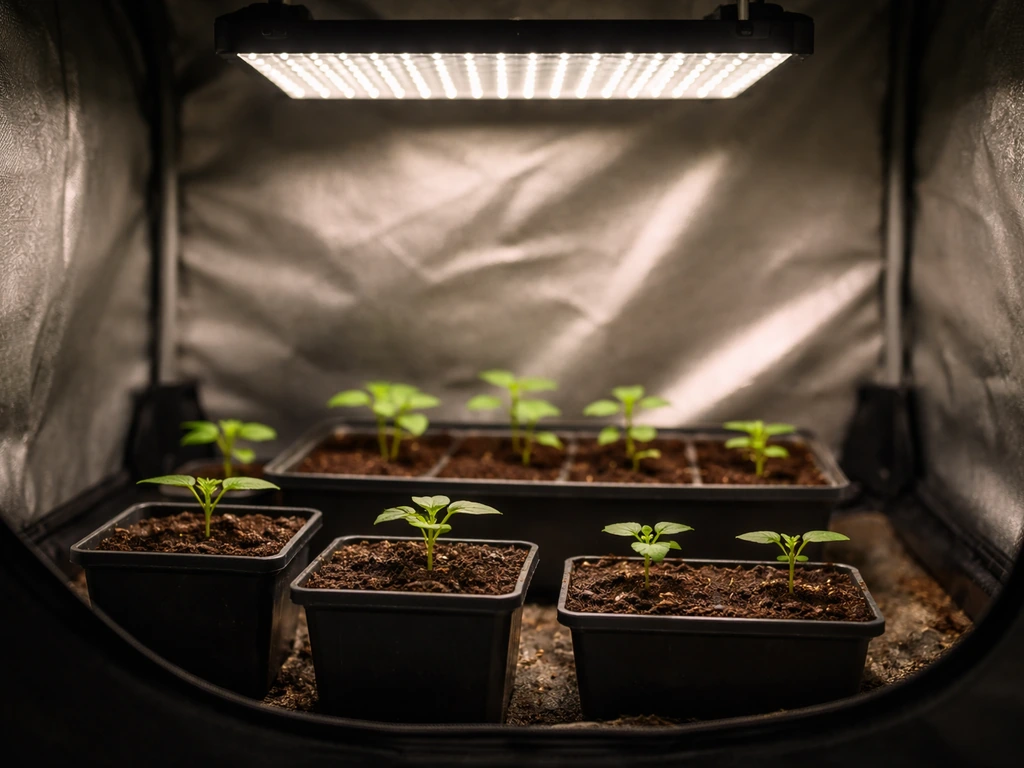
For seedlings and early veg in a 2x2 tent, any of these lights will work well when dimmed back. Seedlings want around 100 to 200 µmol/m²/s, and even the P600 at 100W can deliver that at 24 to 30 inches with the dimmer pulled back. The TS1000 with its 0 to 100% dimmer is a particularly clean choice here because you start low and ramp up as the plants mature, all with one light, no swapping. If you are exclusively doing seedlings and cuttings and do not plan to flower in the same tent, the P600 is honestly sufficient and saves you some money.
Full-cycle grow (veg through flower) in a 2x2
This is the TS1000's sweet spot. A 2x2 tent with the TS1000 running at full power in flower, hung at around 18 to 24 inches above canopy, will hit PPFD targets in the 600 to 800 range across that footprint, which is respectable for the money. You will not get the uniform intensity edge-to-edge that a higher-end light delivers, but center canopy performance is solid. This is where I would point most first-time home growers. The 2.3 µmol/J efficiency means your electricity bill is not punishing you either.
Slightly larger spaces: the tight 3x3 in veg
If you have a 2x4 or 3x3 tent and want to do a full veg cycle before moving plants to a larger flowering tent, the PB1500 Pro's 3x3 veg footprint at 20 inches is genuinely useful. You are still under $200, you get a broader canopy spread in veg, and then you accept the tighter 2.5x2.5 flowering coverage if you do flower in the same space. Two of these lights side by side in a 2x4 for full flower is a legitimate budget strategy that still keeps your per-light cost under $200.
If you are thinking about stepping up to a 4x4 or larger space, a single sub-$200 fixture will not cut it for flowering. At that scale, you are looking at lights in a higher wattage bracket entirely, the kind of territory covered in guides focused on 1200W or 1500W class fixtures. For bigger 1200 watt LED grow light setups, make sure you’re matching coverage to your tent size and checking the actual power draw rather than marketing claims. Under $200 is genuinely a small-tent category.
How to match coverage to your tent and plants
Before buying, measure your actual tent interior in feet. A '2x4' tent is not always exactly 2x4 inside once you account for corner supports and walls. Write down your usable canopy area and compare it against the flowering coverage spec of the light, not the max coverage number. If your plants will be flowering, the flowering footprint is the binding constraint.
A useful rough rule: you want roughly 30 to 50 actual watts per square foot for flowering in this efficiency tier. A 150W light over a 2x2 (4 square feet) puts you at 37.5W per square foot, which is in the right range. A 100W light over a 2x2 is 25W per square foot, which is workable for veg but marginal for demanding flowering plants. Scale accordingly. If you have a 2x4 (8 square feet) and plan to flower, one 150W light is not enough. You would need two, or a single higher-wattage fixture.
- Measure your usable interior canopy area in square feet.
- Multiply by 35 to 50 to get your target actual wattage for flowering.
- Match that number against the actual power draw spec (not equivalent watts).
- Cross-check the light's listed flowering coverage footprint against your tent dimensions.
- If the footprint is smaller than your tent, plan to either supplement with a second light or accept reduced intensity at the edges.
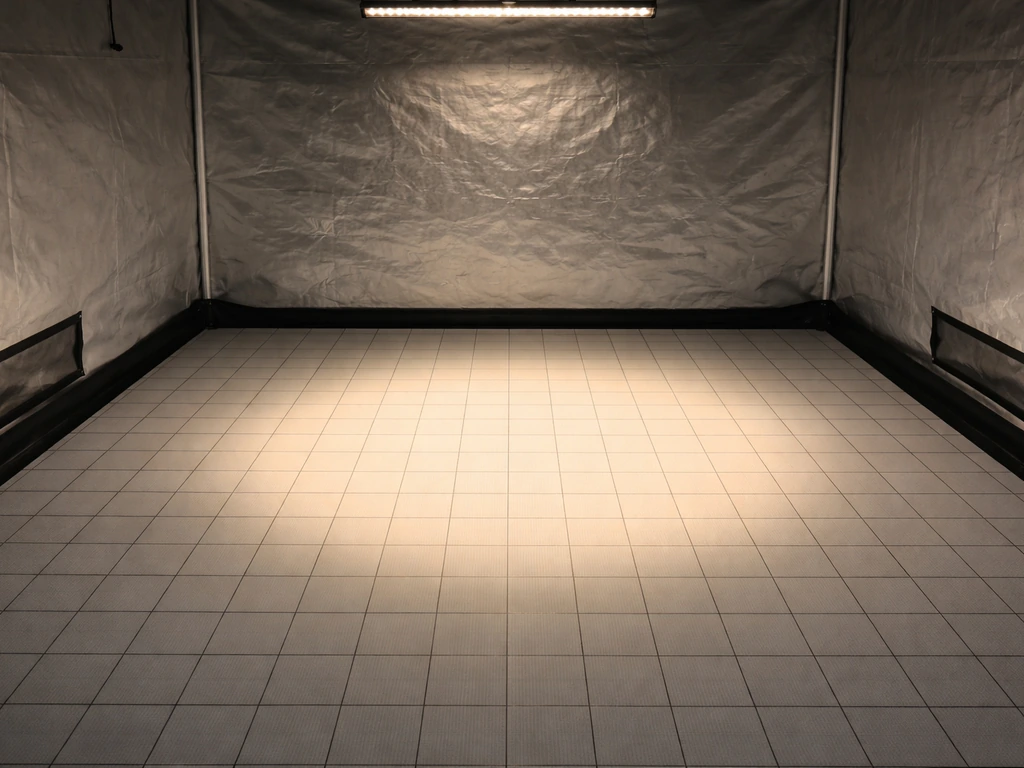
Setup and placement: mounting height and dialing it in
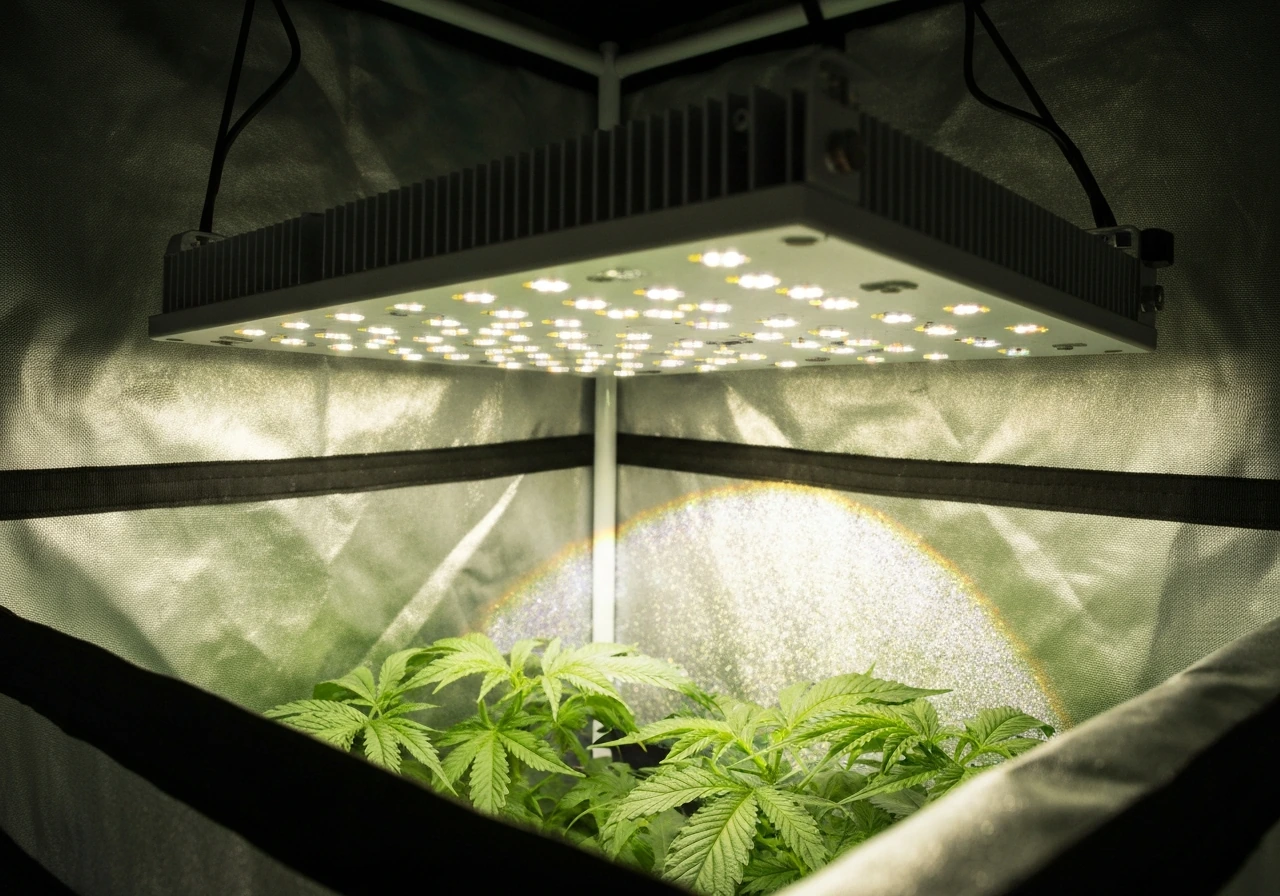
Mounting height is the most important variable after choosing the right light. Too close and you bleach or burn the canopy. Too far and you lose intensity fast (light intensity drops with the square of distance). Most 100W to 150W quantum board style lights have a practical sweet spot between 16 and 24 inches above the canopy, varying by growth stage.
| Growth Stage | Recommended Height Above Canopy | Dimmer Setting (approximate) |
|---|---|---|
| Seedlings | 24–30 inches | 40–60% |
| Early veg | 20–24 inches | 60–75% |
| Late veg | 18–22 inches | 75–100% |
| Flower (per PB1500 Pro spec) | 16 inches for 2.5×2.5 coverage | 100% |
| Flower (TS1000 in 2×2) | 18–24 inches | 100% |
The P600 manual specifically provides a PPFD map for a 2x2 tent at different heights, which is the most honest way a manufacturer can communicate real intensity. If you have access to a manufacturer's PPFD map, use it. Find the height where the center reading is around 600 to 800 µmol/m²/s for flower, and verify the edge readings do not drop below 400. If the edges are reading under 300 µmol/m²/s, your plants in those corners are underlit.
For initial setup: hang the light at the manufacturer's recommended starting height, run it for a day, and then look at your plants. Leaf cupping, bleaching, or upward-curling indicates the light is too close or too intense. Stretchy, elongated internodes mean the light is too far or too dim. Adjust in 2-inch increments and give the plants 24 to 48 hours to respond before making another change.
Use the ratchet hangers that come with most of these lights. They make height adjustments fast and repeatable. If your light did not come with hangers, buy a set for a few dollars. Do not rig the light with zip ties or string if you can avoid it, adjustability matters more than you think once your canopy starts rising.
What to expect: tradeoffs, lifespan, heat, and common mistakes
Realistic performance limits
Sub-$200 LEDs will not match the edge uniformity, peak PPFD, or long-term driver reliability of a $350 to $500 fixture. You will see more PPFD falloff toward the edges of the footprint, especially in flower. Center canopy plants will typically outperform edge plants unless you rotate your pots regularly, which I recommend anyway. Accept that 'core coverage' numbers are optimistic and treat 'flowering coverage' as the more honest spec.
Heat and thermal management
At 100W to 150W, these lights produce meaningful heat but are not extreme. A well-ventilated 2x2 tent with a 4-inch inline fan is usually sufficient. What kills budget LEDs is heat buildup in the driver when airflow is poor. Keep the driver away from direct canopy heat, and make sure your exhaust fan is pulling air past the light and out of the tent. Ambient grow room temperature matters too: if your room is already 80°F+, your tent will get hot faster. Most manufacturers quote a 50,000-hour lifespan for the diodes, but driver failure at the budget tier tends to happen sooner, often in the 2 to 4 year range under heavy use.
Common mistakes to avoid
- Buying based on 'equivalent wattage' instead of actual power draw. The 1000W equivalent label on a 100W light means nothing.
- Using a single sub-$200 light for a 3x3 or 4x4 flowering tent and wondering why yields are low.
- Never adjusting mounting height as plants grow. The canopy moves up; the light should move with it.
- Running a 150W light at full blast over seedlings with no dimmer adjustment, then diagnosing nutrient burn when it is actually light stress.
- Ignoring the PPFD map. If a manufacturer does not publish one, that is a warning sign.
- Skipping ventilation. Even efficient LEDs add heat to a small enclosed tent.
- Choosing a light with a plastic housing or no heat sink to save $20. Thermal design is what separates lights that last from lights that fail in year two.
Quick buying checklist and next steps
Before you click buy, run through this list. If you can check every box, you are making a confident, well-matched purchase rather than a hope-it-works gamble.
- Confirm the actual power draw (wall watts) is listed on the product page or manual, not just an 'equivalent' number.
- Match the light's flowering coverage footprint to your tent's usable interior dimensions.
- Check that a PPFD map is available, either on the listing or in the downloadable manual.
- Verify the light has a dimmer (built-in or external) so you can reduce intensity for seedlings and early veg.
- Confirm the build includes an aluminum heat sink and a named driver (not a generic unlabeled component).
- Budget for a 4-inch inline fan and carbon filter if you have not already. The light is only one part of a working tent.
- Plan your hang height before the light arrives. Know your tent's interior height and calculate your adjustable hanging range.
For most growers setting up a 2x2 tent for a first or second grow, the Mars Hydro TS1000 is the right call today. It is well-documented, the coverage spec is honest, the dimmer works, and the efficiency is competitive for the price. If you are doing a micro-grow or just vegging, the ViparSpectra P600 saves you money without meaningful sacrifice for that use case. If you want just a bit more veg room and are thinking about a 2.5x2.5 to 3x3 space, the PB1500 Pro is worth the look. All three are available well under $200 in April 2026, and all three are a meaningful step above the budget blurple panels that still clog up search results.
Once you have your light sorted, the next variables that move the needle are your ventilation, your medium, and your feeding schedule. The light is foundational, but it is one piece of the system. Get the coverage match right, dial in the height, and most of the hard work is done before your seeds even germinate.
FAQ
If my tent is 2x4 or 3x3, should I trust the light’s “max coverage” number?
Look at the coverage spec in the lighting stage you care about (flowering for bud, veg for early growth). In this price tier, the max or veg footprint is usually much larger than what holds up at flowering PPFD, so a light that sounds “enough” for veg can still leave corners underlit in flower.
Can I use a sub-$200 LED through the whole grow, including seedlings and flower?
Yes, but only if you keep the dimmer and mounting height under control. A 100W or 150W board can work for seedlings and cuttings, but you should still start low and then raise intensity gradually, because stretching can come from being too far away just as much as from being too dim.
How should I adjust mounting height and dimming together during growth?
Measure canopy height from your plants, not from the tent floor. If you raise the light later as the plants grow, keep the dimmer setting consistent as much as possible, because changing both at once makes it hard to tell what caused bleaching or stretching.
What’s the safest way to ignore misleading “equivalent wattage” claims?
No, and it is a common mistake. These lights are designed for actual optical output, but they will not behave like “1000W HPS equivalents.” If a product only mentions marketing equivalency and does not clearly list real watt draw, treat it as a likely mismatch for your goals.
If the light’s edges run dim, can I still get good results?
It depends on your target stage and your willingness to rotate plants. If you cannot get uniform coverage across the flowering footprint, you can still succeed by rotating pots every few days and using trellising to even out exposure, but expect center plants to outperform edges unless you match footprint carefully.
Why do some under-$200 LEDs fail after a year or two?
Expect a budget driver to be the weak link under heavy heat. Keep the light from baking itself by ensuring airflow passes near the driver area, and verify your exhaust actually moves air out of the tent, not just around inside.
How can I tell if “full-spectrum” really means useful light, not just marketing?
Not always. Many full-spectrum boards are marketed as “full spectrum,” but you should confirm they are not relying on a tiny cluster of LEDs at one color. For this tier, the better sign is whether they provide published PPFD or efficiency and list credible driver and LED components, not just “grow spectrum” wording.
Is one TS1000 or P600 enough for a 2x4 tent if I just use thinner plants?
Often, yes for a 2x2 to about 3x3 veg setup, but in flower you usually need two fixtures or a bigger class light for 2x4 style canopies. As a quick check, if your flowering goal is a dense canopy, plan for roughly the same area-to-watt relationship the article explains, then reduce by 20 to 30 percent if you cannot mount at the sweet spot.
Should I run these lights at full power all the time?
Try to avoid running continuously at maximum dimmer for long stretches if you are close to the edge of coverage. Running a moderate height and using dimming to maintain your PPFD target typically keeps the driver and LEDs cooler than blasting at full power, and it often improves canopy uniformity.
What’s the best way to account for the real usable area inside my tent?
Yes, especially if you buy for a “2x2” footprint but your actual usable area is smaller or your plants are taller. Recheck your interior dimensions and subtract space for tent walls, clips, and any trellis, then compare that usable area to the flowering footprint rather than the headline max.
What should I do if my corners are underlit even after setting height correctly?
If the edges are low, you can use height adjustments to help slightly, but the real fix is matching footprint or adding a second light. For minor edge gaps, rotating plants and keeping the canopy level with light training can help, but it will not fully replace a second fixture when you are pushing flowering PPFD.
Next Articles
Best 150 Watt LED Grow Light Guide for Coverage and PPFD
Choose the best 150W LED grow light with coverage, PPFD expectations, setup height tips, and spec checks for your tent s

Best 1200 Watt LED Grow Light: Buyer Guide by Space
Choose the best 1200W LED grow light by PPFD coverage, spectrum, cooling, dimming, and setup for your tent size
Best 3000W LED Grow Light: Buying Guide and Setup Tips
Buying guide to choose the best 3000W LED grow light, decode real watts, compare PPFD coverage, and set up safely.