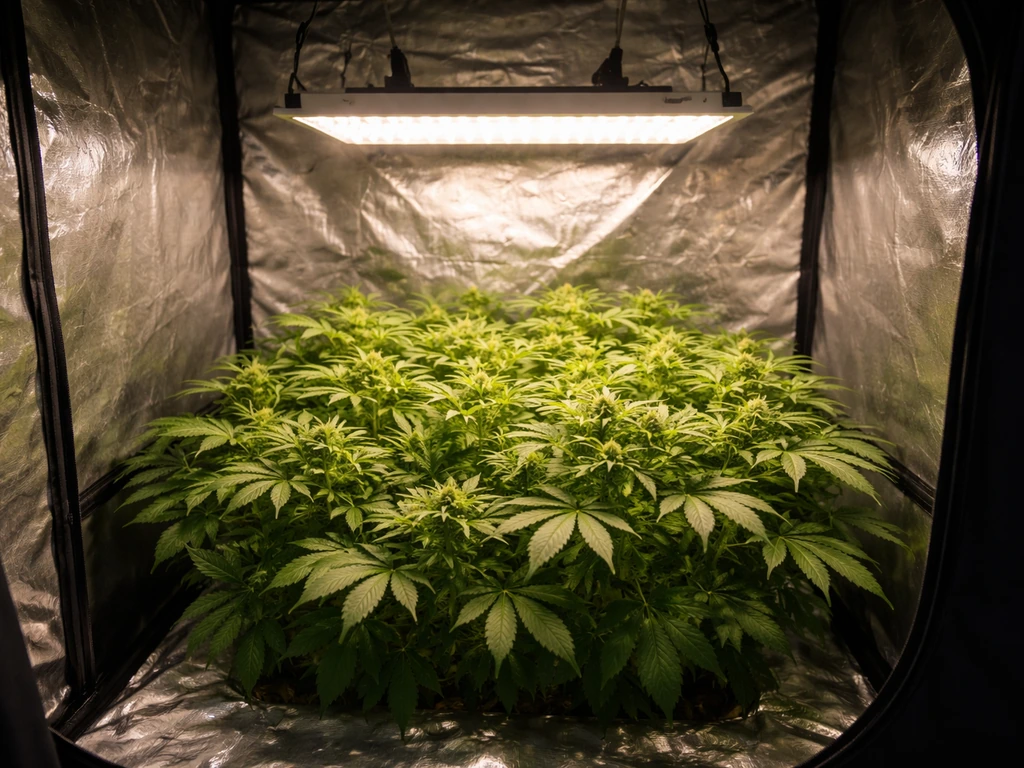
The best LED grow light under $300 right now is almost certainly a bar-style or quantum board fixture drawing 200–300 watts of actual power, rated at 2.5–2.9 µmol/J efficiency, and capable of covering a 3x3 or 4x4 tent at flower-level PPFD without thermal throttling. That's a specific answer, and the rest of this guide will back it up with numbers, use-case picks, and setup steps so you can buy with confidence today.
Best LED Grow Light for $300: Top Picks and Buyer Guide

Marcus Rutherford
16 Apr 2026
What 'best under $300' really means for real grows
Three hundred dollars is a real budget constraint, not a marketing band. It means you're mostly shopping mid-tier fixtures from brands like Mars Hydro, Spider Farmer, AC Infinity, Vivosun, and a handful of others who've driven down quantum board costs over the last few years. You are not getting a Fluence VYPR or a California Lightworks fixture at this price, and that's fine. What you are getting, if you shop smart, is a light that can genuinely flower a 3x3 or push a 4x4 through veg with solid efficiency. The trade-offs at this price usually show up in driver quality (Samsung LM301B/LM301H diodes with a Meanwell HLG driver is best-case at this budget), dimmer precision, uniformity at the edges of a 4x4 footprint, and long-term support.
For hobbyists running a single tent, $300 is often enough to get a genuinely capable light. For anyone scaling up or pushing high-intensity flower cycles, this is a starting point, not an endpoint. If you want more coverage and headroom, the best LED grow lights under $500 category opens up more options with better uniformity across a true 4x4 footprint.
Budget LED specs to prioritize before you buy anything
These are the numbers that actually predict real-world performance. Samsung’s horticulture technical brochure includes a table of horticulture LEDs with PPF and PPF/W (µmol/J) values by color bin. Everything else is marketing.
PPF and efficiency (the only two numbers that matter most)
PPF (Total Photon Flux) is measured in µmol/s and tells you how much usable light the fixture actually produces across the 400–700 nm photosynthetically active range. Efficiency, or PPE, is expressed in µmol/J and tells you how much of your electricity bill becomes plant-usable light. These definitions come from standardized testing frameworks, and any manufacturer worth buying from will have third-party LM-79 test data to back their claims. At the $300 price point, look for at least 2.5 µmol/J efficiency. The best budget options are hitting 2.7–2.9 µmol/J, which is genuinely competitive with fixtures costing twice as much. If a brand only advertises watt equivalencies (like '600W equivalent') without publishing actual PPF or µmol/J figures, treat that as a red flag.
Actual draw wattage vs. 'equivalent' wattage
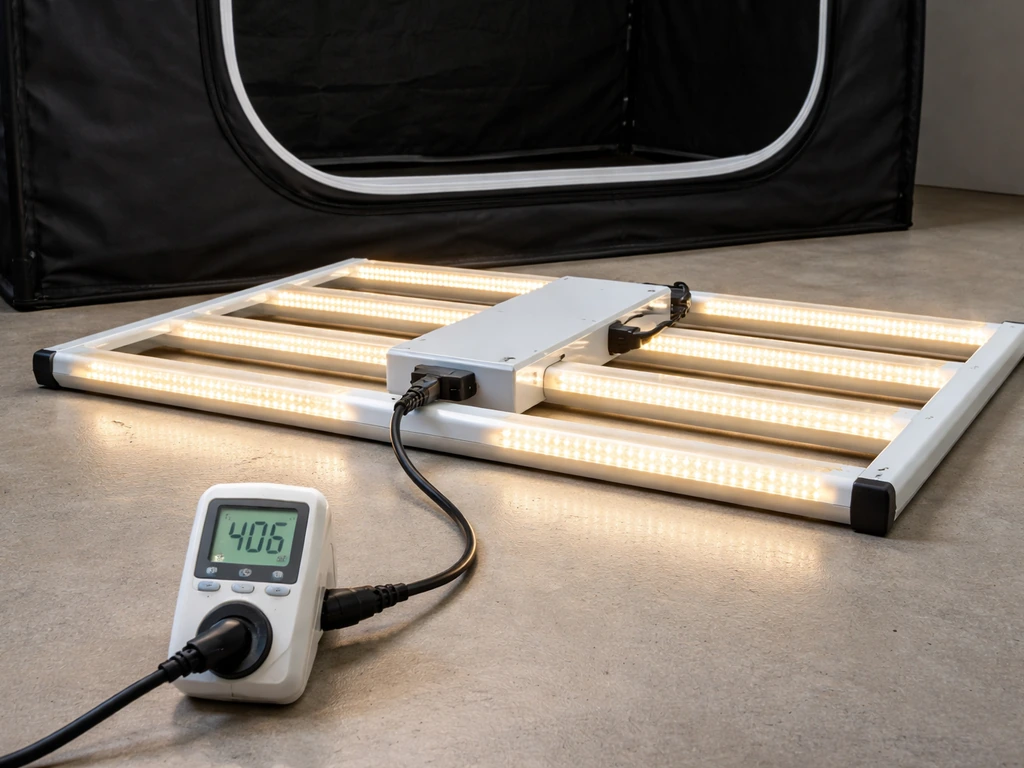
The actual power draw from the wall is what you'll pay for in electricity and what determines real output. A fixture advertised as a '600W equivalent' might draw 120 watts or 250 watts from the wall. Those are completely different lights. Always find the actual wattage spec, which is usually listed as 'actual power draw' or 'input power' in the spec sheet. For a 3x3 flower tent, you want approximately 200–250 actual watts. For a 4x4, aim for 250–320 watts.
Coverage claims and PPFD uniformity
Most brands list both a 'veg coverage' and 'flower coverage' footprint. Flower coverage is always smaller because you need higher PPFD for bloom. Be skeptical of any single fixture claiming a 4x4 flower footprint at $300 with full uniformity. A quality 300-watt fixture can cover a 4x4 in veg at adequate levels but will show noticeable edge drop-off in the corners during flower. For a true 4x4 flower canopy, you're better served by treating the coverage as a 3x3 primary zone or supplementing corners.
Spectrum
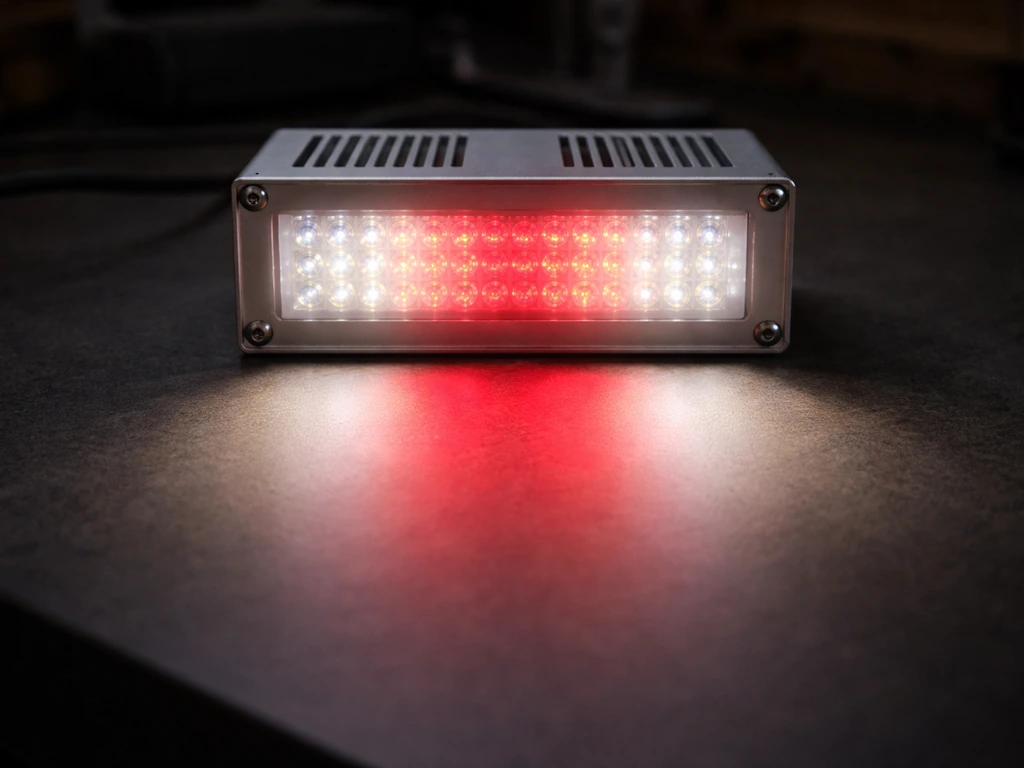
Full-spectrum white light with supplemental red (typically 660 nm) is the dominant approach in this budget range, and it works well. The white LED approach (using phosphor-converted blue diodes) produces a broad spectrum that covers the full PAR window without the purple-pink glow of older blurple lights. Some fixtures add dedicated far-red (730 nm) diodes for the Emerson effect in late flower. At $300, prioritize a fixture that runs full-spectrum white across all stages rather than one with manual spectrum switching, which adds cost and complexity without much practical benefit in a single-tent setup.
Dimming
A 0–100% dimmer (or at least a 50–100% range) is essential for two reasons: seedling management and heat control. Seedlings need PPFD in the 100–300 µmol/m²/s range, which is well below what a full-power 250-watt fixture delivers at any reasonable mounting height. Without dimming, you either mount too high (hurting uniformity) or stress your seedlings. Look for a knob-style or digital dimmer built into the driver housing. Some budget fixtures have dimming but only in a few fixed steps. Full continuous dimming is meaningfully better.
Warranty and driver quality
A 3-year warranty is the minimum acceptable at this price. Five years is better and signals real confidence in the build. The driver is the component most likely to fail, so a Meanwell driver (HLG series ideally) is a strong quality indicator. Some budget brands use in-house drivers that are fine but harder to replace if they die outside the warranty window. Also check whether the brand has a real support channel. A company that's unreachable for warranty claims is effectively a zero-warranty product.
Best picks under $300 by use case
These recommendations are based on current real-world performance data, spec verification, and value at the price point. Prices fluctuate, so always confirm current pricing before buying.
Best for seedlings and early veg (small space, low demand)
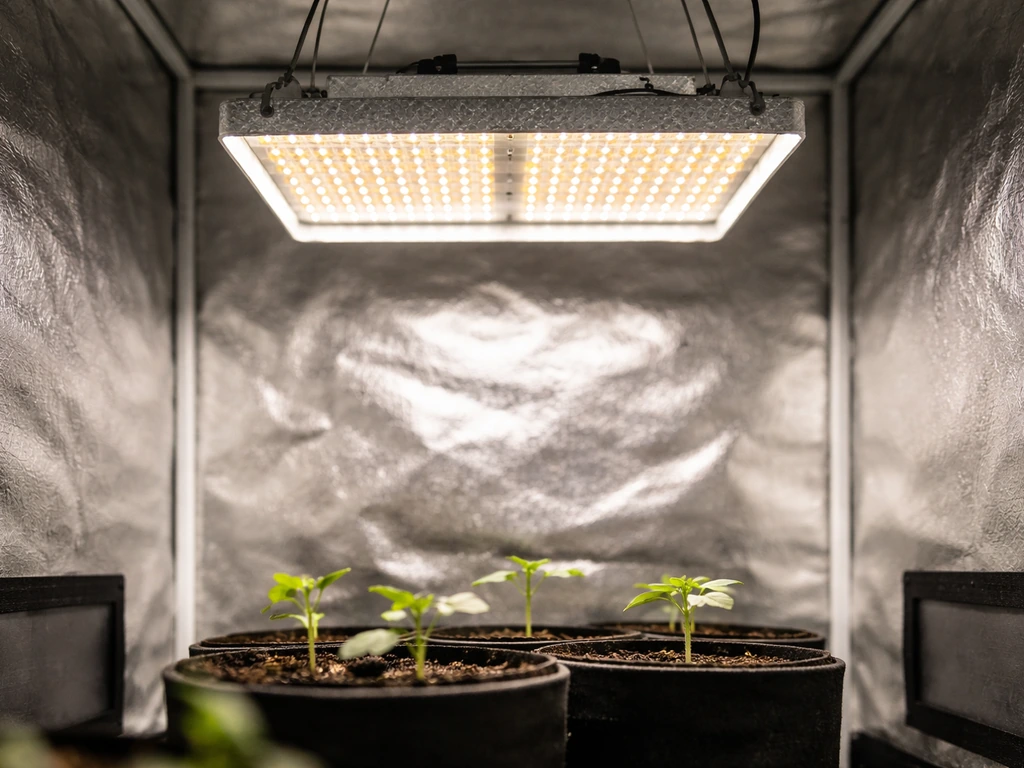
For a 2x2 or small veg setup, you genuinely don't need 200+ watts. The Mars Hydro TS 1000 (around $100–$130 actual street price) draws roughly 150 watts, produces around 380 µmol/s, and is more than adequate for a 2x2 veg tent or seedling propagation. The Spider Farmer SF-1000 is a close competitor at a similar price, with Samsung LM301B diodes and a Meanwell driver at the entry level. If you're running seedlings into a larger tent, this is also where best low watt LED grow lights become highly relevant, since over-lighting seedlings is one of the most common beginner mistakes.
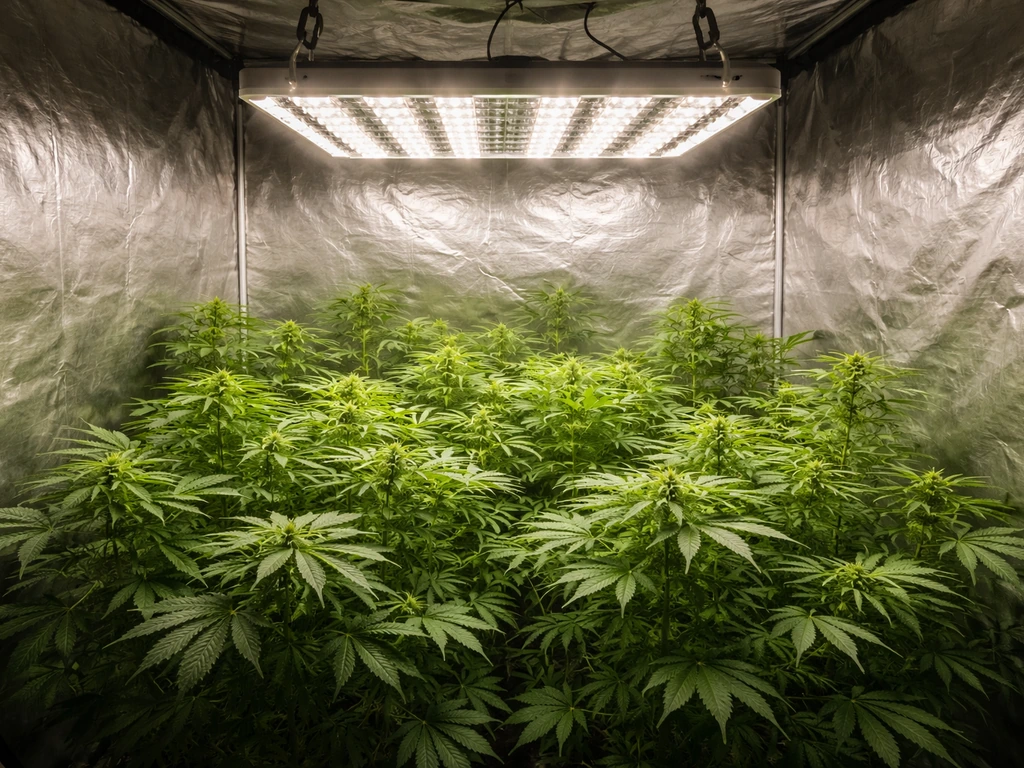
Best for full-cycle grows in a 3x3 tent
This is the sweet spot of the $300 budget. The Mars Hydro FC-E3000 draws around 300 watts, outputs approximately 810 µmol/s, and claims 2.7 µmol/J efficiency with bar-style light distribution for better canopy penetration. The Spider Farmer SF-4000 (often on sale near $280–$300) pulls 450 watts at full power, which is overkill for a 3x3, but with dimming it's an exceptionally capable fixture that will still be running strong in a 4x4 if you ever upgrade your tent. The AC Infinity IONBOARD S33 at roughly $260–$290 draws 200 watts and is a well-built option with solid dimming and good Samsung diode quality. For a 3x3 full cycle, any of these three will get you to 700–900 µmol/m²/s at canopy level in flower, which is right in the productive zone without CO2 supplementation.
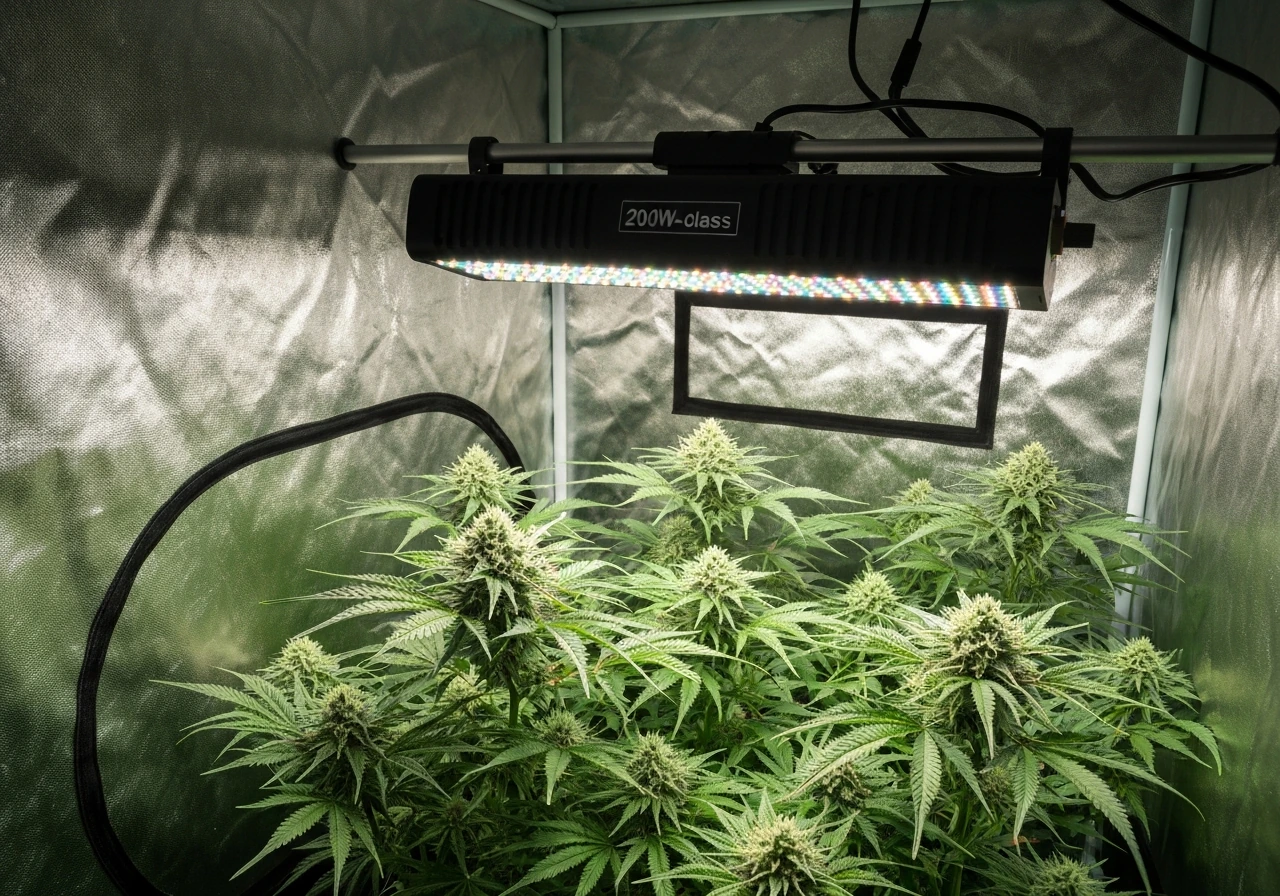
Best for pushing a 4x4 through veg into early flower
A single fixture under $300 covering a true 4x4 in flower is a stretch, but for veg and early bloom cycles it's doable. The Vivosun VS4000 draws around 400 watts at full power (often discounted to $280–$300) and uses Samsung LM301B diodes across a board layout that delivers reasonable uniformity in a 4x4. Run it at 70–80% power through veg and push to full during flower. Just know the corners of your 4x4 will run lower PPFD than the center. If corner uniformity matters to you in flower, budget for two smaller fixtures instead of one large one. Alternatively, best 200 watt LED grow lights can pair well as a supplemental unit in corners if you're already running a primary fixture.
| Fixture | Actual Draw | Estimated PPF | Efficiency | Best Coverage | Street Price |
|---|---|---|---|---|---|
| Mars Hydro TS 1000 | ~150W | ~380 µmol/s | ~2.5 µmol/J | 2x2 full / 3x3 veg | ~$110–$130 |
| Spider Farmer SF-1000 | ~100W | ~270 µmol/s | ~2.7 µmol/J | 2x2 | ~$100–$120 |
| AC Infinity IONBOARD S33 | ~200W | ~540 µmol/s | ~2.7 µmol/J | 3x3 | ~$260–$290 |
| Mars Hydro FC-E3000 | ~300W | ~810 µmol/s | ~2.7 µmol/J | 3x3 full / 4x4 veg | ~$270–$300 |
| Vivosun VS4000 | ~400W | ~1000 µmol/s | ~2.5 µmol/J | 4x4 veg / 3x3 flower | ~$280–$300 |
Coverage and mounting guidance for common tent sizes
Before you hang anything, measure your tent interior (not the advertised size), note the ceiling height to the hanging bar, and subtract your plant's expected max height. That remaining space is your light-to-canopy distance. Most quantum board and bar-style fixtures in this wattage range perform well at 18–24 inches above canopy for flower and 24–36 inches for veg and seedlings.
2x2 tents
A 100–150 watt fixture is all you need here. Keep the light 18–24 inches above canopy in flower. You're targeting 600–900 µmol/m²/s at canopy level for mature plants. Use the dimmer to back off to 30–50% for seedlings and dial up gradually through veg. A 2x2 is also a strong setup for propagation and auto-flower runs where plant height stays manageable.
3x3 tents
This is where most of the $300 budget fixtures genuinely shine. A 200–300 watt fixture at 18–24 inches above canopy will hit 700–1,000 µmol/m²/s across most of the footprint. Hang the light centered, use the manufacturer's recommended height as a starting point, and verify with a PAR meter if you have access to one. Pull the light up slightly if tips show light stress (curling, bleaching). The bar-style form factor, like the Mars Hydro FC-E series, distributes light more evenly across a 3x3 than a single square board would.
4x4 tents
A single $300 fixture can cover a 4x4 in veg at 300–500 µmol/m²/s with some edge drop-off. For flower, you'll want to either accept that the outer edges get less light (fine for most plants), train your canopy to keep plants in the center zone, or plan to supplement with under canopy LED grow lights to improve lower bud sites. For serious 4x4 flower cycles, honestly consider stretching to a slightly higher budget or running two mid-wattage fixtures for better uniformity.
Common mistakes with cheap LED grow lights and how to avoid them
Most problems I've seen with budget LED setups come down to a handful of repeatable mistakes, all of which are avoidable.
- Trusting watt-equivalency claims: '1000W equivalent' is a meaningless marketing number. Only the actual wall-draw wattage and PPF output tell you what a light actually produces. Fixtures claiming massive equivalent wattage while drawing 100 actual watts are everywhere in this price range.
- Buying the cheapest fixture possible without checking diode or driver brand: A $60 light with unknown diodes and a no-name driver will degrade faster and run hotter than a $200 fixture with Samsung LM301B diodes and a Meanwell driver. The price gap is real.
- Skipping the PAR meter and just guessing height: If you don't have access to a PAR meter, use the manufacturer's PPFD maps and err on the side of more distance rather than less. Light burn is recoverable but slows you down significantly.
- Running seedlings at full power: Seedlings need only 100–300 µmol/m²/s. Most $300 fixtures at full power and 18 inches will hit 700+ µmol/m²/s. Use your dimmer at 30–40% for the first two weeks or raise the fixture to 36+ inches.
- Ignoring heat at the driver: Budget fixtures with in-house drivers sometimes run hot. Make sure your tent has adequate exhaust airflow, and check that the driver housing isn't blocking air circulation. A driver running above 40°C ambient will shorten its lifespan.
- Buying a light that's too small for the tent: A 100-watt fixture in a 4x4 tent is frustrating. It will grow plants but not flower them well. Match wattage to coverage honestly. If your budget is tighter, consider a smaller tent rather than underpowering a large one.
- Overlooking certifications: Look for ETL, UL, or CE certification on the fixture. These aren't just bureaucratic checkboxes. They indicate the electrical components met basic safety testing standards. Uncertified budget lights occasionally have wiring issues that create fire or shock hazards.
If your budget is tighter than $300, it's worth knowing that the options don't fall off a cliff below this price point. The best LED grow lights under $100 category is genuinely useful for 2x2 seedling and veg setups, and understanding where that segment starts and stops helps you calibrate what you're actually gaining by spending more.
Quick buying checklist and setup steps for day-one results
Use this before you buy and again when your light arrives.
Before you buy
- Measure your tent interior and confirm your actual coverage need (2x2, 3x3, or 4x4).
- Find the fixture's actual wall-draw wattage (not equivalent), PPF output in µmol/s, and efficiency in µmol/J. If the brand doesn't publish these, skip it.
- Confirm the fixture has continuous dimming, not just on/off or fixed steps.
- Check for ETL, UL, or CE certification on the product listing.
- Verify the warranty is at least 3 years and that the brand has a reachable customer support channel.
- Confirm driver brand: Meanwell is the gold standard at this price. In-house drivers are acceptable but inspect reviews for longevity reports.
- Cross-check the coverage claim against the wattage: if a fixture claims 5x5 flower coverage at 200 actual watts, that's not physically realistic.
Day-one setup
- Hang the fixture at the manufacturer's recommended seedling height (usually 30–36 inches above the medium surface).
- Set the dimmer to 40–50% for the first week regardless of plant stage.
- Run your light schedule before introducing plants: check that the driver is warm but not hot to the touch after 30 minutes, and verify the dimmer responds smoothly across its range.
- For seedlings: keep PPFD in the 100–300 µmol/m²/s range. At 50% power and 30+ inches, most fixtures in this guide will be in that zone.
- For veg: lower to 24 inches and increase power to 60–75%. Target 400–600 µmol/m²/s at canopy.
- For flower: lower to 18–24 inches and push to 80–100% power. Target 800–1000 µmol/m²/s at canopy for photoperiod plants without CO2 supplementation.
- Recheck mounting height every 1–2 weeks as plants grow and adjust to maintain target canopy distance.
When to consider upgrading
If you're consistently seeing slow veg growth despite good nutrients, temperature, and humidity, and your fixture is running at 100% with the light as close as safely possible, you're likely light-limited. That's the clearest upgrade signal. Similarly, if you expand to a larger tent and your $300 fixture can't hit adequate PPFD uniformly, that's the moment to step up rather than try to stretch a light beyond its coverage rating. The $300 budget is genuinely capable for a 3x3 full cycle or a 4x4 veg run, but it has real limits at larger footprints and higher intensity demands.
FAQ
How can I tell if a $300 LED grow light is truly in the top tier or just marketing?
If the product page lists “equivalent watts” but not actual input power and PPF or µmol/J, you cannot reliably compare it to other lights in the $300 class. For this budget, only buy when you can find actual power draw plus either PPF (µmol/s) or claimed efficiency (µmol/J).
What are the signs my $300 light is not giving enough PPFD, especially in flower?
Yes, a $300 light can be the bottleneck in flower if your PPFD drops too much at the canopy edges. If you do not have a PAR meter, use an indirect check: watch for uneven bud development (often smaller lower outer buds) after 2 to 3 weeks of bloom, then consider training to keep the canopy more centered or add a supplemental corner light.
Should I dim a budget LED during veg and seedlings, or run it at full power?
Dimming is not optional with seedlings. Start by setting the dimmer low so you avoid running the fixture at full output near a young canopy, then increase gradually over a week as leaves darken and stems strengthen. Also keep the height consistent while you adjust power, because changing height can move PPFD more than changing dimmer on some fixtures.
How do I set the hanging height correctly if I do not have a PAR meter?
For most bar-style and quantum-board fixtures in this watt range, use the recommended height as a starting point, then fine-tune based on plant response. If tips are bleaching or leaves show stress, raise the light a few inches or reduce dimming, those are safer adjustments than immediately changing spectrum or nutrients.
Can I realistically grow a full 4x4 in flower with one light under $300?
If you target a true 4x4 flower canopy with one $300 unit, expect corner drop-off. A practical workaround is to train plants so the most intense zone covers the majority of the canopy area (for example, SCROG or tighter plant spacing), or plan to accept smaller outer buds and rely on corner supplementation rather than trying to “fix” uniformity with distance alone.
Is dimmer type important, and what should I look for in a budget light?
Look for a continuous 0–100% dimmer (or at least a wide range) that is integrated into the driver. Fixed-step dimming can work, but it makes dialing in seedlings and managing heat less precise, especially when you are close to the edge of what the fixture can deliver.
Why do some lights advertise 4x4 coverage but still underperform in flower?
Don’t assume a 4x4 “veg coverage” rating equals a flower-ready 4x4. Flower requires higher PPFD, so the same fixture often underdelivers at the corners. Treat the vendor’s flower footprint as the only number that matters for bloom decisions, then adjust expectation if the fixture uses an advertising-style “coverage” claim without PPF-based justification.
What should I check if I buy a $300 grow light used or refurbished?
If you are buying used, check that the driver still works at full power and that dimming is functioning smoothly, not stuck at one output. Also confirm the actual input power and diode type if available, since some listings swap parts and still reuse old photos.
What footprint should I choose for best results with the $300 budget?
For most beginners at this budget, start with a 3x3 plan if your goal is full-cycle performance. A 4x4 can work in veg, or you can do flower by supplementing corners or adding a second fixture, since two mid-wattage units usually create better uniformity than one higher claim.
Is the warranty length the only reliability signal I should use?
A 5-year warranty is a strong signal, but if the warranty is only 1 or 2 years, factor that into your risk. Also check whether replacement drivers are realistically obtainable, because a failed driver can take downtime if parts are hard to source.
Next Articles
Best 200 Watt LED Grow Light: How to Choose and Compare
Choose the best 200W LED grow light by real draw, PPFD, coverage maps, spectrum, dimming, and tent size fit.
Best Low Watt LED Grow Light Guide: Pick, Match, Install
Choose the best low watt LED grow light by coverage, spectrum, efficiency, dimming, and safe setup for 2x2 to 4x4.
Best Under Canopy LED Grow Lights: Buyer’s Guide and Picks
Buyer guide and picks for under-canopy LED grow lights, with coverage math, PPFD targets, and layout tips.