The best LED grow light under $100 right now is the ViparSpectra XS1000, and if you have a 2x2 or a small veg space, it covers your needs without requiring you to fudge the numbers. At roughly $90 street price, it draws 120W from the wall, delivers an average PPFD of around 620 µmol/m²/s over a 2x2 footprint, and comes with a 3-year warranty. That's a real, measurable result, not a marketing estimate.
Best LED Grow Light Under $100: Buying Guide and Picks

Marcus Rutherford
17 Apr 2026
If your budget is firm at $100 or you're shopping for something even more entry-level, the Mars Hydro TS600 is the other credible option in this price window. This guide walks you through both, tells you what to realistically expect, and gives you the framework to avoid the junk that floods this price tier.
What you actually get under $100
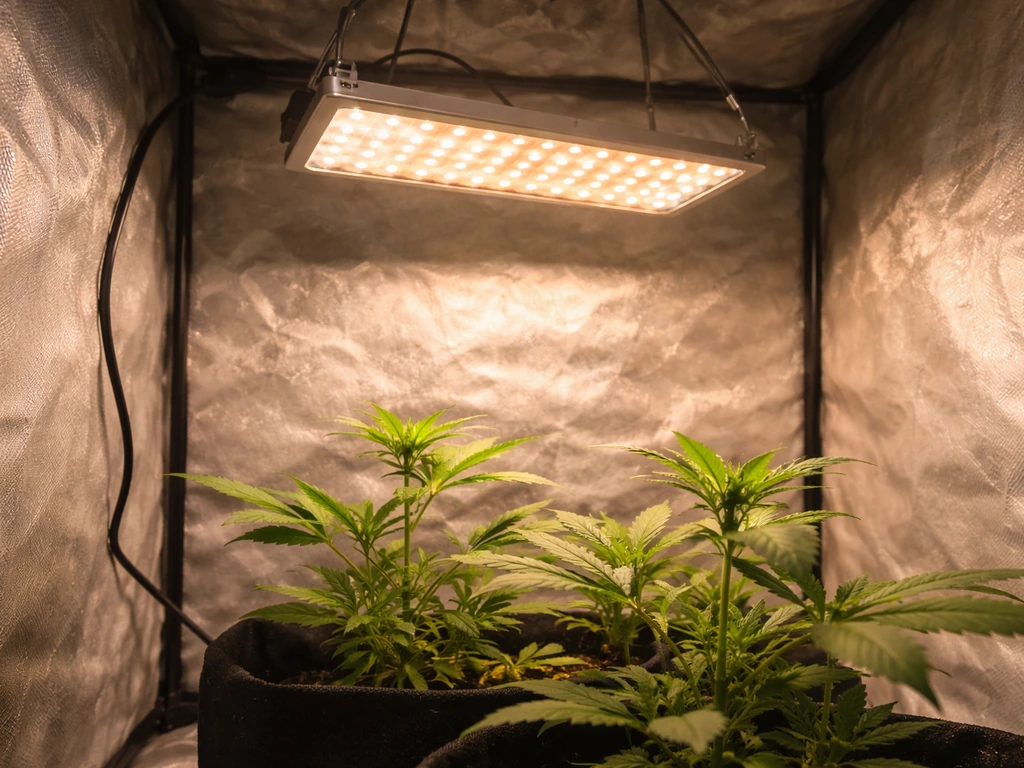
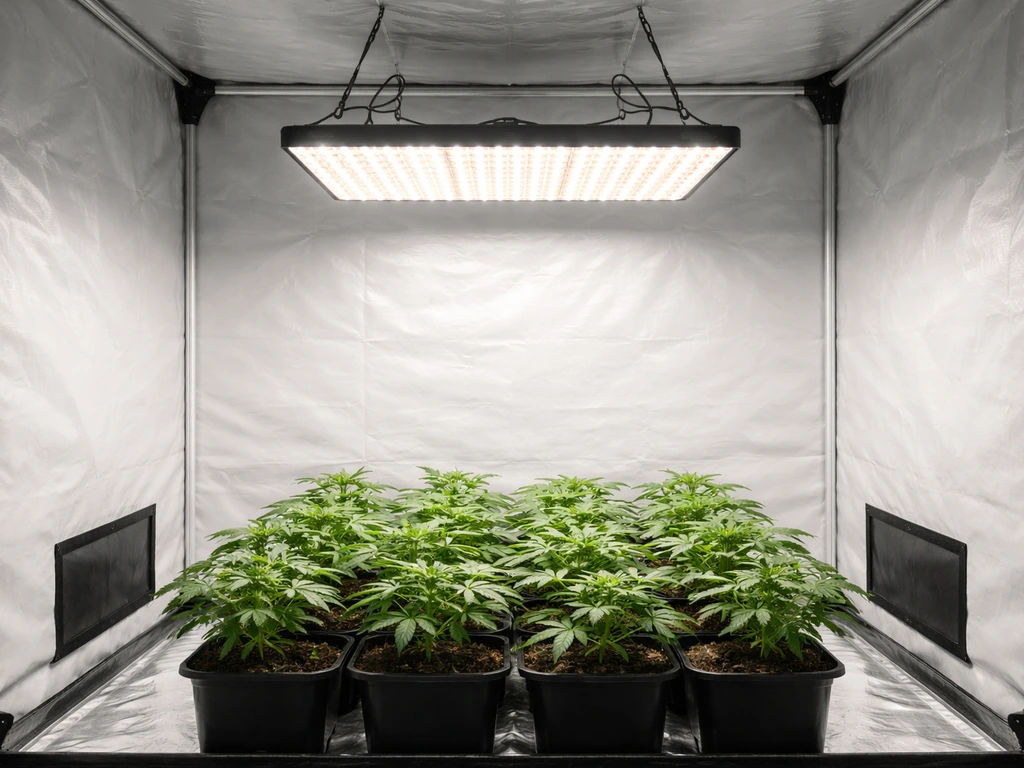
Let's be direct about expectations. A $100 LED grow light is not going to flower a 4x4 tent or replace a 400W HPS. What it can do is handle seedlings, veg, and even modest flowering for one to two plants in a 2x2 space. That's a legitimate use case for a lot of hobbyist growers, and it's where this price tier actually earns its keep.
At this budget you're looking at actual draw wattages in the 80W to 130W range. Ignore any listing that says '1000W equivalent' without listing a real watt draw. Those claims are meaningless. What you want to see is the actual power consumption from the wall, the efficacy in µmol/J (photosynthetic photon efficacy, or PPE), and a PPFD map at a specific hanging height. Lights that show you all three of those numbers are operating honestly. Lights that only show you 'equivalent wattage' and lumen counts are hiding behind marketing.
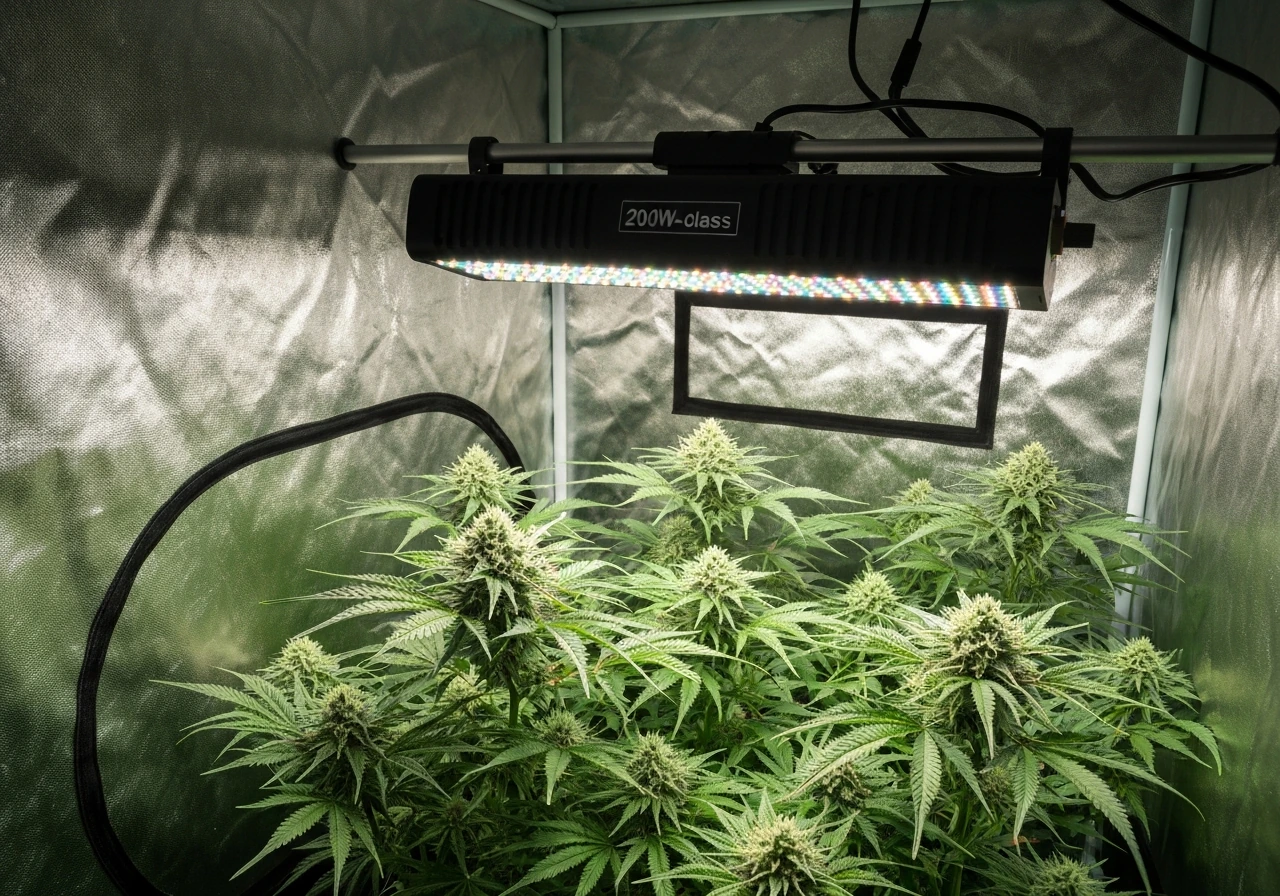
In practical terms, a solid $100 LED with 120W actual draw and 2.0+ µmol/J efficacy will support one plant through a full cycle, two plants through veg, or three to four seedlings simultaneously. If you need to cover more ground than that, you're looking at stacking fixtures or moving up the wattage ladder. For reference, the jump to a 200W LED grow light opens up 3x3 flowering territory and is worth considering if your space allows it.
How to choose: the specs that actually matter
There are five numbers worth extracting from any product listing at this price. Everything else is window dressing.
- Actual power draw (watts): Listed as 'true watt' or 'actual power consumption.' This tells you real energy use and gives you a basis for comparing outputs. Anything under 80W at this price is underpowered for flowering; 100–130W is the sweet spot.
- PPE / efficacy (µmol/J): This is how efficiently the light converts electricity into usable plant light. At this price tier, 2.0 µmol/J is decent, 2.1+ is good. Avoid lights that don't publish this number.
- PPFD at a given height (µmol/m²/s): A PPFD map at 18 or 24 inches tells you what's hitting your canopy. For veg, you're targeting 300–600 µmol/m²/s. For flower, you want 700–900 µmol/m²/s without CO2 supplementation.
- Coverage area (not 'max coverage'): Most listings will show two numbers: a veg coverage and a flower coverage. The flower number is always smaller. That's the one to plan around.
- Spectrum: At minimum, look for a broad white spectrum (3000K and 5000K combined) with supplemental red (650–665 nm) and ideally far-red (730–740 nm). Full-spectrum white-based LEDs at this price are more consistent than old-school blurple designs.
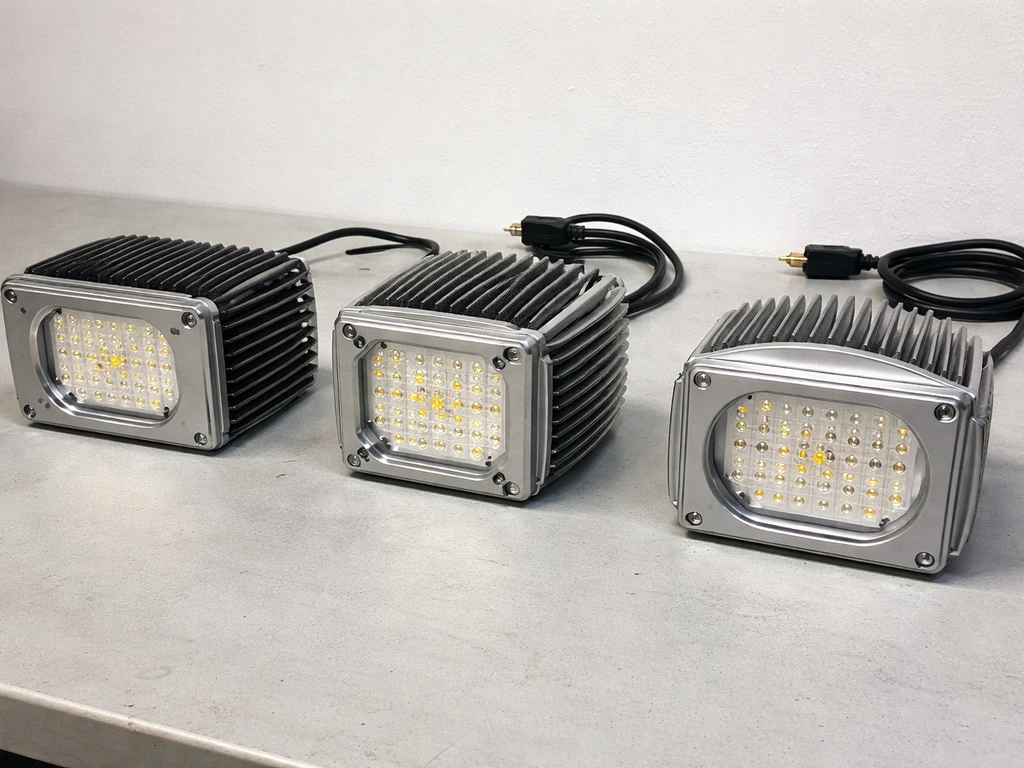
Build quality signals are also worth a quick scan. A fanless, passively cooled bar or panel design runs quieter and often lasts longer than one with a cheap DC fan bolted on. Check for safety certifications (CE, ETL, RoHS, UKCA are the ones you'll see on reputable brands). ETL in particular is meaningful for North American buyers because it indicates third-party testing to [UL standards](https://www.
ul. com/news/tools-achieving-code-compliance-ul-certifications-and-ul-evaluation-reports). Intertek’s ETL Mark page explains the ETL Mark and links to Intertek’s product marks directory where you can view ETL-listed clients and products [ETL in particular is meaningful for North American buyers](https://www. intertek.
com. hk/electrical/certifications/etl/). You can cross-check any certification claim by looking up the product in the UL Product iQ database or Intertek's certified product directory, which is the most reliable way to verify whether those logos on the box are real or decorative.
Spectrum and grow stages: veg vs flower on a budget
The spectrum question gets overcomplicated. Here's the short version: plants use red and blue light most heavily for photosynthesis, but they also respond to the full solar spectrum in meaningful ways during different life stages. A light built around 3000K warm white and 5000K cool white LEDs, plus targeted red diodes around 660 nm, hits all the important wavelengths for the full grow cycle.
The Mars Hydro TS600, for instance, uses a spectrum that includes 660–665 nm red, 730–740 nm far-red, 3000–3200K warm white, and 6000–6500K cool white channels. That far-red component matters more than people realize: the 730 nm wavelength activates the Emerson Enhancement Effect, which can meaningfully improve photosynthetic efficiency at lights-out transitions and during late flower. At the TS600's price point, getting far-red in the mix is a genuine value-add.
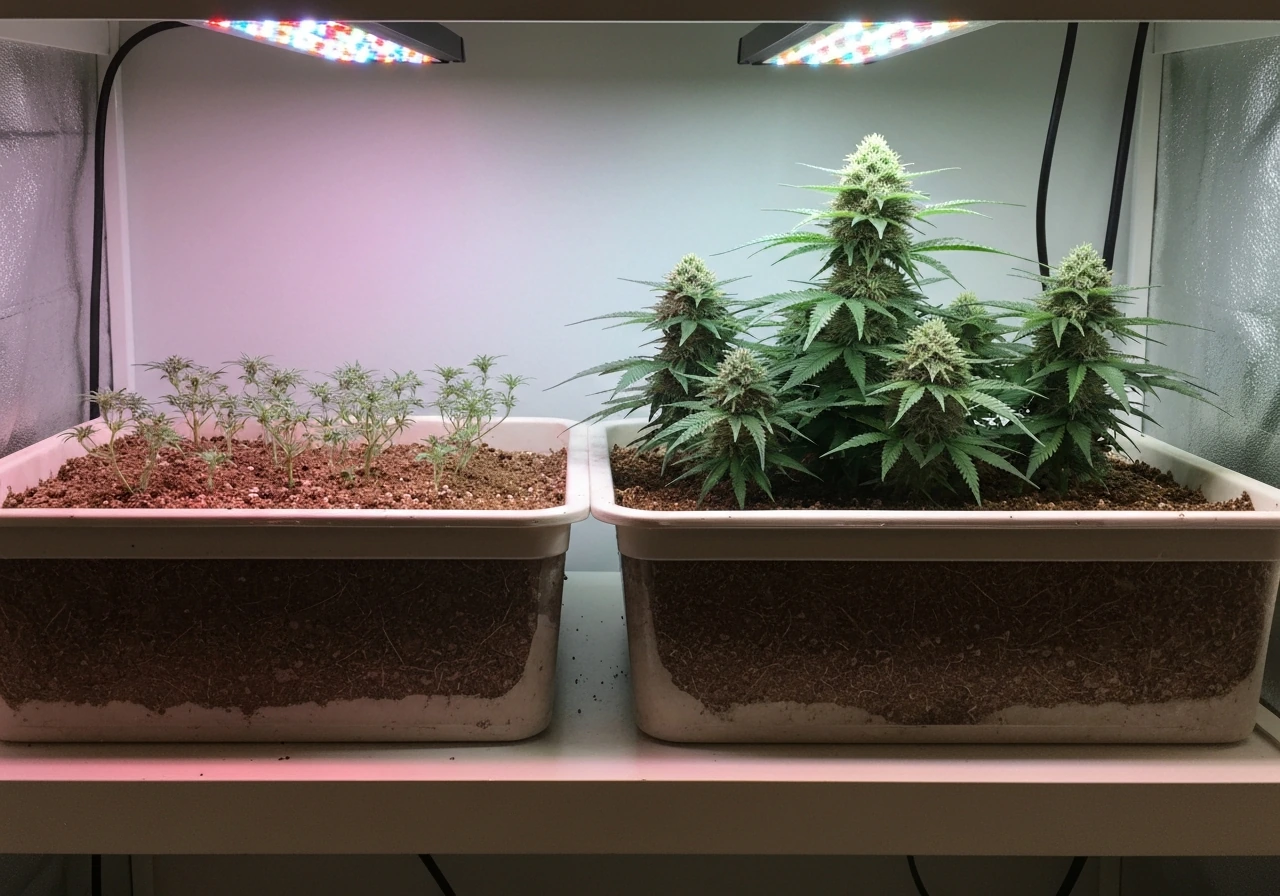
For veg, target 300–600 µmol/m²/s at canopy level and run 18 hours of light per day. For flower, push toward 700–900 µmol/m²/s and drop to a 12/12 photoperiod. If your light is dimmable (both the XS1000 and TS600 are), you can start seedlings at 30–40% power and ramp up as plants develop. This also extends LED lifespan and keeps heat manageable in small enclosures. For growers who want to supplement main canopy lighting with targeted side or under-plant coverage, it's also worth exploring under canopy LED grow lights as a complement to your primary fixture.
Coverage and setup: height, dimming, and square-foot planning
The XS1000's PPFD map shows that at 18 inches above canopy with the light at full power, it 'comes very close to fully lighting' a 2x2 area at around 620 µmol/m²/s average. That's measured data. At 24 inches, intensity drops and footprint spreads slightly, which can work for veg when you don't need the higher PPFD. Drop to 12 inches and intensity climbs, but uniformity at the edges suffers. The practical range for most setups is 16–24 inches, dialed by dimmer based on plant stage.
For the TS600 in a 2x2 tent, Mars Hydro's own guidance positions this as their recommended pairing. With a PPE of 2.0 µmol/J and 100W actual draw, it's slightly less intense than the XS1000 at equivalent heights, which makes it more forgiving for seedlings and early veg. That's not a knock on it, just a different fit. If you're running autoflowers or short-season plants that don't need extreme DLI (daily light integral), the TS600 delivers plenty.
Quick square-foot planning: a 2x2 (4 sq ft) is comfortable for one light at this wattage. A 2x3 gets tight but workable in veg. A 2x4 or 3x3 will be underlit for flowering with a single sub-$100 fixture. If you're eyeing a 3x3 or larger, be honest with yourself and look at what's possible at a higher budget, starting with options covered in the best LED grow light for $300 category, which opens up genuinely capable 3x3 fixtures.
Ventilation matters even with passive-cooled LEDs. In a sealed 2x2 tent, heat accumulates fast in summer months. A 4-inch inline fan keeps air moving, prevents hotspots at the canopy, and manages humidity. Mount the light using the manufacturer's hanging kit or adjustable rope ratchets, not zip ties. Make sure the fixture is centered over the canopy, not offset to one side, because PPFD uniformity drops fast at the edges of the distribution cone.
Top picks under $100 by use case
Here are the specific recommendations broken down by scenario. These aren't aspirational; they're based on published specs, measured data, and real-world community validation.
| Category | Recommendation | Actual Draw | PPE | Coverage (Flower) | Warranty |
|---|---|---|---|---|---|
| Best Overall | ViparSpectra XS1000 | ~121W | 2.1 µmol/J | 2x2 ft | 3 years |
| Best for Small Tents / Beginners | Mars Hydro TS600 | ~100W | 2.0 µmol/J | 2x2 ft | 2 years |
| Best Value Per Square Foot | ViparSpectra XS1000 | ~121W | 2.1 µmol/J | 2x2 ft | 3 years |
| Best for Seedlings / Low-Stress Grows | Mars Hydro TS600 | ~100W | 2.0 µmol/J | 2x2 ft | 2 years |
Best overall: ViparSpectra XS1000
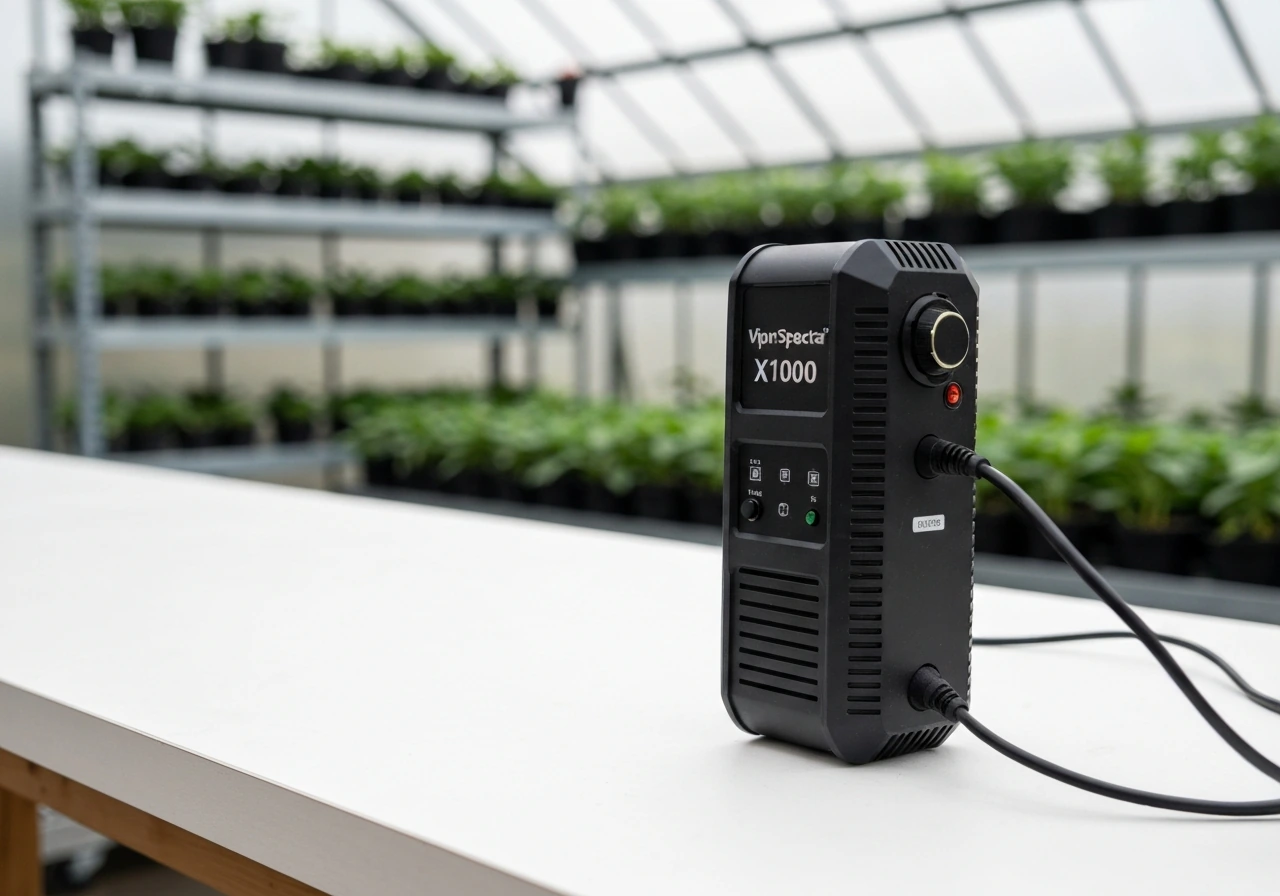
The XS1000 is the light to buy if you want the most measurable output per dollar under $100. At 121W actual draw, 2.1 µmol/J efficacy, and an average PPFD of 620 µmol/m²/s over a 2x2, it's the best-documented performer in this price range. The 3-year warranty is above average for budget LEDs, and the dimming control gives you useful range from seedling to late flower. It's a passively cooled quantum board design, so no fan noise. If you're doing one full-cycle plant or two plants through veg, this is the straightforward answer.
Best for beginners and seedlings: Mars Hydro TS600
The TS600 is the gentler option. At 100W and 2.0 µmol/J, it's less intense at equivalent height, which means less risk of light stress if you're new to dialing in placement. It's dimmable, carries ETL, CE, RoHS, and UKCA certifications, and Mars Hydro pairs it explicitly with a 2x2 tent kit as their entry-level recommendation. The spectrum including far-red (730–740 nm) is a real plus at this price. Note that the TS600 carries a 2-year warranty rather than Mars Hydro's standard 5-year warranty, which is worth factoring in. It's still a solid buy, just understand that trade-off going in.
If you find yourself outgrowing the sub-$100 tier quickly, the logical next step is a low watt LED grow light in the 150–200W range, which bridges the gap between beginner fixtures and full-sized grow room panels without a huge price jump.
Red flags to avoid and safety checks
The sub-$100 market is full of problematic listings. Here are the patterns to recognize and walk away from:
- No actual watt draw listed: If the listing only says '1000W LED' or 'equivalent to 1000W HPS' without specifying true consumption, skip it. There's no 1000W-equivalent LED for $40.
- Blurple-only designs: Old-school blue/red blurple lights with no white LEDs are outdated, run hot relative to output, and deliver worse spectrum balance than modern white-based quantum boards at the same price.
- No PPFD map: Any serious manufacturer publishes PPFD data. If you can't find a map on the product page or in a manual, the brand is not being transparent about performance.
- No third-party certifications: CE alone is self-declared in many cases. ETL (Intertek) and UL involve actual third-party testing. Lights with no certifications at all are a fire risk in enclosed tents.
- Suspiciously thin heatsinks: In product photos, paper-thin heatsink fins mean poor thermal management. Budget LEDs that run hot throttle output and degrade faster.
- Warranty under 1 year: This is the brand telling you they don't expect the product to last. The two lights recommended above both carry multi-year warranties.
On safety: always plug LED grow lights into a surge-protected power strip or outlet, not directly into extension cords daisy-chained from another strip. In a tent, keep the driver and any dangling connectors away from irrigation lines and water sources. If a light arrives with a burning smell, inconsistent dimming, or flickering at startup, return it immediately. Don't troubleshoot electrical issues in an enclosed space.
If you want to verify certification claims before buying, go to the UL Product iQ database and search the brand and model, or use Intertek's certified product directory for ETL marks. This takes two minutes and tells you whether the certification logo on the listing is real or copy-pasted from another product. It's worth doing for any fixture you're running unattended.
Getting better results after buying: tuning and simple validation
Once your light arrives, don't just hang it and walk away. A few simple steps will confirm it's performing as advertised and help you dial in the best results.
First, check the actual power draw with a plug-in watt meter (a Kill-A-Watt or equivalent, available for under $20). Plug your light in, set it to full power, and read the wattage. The XS1000 should read around 120–121W. The TS600 should be close to 100W. If either is reading significantly lower (say, 60W on a claimed 100W unit), the driver is underperforming or the listing was dishonest. This one check tells you a lot.
If you have access to a PAR meter or can borrow one, check your PPFD at canopy height with the light at your planned hanging distance. For veg, you're targeting 300–600 µmol/m²/s. For flower, 700–900 µmol/m²/s is your range without CO2. Remember that both the peak center reading and the edge uniformity matter: a light that reads 900 at center and 200 at the edges is delivering inconsistent coverage that will show up as uneven plant development. If you can't afford a PAR meter, the watt meter check plus the manufacturer's published PPFD map are your next-best validation tools.
For the first week, run the light at 70–80% power and watch for any signs of light stress in seedlings or young plants: upward leaf curling, bleaching at new growth tips, or leaf edges that look burned. If plants look healthy and are showing normal growth rates, you can step power up incrementally. For established plants in late veg or early flower, you can typically run the XS1000 at full power at 18–20 inches without issues in a well-ventilated tent.
Finally, think about your upgrade path before you need it. A single $100 light in a 2x2 is a complete, functional setup. But if you want to scale to a 4x4 or run multiple plants through flowering simultaneously, you'll want to revisit the landscape at higher price points. The best LED grow lights under $500 covers options that scale into 4x4 territory with proper PPFD for heavy flowering, so it's a natural next read when you're ready to grow beyond the 2x2.
FAQ
Is it better to buy a more expensive $100+ light, or add a second sub-$100 fixture for a bigger area?
If you need more uniform coverage across a footprint, two smaller fixtures usually outperform one dimmer fixture of similar total wattage. Under $100, a single panel often has a bright center and weaker edges, so adding a second light (or shifting to a larger-size fixture) can reduce uneven growth. If you only need to cover one plant or seedlings, a single strong 2x2 unit is usually the simpler, higher-value choice.
What hanging height should I start with if I do not have a PAR meter?
Use the article’s practical range (roughly 16 to 24 inches) as a starting point, then validate with plant response in the first week. Start at 70 to 80% power, keep height stable for several days, and adjust in small steps. If you see bleaching or taco-shaped leaves at the canopy, raise the light or reduce power. If leaves stretch and internodes elongate, lower the light or increase power.
How much daily light can I realistically expect from these under-$100 lights (DLI)?
Without CO2, those PPFD targets imply modest-to-moderate DLI for a 2x2. Veg runs (18 hours) align best with 300 to 600 µmol/m²/s, while flower (12/12) targets around 700 to 900 µmol/m²/s. To avoid overshooting DLI, rely on the dimmer and your plant stage, especially with seedlings and young transplants, because LEDs can cause stress quickly when they are too intense.
Are these lights enough for flowering, or should I plan to veg under them and flower elsewhere?
For a single plant or a small number of plants in a 2x2, yes, they can manage modest flowering. However, yields and bud density will usually be lower than what you get from higher-wattage fixtures designed for 3x3 or 4x4 flowering coverage. If your goal is heavier flowering across a larger canopy, plan to upgrade before the transition to 12/12.
Do I need far-red to get good results at this price level?
Far-red can be a helpful add-on, but it is not a magic switch. The biggest drivers of outcomes at under $100 are actual watt draw, PPFD at canopy height, and photoperiod. If your budget forces a choice, prioritize measured output and coverage over far-red detail. If two lights have similar PPFD and efficacy, then far-red inclusion becomes a tie-breaker.
How do I avoid uneven light at the edges in a 2x2 tent?
Center the fixture exactly over the canopy, avoid offset mounting, and use the recommended hanging heights. Uneven distribution often shows up as slower growth or lighter color at the perimeter. If your plants are spread to the edge, dimmer control helps but does not fix uniformity, so rearrange plants inward or consider adding a second fixture when you push canopy size.
What is the safest way to control dimming, and can I use the dimmer with timers?
Use the built-in dimmer to set intensity rather than rapidly toggling power, because frequent on-off cycling can stress drivers. Timers are fine for the photoperiod, but set the dimmer to a stable level for the whole light-on period unless you have a gradual ramp plan. If you plan to ramp from seedling to veg, do it in small increments over multiple days.
Should I worry about heat even if the light is fanless?
Yes. Fanless designs reduce noise, but they do not eliminate heat, and tent air can become humid and hot quickly in summer. Keep an exhaust strategy running, use a 4-inch inline fan when needed, and monitor canopy temperature. If canopy hotspots develop, raise the light slightly and improve airflow before you increase power.
How can I verify the “real” wattage without guessing from the label?
Use a plug-in watt meter and read consumption at full power. If a claimed 100W-class light consistently measures far below that (for example, around half), treat it as a red flag. Also confirm you are measuring the same dimmer setting and voltage condition you will use in your tent, since dimmer mode and line voltage can change draw.
Can I leave the light running on full power all the time during veg?
You can, but it is often not the best approach for seedlings and early veg. Running too intense a setting early can cause stress, slower root development, or bleaching. A better habit is to start at 70 to 80% power for about a week, then ramp up once plants are established and showing normal growth.
What safety checks should I do after the light arrives?
Do a quick power-up observation, confirm stable dimming behavior, and ensure there is no burning odor or abnormal flicker. Keep the driver and any dangling connectors away from irrigation and humidity-prone areas. If the fixture includes a hanging kit, use it instead of zip ties, and verify that all mounting points are secure before placing plants in the tent.
What should be my upgrade trigger for moving beyond the under-$100 tier?
If you routinely need to run lights at or near maximum height adjustments to avoid stress, or if the canopy is larger than what a single unit can cover uniformly, that is the practical trigger. Another signal is when your plants consistently show edge variation (slower growth around the perimeter) or you need multiple lights just to maintain even PPFD. At that point, moving to a higher-wattage class is usually more efficient than adding multiple budget fixtures.
Next Articles
Best LED Grow Light Under $500: Buyer’s Guide by Tent Size
Best LED grow light under $500 matched to tent size and plant stage, with specs, coverage, and buying tips.
Best LED Grow Light for $300: Top Picks and Buyer Guide
Top LED grow lights under $300 with specs to check PPF, coverage, dimming, efficiency and buying tips for 2x2 to 4x4.
Best 200 Watt LED Grow Light: How to Choose and Compare
Choose the best 200W LED grow light by real draw, PPFD, coverage maps, spectrum, dimming, and tent size fit.