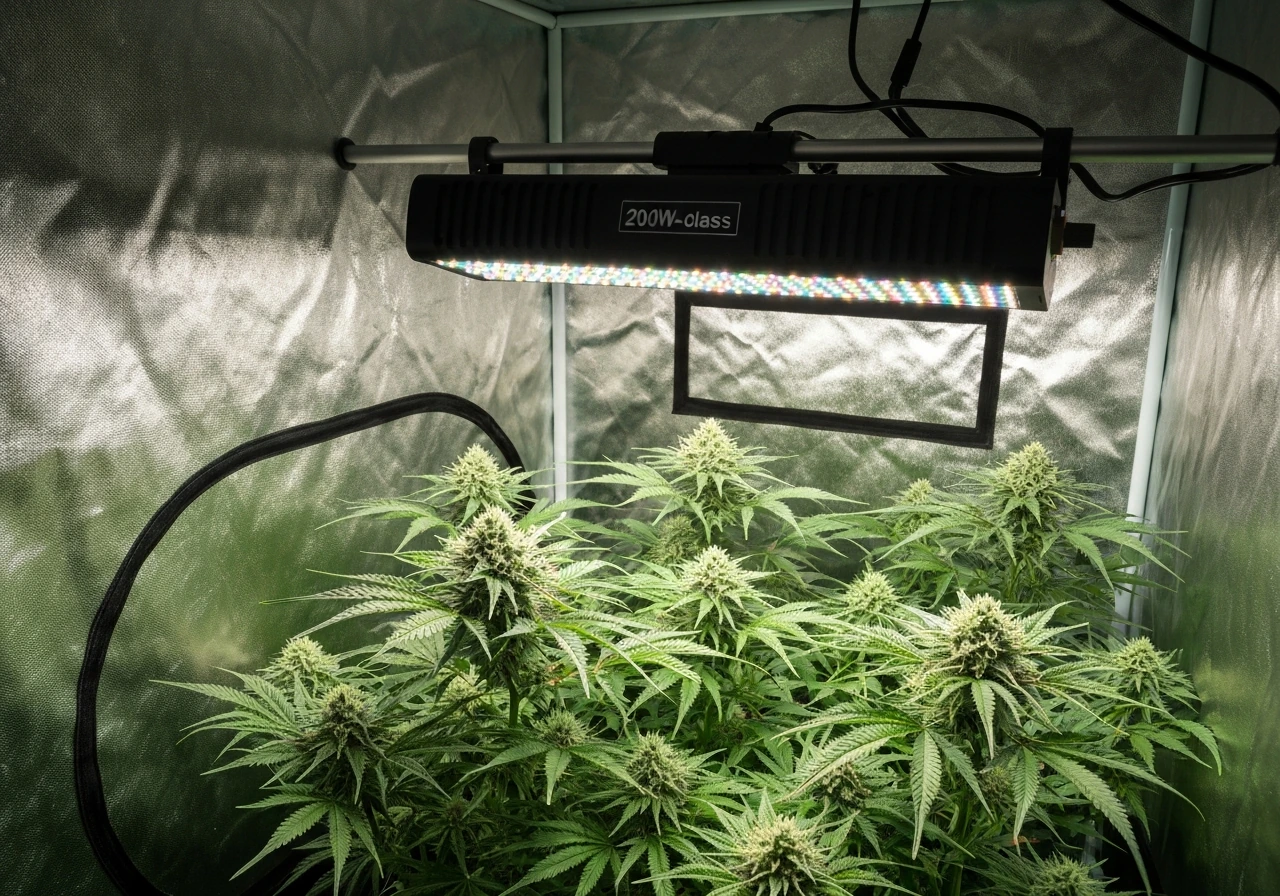
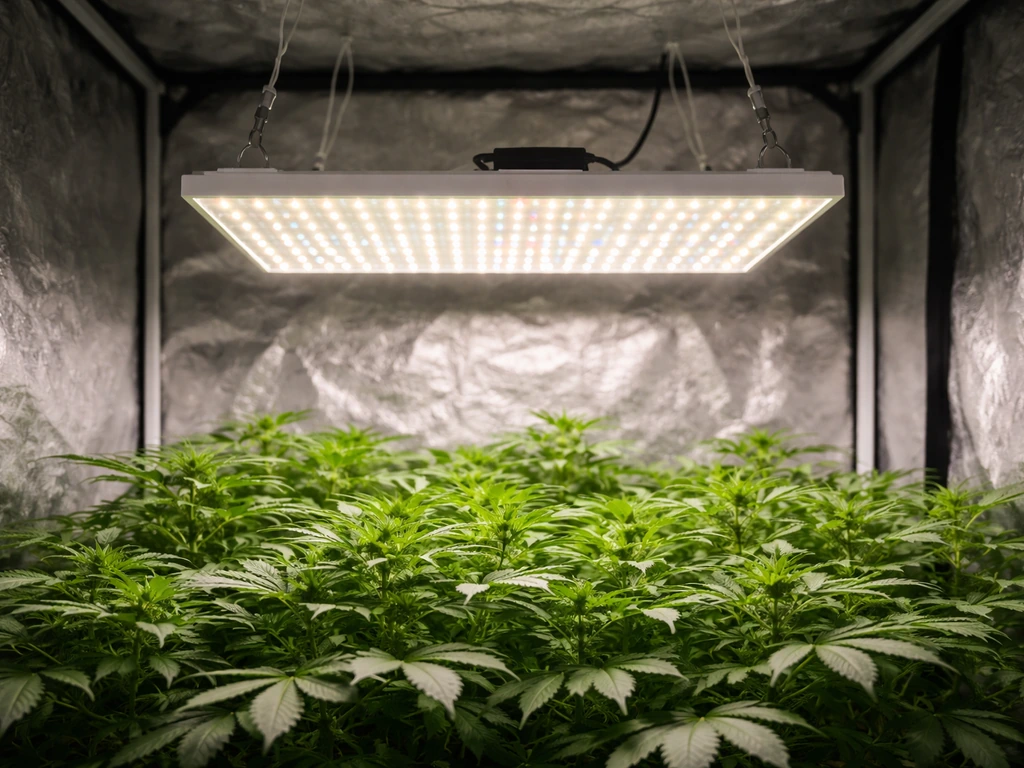
If you need a 200W LED grow light today, here is the short version: a genuine 200W-class LED (one that actually draws 195–205W at the wall) will realistically cover a 3x3 ft tent at flowering intensity or a 4x4 ft tent at vegetative intensity. Anything beyond that and you are stretching the light too thin. The longer version involves cutting through the marketing noise, because 'best 200 watt LED grow light' is one of the most abused phrases in the hobby.
Best 200 Watt LED Grow Light: How to Choose and Compare

Marcus Rutherford
15 Apr 2026
What '200W' actually means (and what to look for)
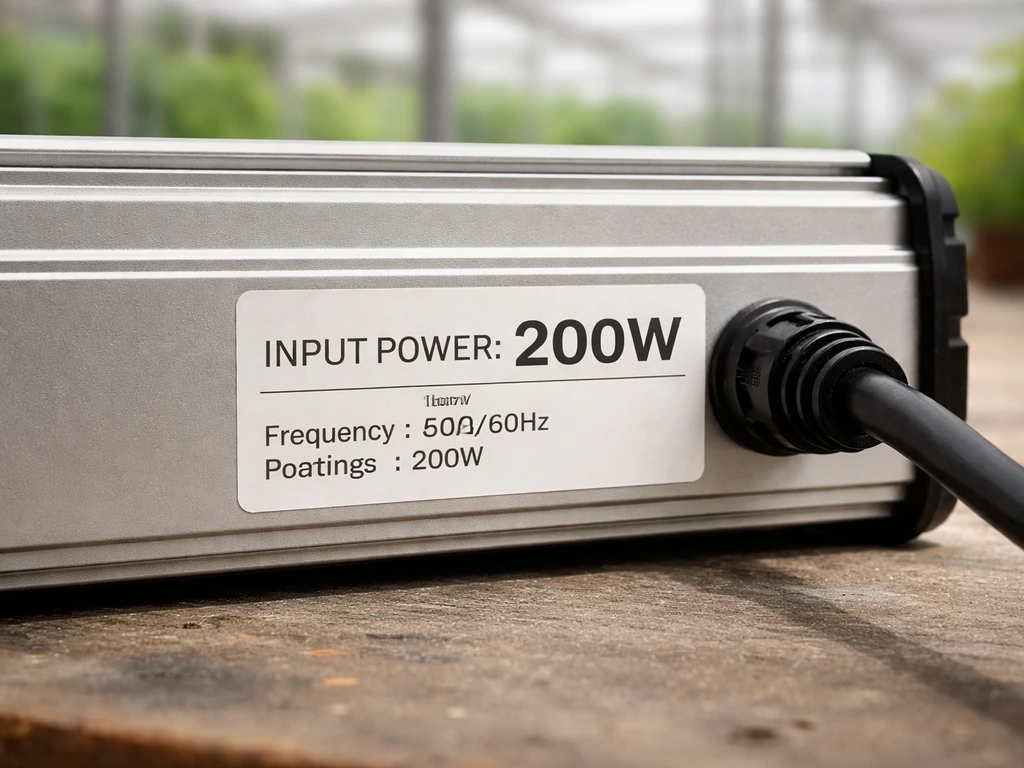
Here is the first thing to understand: in the LED grow light world, '200W' almost always refers to the electrical input power drawn at the wall, not the light energy coming out of the fixture. The Spider Farmer SF2000, for example, specifies 'Power Draw: 200W ±5%' and the ViparSpectra P2000 is rated at 200W ±3%. Those tolerances matter because they mean the actual draw could legitimately be anywhere from 188W to 210W depending on conditions. An independent measurement of the ViparSpectra P2000 put wall draw at roughly 197W, which lands right in the middle of the stated spec. That is the honest version of the story.
The dishonest version is what some aggregator-style brands pull: advertising '200W' while the unit actually draws 175–185W at the wall. That 15–25W gap sounds small until you realize it represents up to 12% less light output than you paid for. Always ask for a measured input wattage, not an 'equivalent' wattage or a chip-rated sum. If a brand cannot tell you actual wall draw with a clear tolerance, that is a red flag.
Once you have confirmed real wattage, the metric that actually tells you how useful the light is for plants is PPFD: photosynthetic photon flux density, measured in micromoles per square meter per second (µmol/m²/s). PPFD is what your plant canopy actually receives, and it changes dramatically with mounting height, dimmer setting, and how far you are from the center of the fixture. Wattage alone tells you how much electricity you are consuming. PPFD tells you whether your plants are getting fed.
What PPFD targets you should be aiming for
Here are practical PPFD ranges by growth stage. Seedlings need 150–250 µmol/m²/s. Vegetative growth sits at 300–500 µmol/m²/s. Early flower wants 500–700, and late flower can push 700–1000 for high-demand crops. A well-tuned 200W LED in a 3x3 tent, hung at the right height, can reliably hit the 600–800 range at canopy level during flower, which is exactly where you want to be for most hobby grows. If you need that same intensity across a full 4x4, you are going to need more light.
Matching a 200W light to your actual grow space
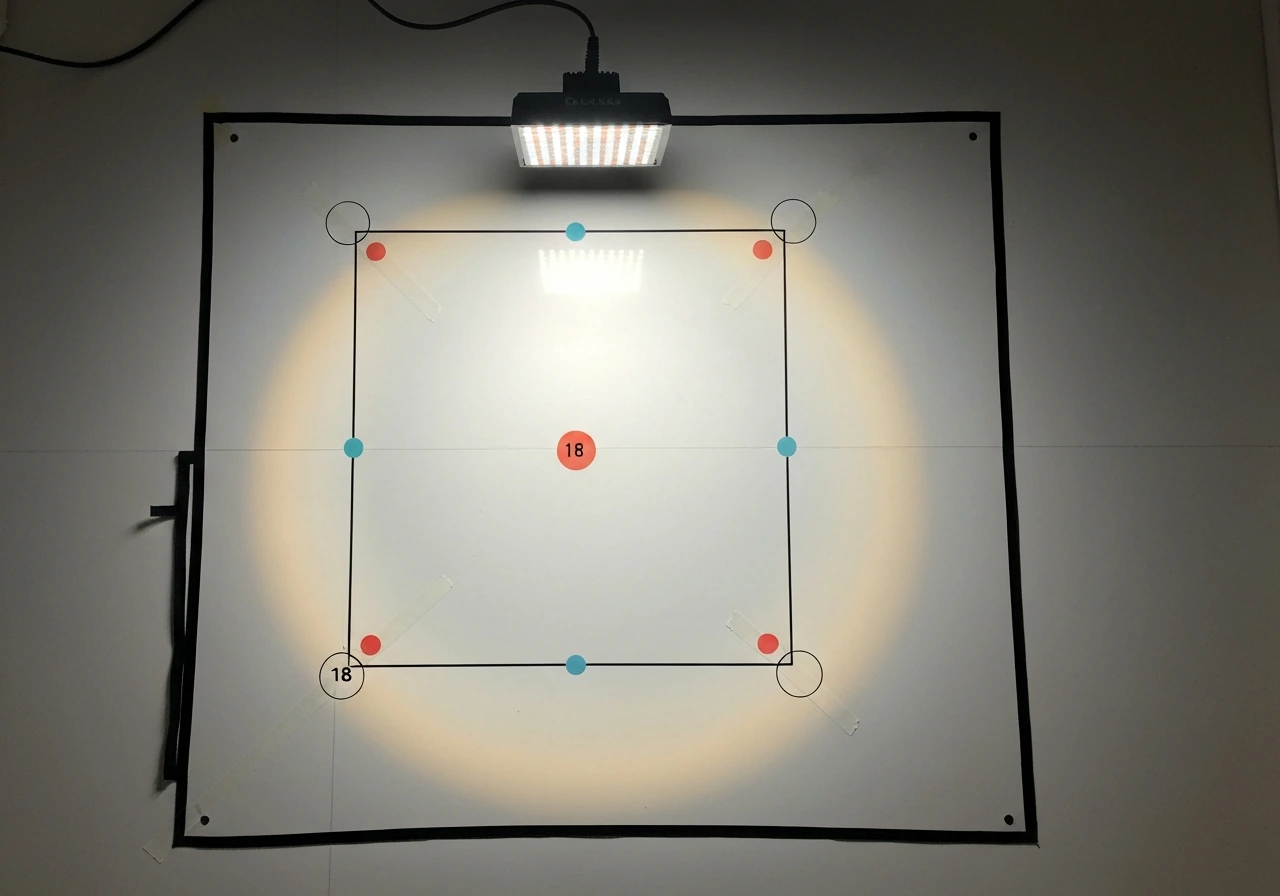
Coverage claims on the box are almost always optimistic. Most brands measure at 18–24 inches and at full dimmer, which is the best-case scenario. Real-world coverage depends on what PPFD you need across the whole canopy, including the edges. PPFD maps from the Spider Farmer SF2000, for example, show a noticeable drop-off at the edges of a 3x3 footprint versus the center, which is normal but means that a 4x4 flowering claim is really a stretch. Here is how I think about sizing for the most common tent setups.
| Tent Size | Realistic Use Case | Expected Center PPFD (at 18") | Notes |
|---|---|---|---|
| 2x2 ft | Veg or clone stage | 900–1100+ µmol/m²/s | Intense at center; dial back with dimmer |
| 2x4 ft | Veg or light flower | 600–800 µmol/m²/s | VIVOSUN AW200 manual recommends 24" for this footprint |
| 3x3 ft | Full flower (primary sweet spot) | 600–850 µmol/m²/s | Best match for genuine 200W-class fixtures |
| 4x4 ft | Veg only | 300–450 µmol/m²/s | Edge PPFD too low for flowering most crops |
| Single plant | Any stage with dial control | Dial to stage target | Dimming is your best friend here |
The 3x3 tent is the sweet spot for a 200W LED. If your primary grow space is 4x4, I would honestly push you toward a purpose-built 300–350W fixture instead. If you are working with a 2x4, a 200W board is a very comfortable fit for flower. And for a single-plant setup, any of the better 200W options with a decent dimmer will handle the whole grow cycle with room to adjust.
Full-spectrum vs veg/bloom vs multi-switch: which one to buy
A few years ago, 'switch-mode' panels with separate veg and bloom switches were everywhere. The idea was that you could use the blue-heavy channel for veg and flip on the red channel for flower. It sounds logical, but in practice you end up running the light at half power for much of the grow, wasting the fixture's potential. Most serious growers I know run full-spectrum from seed to harvest and just adjust intensity via dimming or distance.
Modern full-spectrum boards in the 200W class, like the ViparSpectra P2000 (which uses 3000K warm white, 5000K white, 660nm deep red, and 730nm IR diodes), are built around this single-spectrum-all-stages philosophy. The far-red at 730nm is particularly useful because it triggers the Emerson effect, accelerating the end of the photoperiod response and improving flowering efficiency. You do not need to switch anything. You adjust intensity.
Multi-switch boards are worth buying only if you genuinely have a mixed-stage garden: clones on one side, flowering plants on the other. Even then, the coverage inconsistency from running partial channels usually causes more problems than it solves. For most growers, a single full-spectrum board with a clean dimmer is the better tool. If you are buying a low-watt LED for a smaller dedicated veg space, the calculus is slightly different, but at the 200W level, full-spectrum wins.
Top picks and how to compare them properly
I am not going to pretend there is one objectively perfect 200W LED. What I can do is give you the names that consistently show up when you look at real specs, and explain what separates them. The Spider Farmer SF2000, VIVOSUN VS2000, and ViparSpectra P2000 are the three most commonly purchased models in this class, and each has a legitimate claim to being the right pick depending on your priorities.
| Model | Actual Wall Draw | Diodes | Efficacy (approx) | Dimming | Warranty | Best For |
|---|---|---|---|---|---|---|
| Spider Farmer SF2000 | 200W ±5% | Samsung LM301B | ~2.3–2.5 µmol/J | 0–100% knob | 3 years | 3x3 flower, reliability-first buyers |
| ViparSpectra P2000 | 200W ±3% | Samsung + 730nm IR | ~2.4 µmol/J | 0–100% knob | 3 years | Full-cycle grows, budget-conscious buyers |
| VIVOSUN VS2000 | 200W rated | Epistar/Samsung mix | ~2.2–2.4 µmol/J | 0–100% knob | 5 years (direct) | Buyers who prioritize warranty length |
| Harvest Master QB 200W Eco | 200W dimmable | Quantum board design | ~2.1–2.3 µmol/J | Onboard dimmer | Standard limited | Budget builds, simple setups |
Efficacy (measured in µmol/J) is the number that tells you how efficiently a fixture converts electricity into usable plant light. A higher number is better. At 2.3–2.5 µmol/J, the Spider Farmer SF2000 sits at the top of what you can expect from a 200W-class board at this price tier. The VIVOSUN VS2000 trades a bit of efficacy for a notably longer warranty: 5 years when purchased through VIVOSUN or an authorized dealer, which is a meaningful difference if you plan to run this light for more than one or two seasons. If warranty length matters to you, that is a real differentiator.
When comparing PPFD maps across brands, keep this in mind: the measurement height matters enormously. Black Dog LED has published pointed commentary on this exact issue, noting that competitor PPFD maps are often taken at different hanging heights or with different dimmer states, making direct comparison almost meaningless without standardized conditions. When a brand publishes a map, look for the fixture height, the dimmer setting, and whether the measurement is measured data or a simulation. Measured beats simulated, every time.
On driver quality: the best 200W boards in this class use Meanwell drivers or equivalent-grade components. Meanwell drivers have a well-documented reliability record and typically carry their own warranty. Cheaper boards use generic drivers that are the first component to fail. You will not always find this information on the product page, so it is worth a quick search for teardown reviews or forum discussions before buying.
One more comparison axis worth considering: fan vs no-fan designs. Fanless quantum boards run silently and have no moving parts to fail, but they depend entirely on passive heat dissipation through the heatsink. Fan-equipped fixtures can maintain lower junction temperatures under heavy use but add noise and a mechanical failure point. For most hobby grows, fanless is the better long-term choice.
If your budget stretches further than the standard 200W options, it is worth looking at what the next price tier offers. The best LED grow lights in the $300 range often deliver meaningfully better efficacy, larger PPFD footprints, and more robust build quality, which can be worth the step up if you are planning a long-term setup.
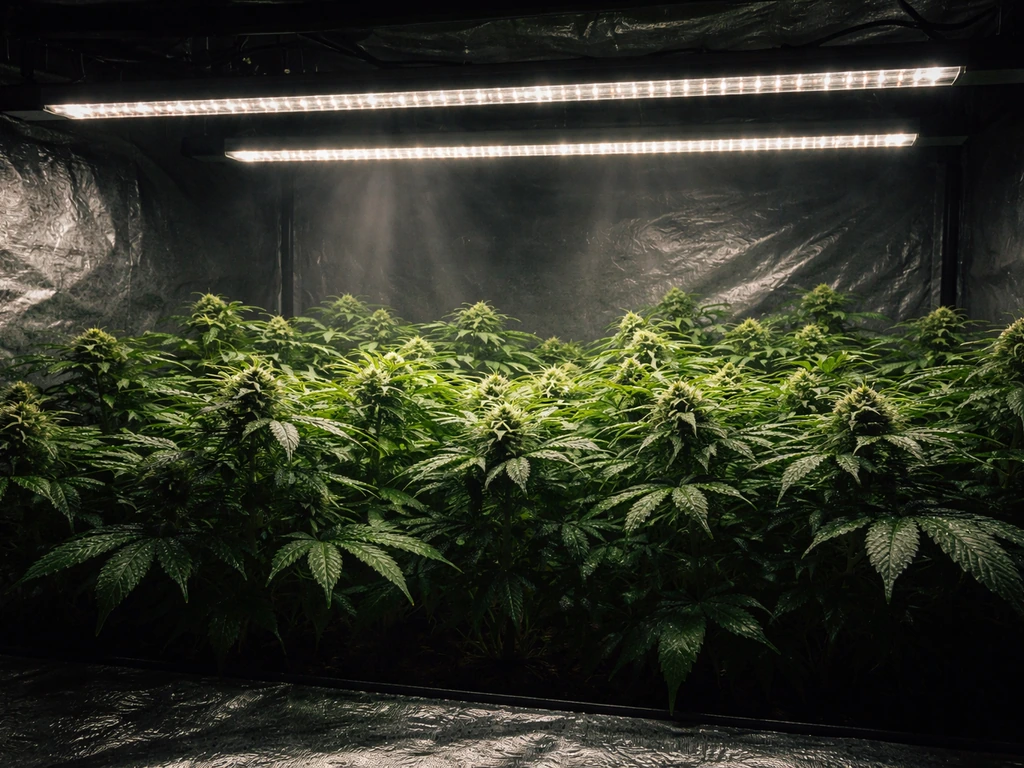
How to install it and dial it in
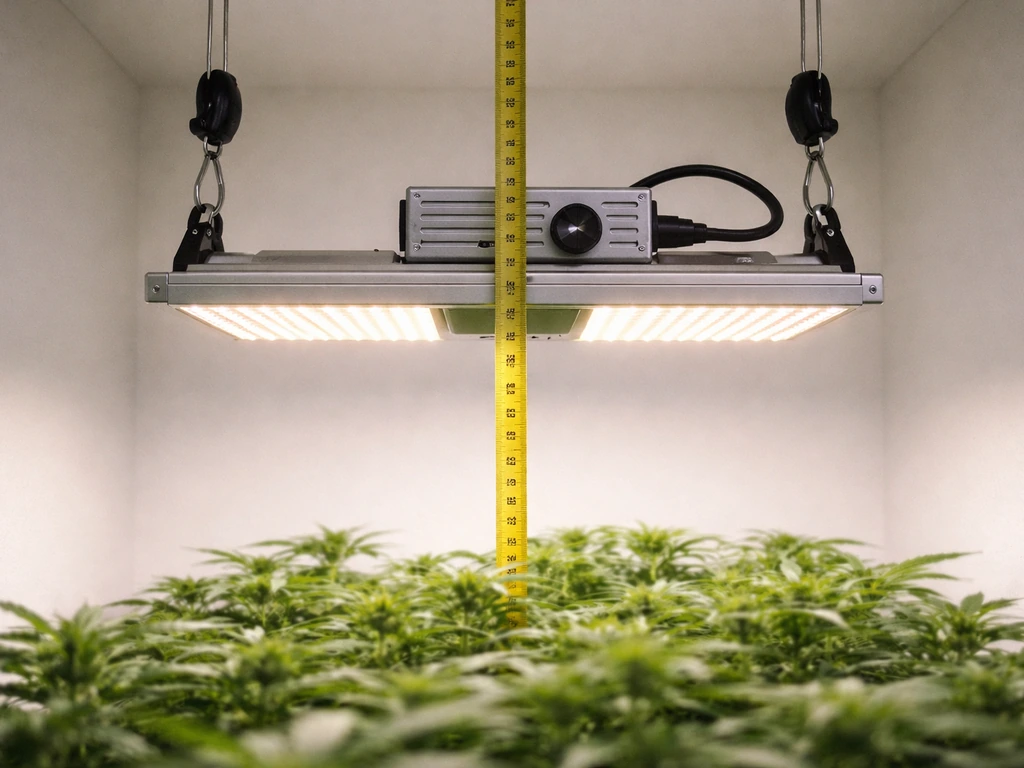
Mounting height
Start at 24 inches above the canopy for seedlings and early veg at reduced dimmer settings. As plants establish, you can lower to 18–20 inches for veg at moderate power. For flower, 16–20 inches at 80–100% output is a common target, but use your PPFD meter (or manufacturer's published map) to verify you are hitting the right intensity at canopy level. The VIVOSUN AW200 manual, for example, explicitly ties a 24-inch hanging height to a 2x4 footprint for seedling work, which is a good anchor point if you are starting fresh.
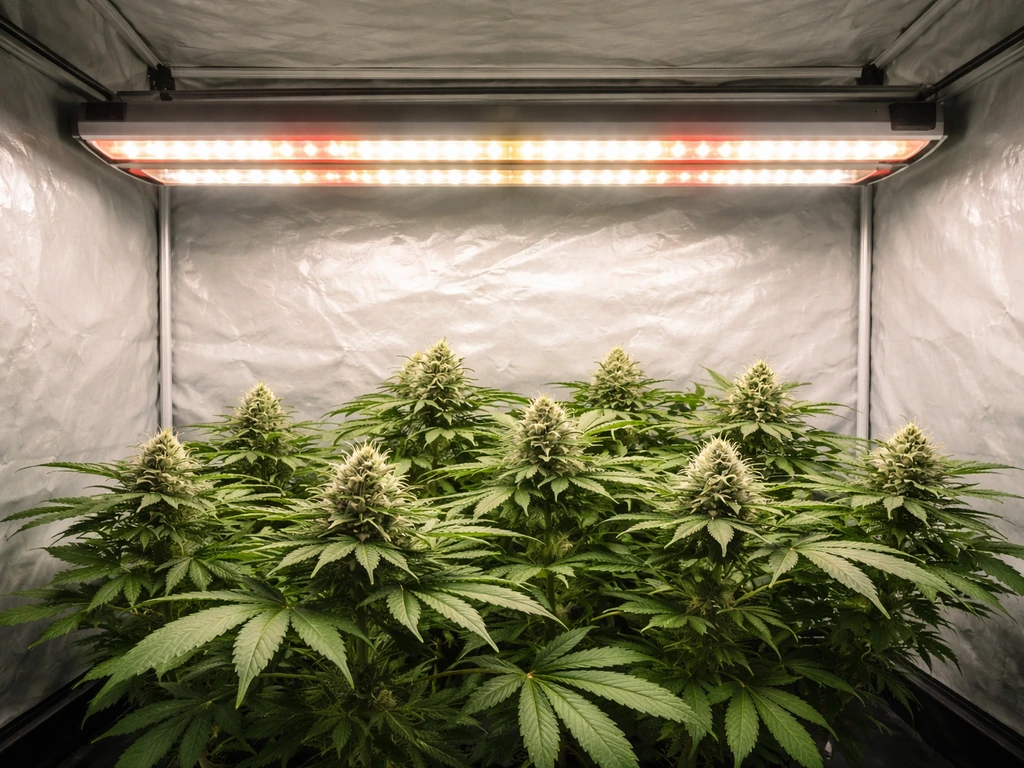
Dimming strategy across the grow
Do not run any 200W LED at 100% from day one. Start seedlings at 40–50% output and ramp up over the first two weeks. Vegetative growth runs well at 60–75% with appropriate height. Flip to 80–100% when you transition to flower and confirm PPFD at canopy. This staged approach protects young plants from light stress and also extends diode life over years of use. Spider Farmer's controller ecosystem lets you set dimming schedules programmatically, which is a genuine quality-of-life improvement if you are growing multiple cycles per year.
Photoperiod settings
For photoperiod (non-autoflowering) plants, 18 hours on / 6 hours off is the standard for vegetative growth. Switch to 12/12 to trigger flowering. Autoflowering strains are typically run at 18/6 or even 20/4 for the entire cycle. These are not light-specific settings: they are crop-specific. Your timer handles this, not the fixture itself. Make sure your light's dimming knob or controller does not accidentally wake the light during the dark period if you are growing photoperiod plants.
Heat, power draw, and safety
A genuine 200W LED pulling 200W at the wall produces about 200W of heat, because essentially all input power eventually becomes heat in the grow space. That is not a huge thermal load: a standard oscillating fan handles tent temperature in most climates, and passive convection through a tent's exhaust port is usually enough for a 3x3 setup in a temperate environment. If your ambient room temperature is above 75°F (24°C) before accounting for the light, add an inline exhaust fan rated for your tent volume.
On the electrical side, 200W at 120V draws roughly 1.7 amps. A standard 15-amp circuit can handle multiple 200W fixtures without approaching its limit, but always account for other loads on the circuit: fans, pumps, timers, and heaters add up. Spider Farmer's SF-Series user manual and Mars Hydro's TS-Series documentation both include installation precautions around rated voltage and cord condition. Mars Hydro's TS-Series documentation includes installation precautions around rated voltage and cord condition. The short version: use a surge-protected power strip, do not daisy-chain extension cords, and inspect the power cord for damage before every season.
Fanless quantum boards like the SF2000 and VS2000 get warm on the heatsink surface but should not get hot enough to touch and recoil from. If a heatsink feels scalding under normal conditions, something is wrong: either the unit is defective, you are in a poorly ventilated space, or the dimmer is not functioning. Monitor temps during the first few runs.
Your buying checklist and the mistakes worth avoiding
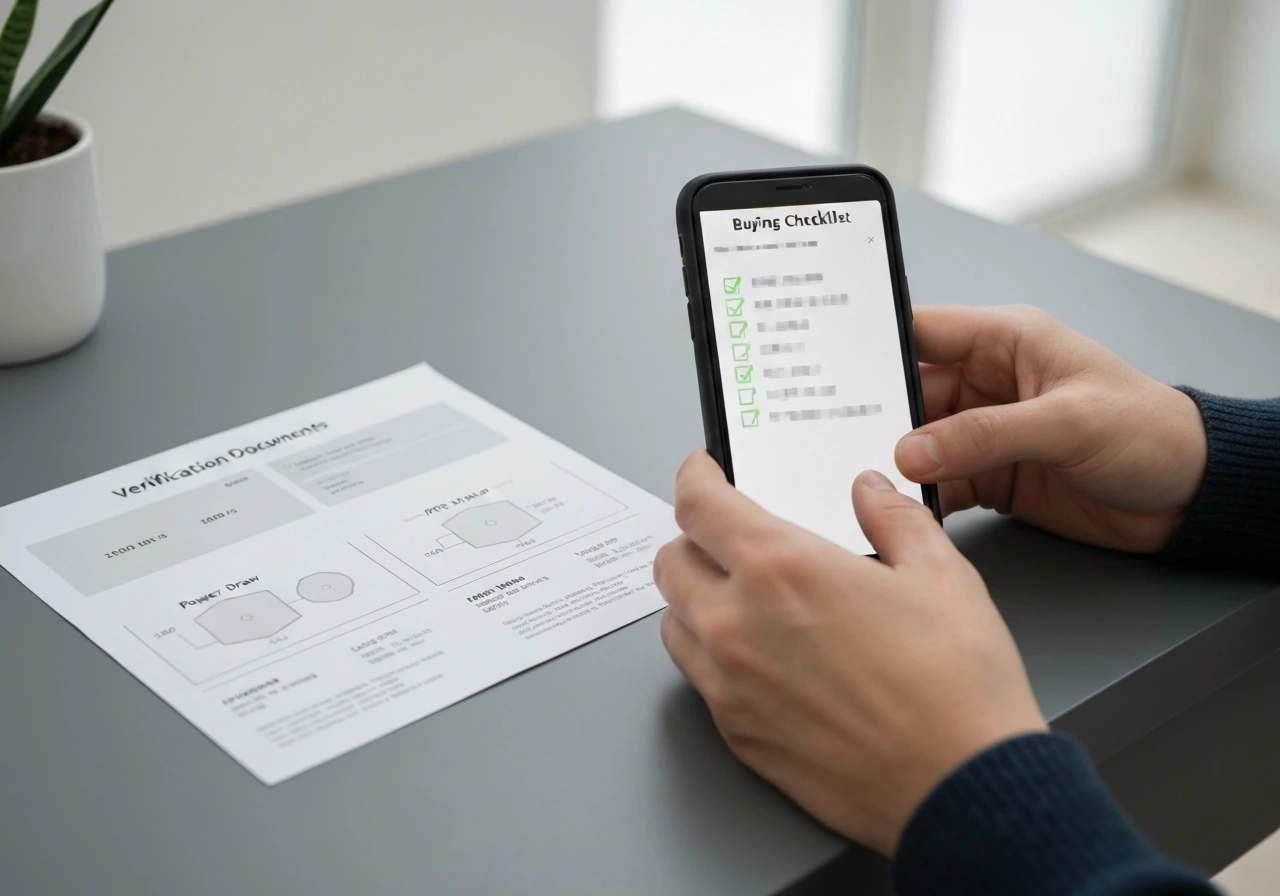
Before you click buy, run through this list:
- Confirm actual wall draw in watts (not equivalent watts, not chip watts) with a stated tolerance.
- Check for a published PPFD map with the measurement height and dimmer setting clearly labeled.
- Verify diode brand (Samsung LM301B/H, Osram, or equivalent) and driver brand (Meanwell or comparable).
- Check the warranty: 3 years minimum, 5 years is better. Confirm whether it applies to your purchase channel.
- Confirm the fixture has a 0–100% dimmer, not just a veg/bloom switch.
- Check the coverage claim against your actual tent size and the PPFD you need at your stage.
And here are the mistakes I see most often when people shop this category:
- Assuming a '200W' label means 200W of actual draw. It often does not, especially from smaller brands.
- Buying for a 4x4 flowering tent with a single 200W light. The math does not work for most high-demand crops.
- Ignoring PPFD uniformity. A light with a great center number but terrible edge drop-off will give you uneven growth and wasted canopy.
- Choosing a veg/bloom switch light over a dimmable full-spectrum board. The switch model sounds versatile but usually is not.
- Skipping the PPFD meter. Even a basic Apogee-style quantum sensor removes all the guesswork from hanging height and dimmer tuning.
- Buying the cheapest option without checking driver quality. The diodes outlast the drivers in most cheap fixtures.
One thing worth mentioning: if your actual budget is tight and you are genuinely trying to optimize spend per watt of output, there are well-regarded options below the 200W tier. The best LED grow lights under $100 cover smaller spaces respectably if you are just starting out. And if you are growing into a more serious setup and want to consider 200W-range lights from a broader price perspective, the best LED grow lights under $500 roundup covers a wider field that overlaps with premium 200W fixtures and the step above.
If you are running a multi-light tent or experimenting with supplemental lighting below the canopy to improve lower bud sites, under-canopy LED grow lights are a separate but complementary tool that pairs well with a primary 200W overhead fixture in a 3x3 or 4x4 setup.
The bottom line
For a 3x3 flowering tent today, the Spider Farmer SF2000 is the most reliable all-around choice: real 200W draw, proven Samsung diodes, a clean dimmer, and a strong reputation in the community for doing exactly what it says on the box. The ViparSpectra P2000 is a close second with a slightly tighter power tolerance and a full-spectrum including far-red. If warranty length is your deciding factor, the VIVOSUN VS2000's 5-year coverage through authorized channels is a genuine advantage.
Whatever you choose, treat the marketed wattage as a starting point and verify it against actual specs. Then build your setup around PPFD targets, not wattage assumptions. That single shift in how you evaluate grow lights will serve you better than any single product recommendation I can make.
FAQ
How can I tell if a “200 watt” LED grow light actually draws near 200W at the wall?
Look for a spec that lists power draw at the wall (with a tolerance like ±3% or ±5%), or a third-party measurement under controlled conditions. If the listing only says “equivalent wattage,” “chip wattage,” or provides no numbers for actual input power, assume the real draw may be well below advertised.
If the box says it covers a 4x4, will a true 200W still work for flowering?
Use a PPFD target per growth stage, then verify canopy PPFD with a meter (recommended) or the manufacturer’s PPFD map using the same mounting height and dimmer setting. A 200W light can work in larger tents only if you can accept lower edge intensity or supplement with a second light.
Do I need PPFD mapping if I’m only adjusting height and dimmer?
Yes, but only if you treat the bar like a yield tool: measure PPFD at canopy level after you change anything (height, dimmer, lens usage). Increasing output via dimming or lowering distance affects intensity at the edges most, so your center may be “fine” while corners are underfed.
What’s the biggest mistake people make when comparing efficacy across 200W LED models?
Do not assume a higher “µmol/J” number always means higher real canopy PPFD in your setup. Compare µmol/J along with actual PPFD at your likely hanging height, and confirm whether the map is measured data or a simulation.
Is it normal for a fanless 200W LED to run very hot?
A fanless fixture should feel warm, not painful. If the heatsink gets scalding under normal operation, stop using it and check ventilation and dimmer/controller function. Also confirm that the fixture is not blocked by tent fabric or stacked against other equipment.
How should I ramp intensity through seedling, veg, and flower with a 200W LED?
Start at 40% to 50% output for seedlings and ramp over about two weeks, then move to veg around 60% to 75% (with correct height). For flower, you can often run 80% to 100%, but only after you confirm canopy PPFD and watch for bleaching or tacoing leaves.
Can my light controller accidentally affect the dark period on photoperiod plants?
For photoperiod grows, the timer controls the on/off cycle (for example, 18/6 to 12/12). However, the fixture’s own dimmer or controller can sometimes apply power in ways that cause brief wake-ups, so verify the light stays fully off during the dark period.
If I run two 200W lights, will a typical 15A circuit be enough?
Always check circuit capacity including everything else running on that circuit. Even though 200W is roughly 1.7A at 120V, fans, pumps, dehumidifiers, and heaters can push you over comfortable limits, especially with multiple fixtures.
What should I do if my canopy PPFD doesn’t match the brand’s PPFD map?
Measure with a PPFD meter if you can. If not, at least use the manufacturer’s map, but only after you confirm the stated mounting height and dimmer position match your planned setup. Mismatched conditions are the main reason “my results don’t match the chart.”
When should I add a second light instead of relying on one 200W in a bigger tent?
If you need to cover a bigger flowering footprint, consider a purpose-built higher-watt fixture or add a second 200W light rather than stretching one light. This prevents the edge drop-off from turning into consistently underdeveloped lower buds.
What driver-related red flags should I watch for when buying a 200W grow light?
Look for driver reliability info, ideally named driver brands or documented components (for example, Meanwell or equivalent). If the product page omits driver details entirely, treat that as a risk and confirm via teardown reviews or user reports.
Are multi-channel (veg/bloom) 200W lights worth it for most home grows?
If your fixture has multiple channels or veg/bloom switches, only use them when you truly have separated-stage needs (like clones on one side and flowering plants on the other). If you run everything together, a single full-spectrum approach with dimming usually gives more consistent coverage.
How do I estimate whether a 200W LED will overheat my tent?
Because most heat comes from electricity, you can estimate your additional heat as roughly the same wattage as power draw (for example, 200W becomes about 200W of heat). If your room is already warm (around 75°F / 24°C or higher), add more exhaust and possibly stronger airflow.
Why is it a problem to run a 200W LED at 100% from day one?
Avoid running at full power immediately. New diode arrays and your canopy can be more sensitive early on, so staged dimming not only reduces stress, it also helps you get smoother growth patterns and reduces the chance of leaf damage.
Next Articles
Best Low Watt LED Grow Light Guide: Pick, Match, Install
Choose the best low watt LED grow light by coverage, spectrum, efficiency, dimming, and safe setup for 2x2 to 4x4.
Best Under Canopy LED Grow Lights: Buyer’s Guide and Picks
Buyer guide and picks for under-canopy LED grow lights, with coverage math, PPFD targets, and layout tips.
Best Full Spectrum 1000W LED Grow Lights: Buyer Guide
Buy the best full spectrum 1000W LED grow light with spec-to-decision tips on PPFD, coverage, wattage, and tent fit.