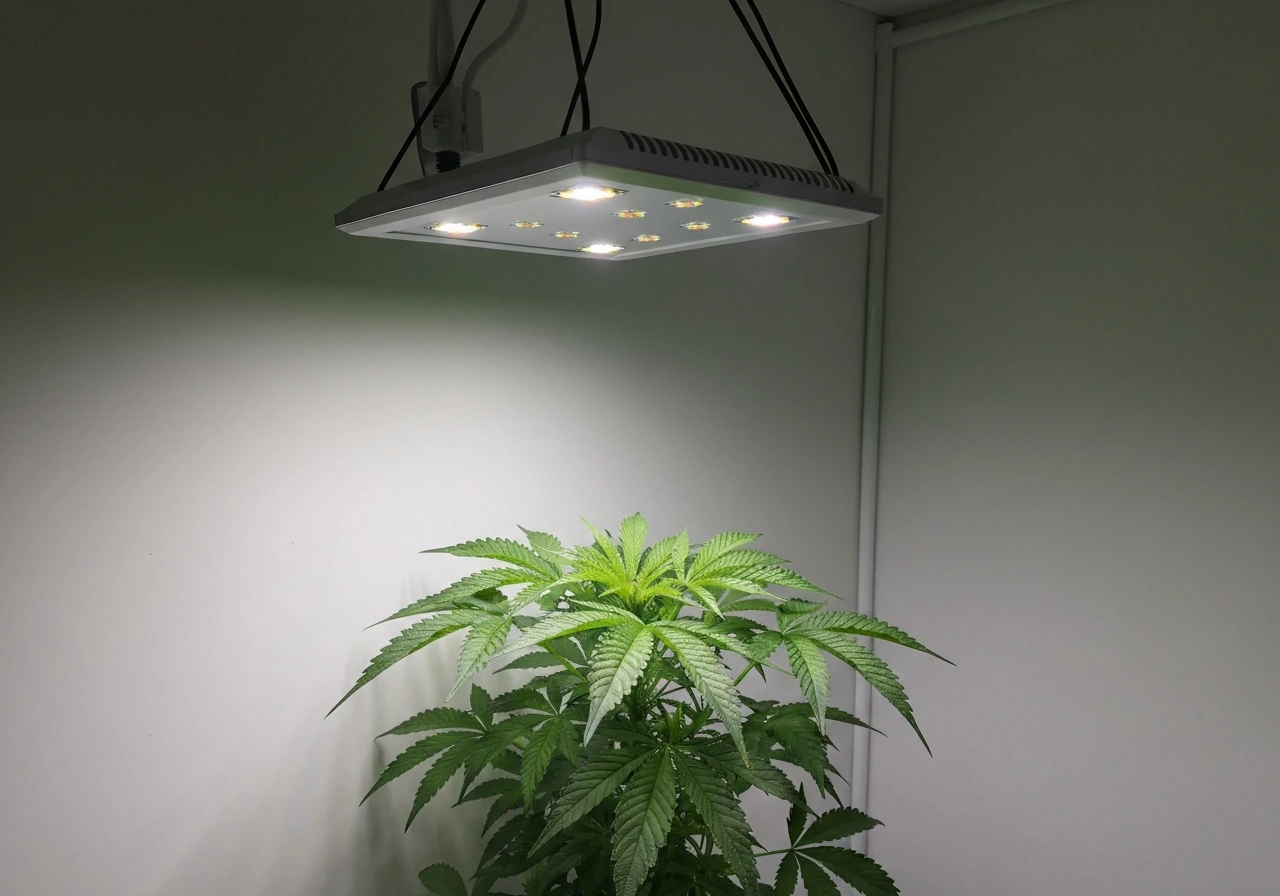
The best dimmable LED grow lights let you run one fixture from seedling to harvest, dialing output up or down to match what your plants actually need at each stage. That flexibility matters more than most growers realize: too much light early on stresses seedlings, too little during flower kills yield, and running a light at 100% when you only need 60% wastes electricity and generates unnecessary heat. If you want a short answer on whether LEDs are worth the investment at all, are led grow lights good covers that ground thoroughly. This guide picks up where that question leaves off and focuses specifically on dimming: what it means, how to use it correctly, and which setups make the most sense for your space.
Best Dimmable LED Grow Lights: How to Choose and Use

Marcus Rutherford
17 Apr 2026
What 'dimmable' actually means for LED grow lights
When a manufacturer calls a grow light dimmable, they're describing how the driver (the power supply inside or external to the fixture) reduces current to the LEDs. There are a few different ways this happens, and they are not all equal.
The most common control method you'll see on mid-range and commercial grow fixtures is 0-10V analog dimming. Trim Leaf’s compatibility guide also emphasizes that choosing the right adapter depends on the grow light’s signal protocol, such as 0-10V analog dimming or PWM. A low-voltage signal between 0 and 10 volts is sent to the driver, and the driver scales output proportionally. At 10V you get full power; at 1V (or 0V depending on the driver) you get minimum output. Drivers like the eldoLED OPTOTRONIC 180W support dimming to 10% of rated output through a 0-10V interface, plus advanced protocols like DALI-2 for network-level control. That 10% floor is important: it means you can run a 600W fixture at roughly 60W for seedlings without a separate, smaller light.
PWM (pulse-width modulation) dimming is another method, where the driver rapidly switches power on and off. At 50% dim, the LED is technically on for half the time per cycle. Done correctly at high frequencies (above 1,000 Hz), plants and cameras don't notice. Done poorly at low frequencies, you get visible flicker and potential interference with grow room cameras or timers. Cheaper fixtures sometimes use low-frequency PWM, which is worth watching out for.
Triac dimming is borrowed from household dimmer switches and is the least suitable for grow lights. It works reasonably well with incandescent bulbs but causes compatibility issues, flicker, and driver damage with most LED drivers not specifically designed for it. Avoid any grow light that claims triac compatibility unless it explicitly states the driver is rated for it.
The practical bottom line: look for fixtures with a 0-10V driver interface or a dedicated on-board knob wired to that interface. These are stable, widely compatible with environmental controllers (Inkbird, Autopilot, Gavita Master), and let you set dim levels reproducibly without guessing.
How to choose the right dimmable light for your grow space
Start with your footprint, not the wattage. A 4x4 tent (16 sq ft) needs enough output to push 800-1,000 PPFD (micromoles per square meter per second) at canopy level during flower. A 3x3 needs proportionally less, and a 2x2 can get by with a quality 200-250W fixture. The wattage printed on the box is only useful when you also know the fixture's photon efficacy, expressed in micromoles per joule (µmol/J). Anything above 2.5 µmol/J is solid; the best commercial-grade quantum boards and bars now hit 2.8-3.0 µmol/J.
For small spaces and supplemental applications, strip-style fixtures are worth considering. Best LED grow light strips break down the top options if you're filling in a propagation shelf or adding side lighting to a tent. They're often dimmable too, though the control interfaces vary.
For flowering crops with high light demands, prioritize PPFD uniformity across the canopy, not just peak intensity at center. A fixture that hits 1,200 PPFD in the middle and 400 PPFD at the edges is going to produce uneven buds. Check manufacturer PPFD maps (third-party verified when possible) rather than taking single-point measurements at face value.
Dimming range is a spec that gets buried in product listings. You want a fixture that dims to at least 10-20% of full output so it's genuinely useful for seedlings and clones. Some budget lights have a dimming range of 50-100%, which is almost useless for early-stage growing. Also check whether the dimming is linear or has dead zones at the low end where output barely changes even as you adjust the knob.
| Grow Space | Target Flower PPFD | Recommended Wattage Range | Dimming Interface to Look For |
|---|---|---|---|
| 2x2 (4 sq ft) | 600–800 µmol/m²/s | 100–200W | On-board knob or 0-10V |
| 3x3 (9 sq ft) | 800–1,000 µmol/m²/s | 250–350W | 0-10V or PWM (>1kHz) |
| 4x4 (16 sq ft) | 900–1,100 µmol/m²/s | 400–600W | 0-10V, DALI, or on-board |
| 5x5 (25 sq ft) | 900–1,100 µmol/m²/s | 600–800W | 0-10V with external controller |
| 4x8 / Commercial | 1,000–1,500 µmol/m²/s | 800W+ or multiple fixtures | DALI-2 or 0-10V networked |
If you're growing strawberries or other fruiting crops that need careful light management across stages, the intensity requirements are stricter than leafy greens. Best LED grow lights for strawberries goes into the specific PPFD and spectrum recommendations for that crop. The dimming guidance in this article applies directly to those setups.
Dimming by growth stage: seedling, veg, and flower
Seedlings and clones

Seedlings and freshly cut clones need very little light, and more is actively harmful. University of Maine Extension research puts seedling/clone PPFD at under 100 µmol/m²/s. That is not a typo. On a 600W fixture, hitting that target means running at around 10-15% power with the fixture hung at a normal height (18-24 inches above canopy). This is exactly why a wide dimming range matters: you need a light that can actually get that low without flickering out or producing uneven output.
A good practical starting point for seedlings: dim to 10-15%, hang the fixture 24 inches above the tray, and watch for stretching. If seedlings are stretching toward the light aggressively, raise the fixture or increase output slightly. If leaves are cupping downward or showing bleaching within the first few days, you're already too intense.
Vegetative stage
Vegetative growth typically runs well at 300-600 µmol/m²/s. Depending on your fixture size, that translates to roughly 30-60% dim. Most plants in veg are forgiving within that range, so this stage is a good time to experiment and get familiar with how your specific fixture responds to the dimmer. Ramp up slowly as plants fill out and canopy density increases.
Flowering and fruiting
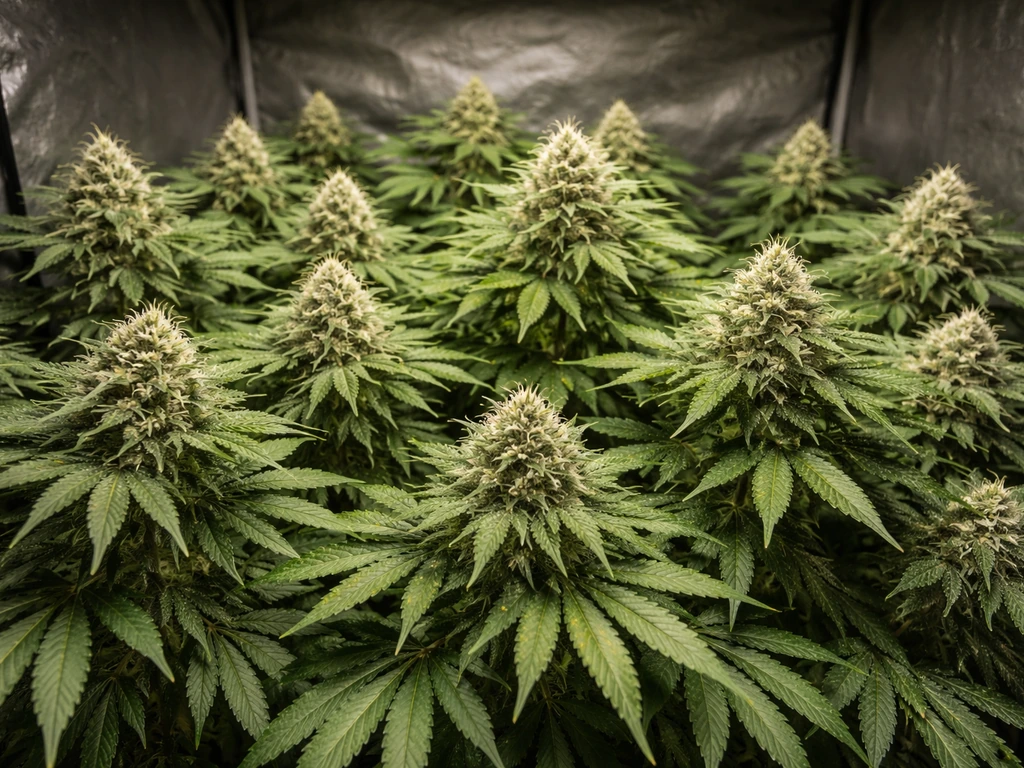
Flower and fruit production is where your fixture earns its keep. The target PPFD range shifts to 800-1,200 µmol/m²/s, with University of Maine Extension data supporting the upper end (400-1,200 µmol/m²/s) for flowering and fruiting crops. High-output fixtures like the HLG 750 Diablo ES get used at reduced power by experienced growers early in flower, then ramped to full output as the canopy fills and CO2 supplementation starts. The point is that even a big fixture should start flower at 60-70% and work upward, giving plants time to adapt.
If your goal is maximizing yield, check out best LED grow lights for high yield for fixture-specific picks optimized for peak flower output. Dimming is still relevant there: you get more usable light at canopy level by running a slightly oversized fixture at 80% than by maxing out an undersized one.
Setting dim levels safely and hitting your PPFD target
The fastest way to calibrate your setup is with a quantum sensor or PAR meter. Apogee's SQ-500 series, for example, measures spectral response across the PAR band (389-692 nm) and gives you a direct PPFD reading in µmol/m²/s. Hold it at canopy level, check the center and four corners, and average the readings. That number tells you exactly where you are relative to your stage target.
If you don't have a PAR meter, you can work backward from the manufacturer's published PPFD map. Find the map that matches your fixture height, locate your actual canopy position on the grid, and use that figure as your starting point. It's not as precise as measuring, but it's much better than guessing.
Here's a simple workflow for dialing in a new fixture:
- Hang the fixture at the manufacturer's recommended height for your target stage.
- Set the dimmer to 50% and take PPFD readings at canopy level (center and corners).
- Compare to your stage target (seedling: <100, veg: 300-600, flower: 800-1,200 µmol/m²/s).
- Adjust dim level up or down in 10% increments, re-measuring after each change.
- Lock in the setting once average canopy PPFD is within your target range.
- Record the dim percentage, fixture height, and measured PPFD so you can reproduce it next run.
Temperature is a secondary check. If your canopy temperature is running above 82-85°F (28-29°C) during lights-on, back off the dim setting even if PPFD looks right. Heat stress limits photosynthesis more than a 10-15% reduction in light intensity hurts you.
Connecting and controlling your dimmable LED: drivers, controllers, and wiring
Most quality dimmable grow lights use one of three control setups: an integrated on-board knob, an external 0-10V controller, or a network protocol like DALI-2. Here's how each works in practice.
On-board dimmer knob
Simple, reliable, and requires nothing extra to buy. You turn the knob on the fixture, and a voltage divider inside sends the 0-10V signal to the driver. The limitation is that every fixture has to be adjusted individually, which gets tedious if you're running six lights in a tent. It's perfectly fine for single-fixture setups or when you don't need to sync multiple lights.
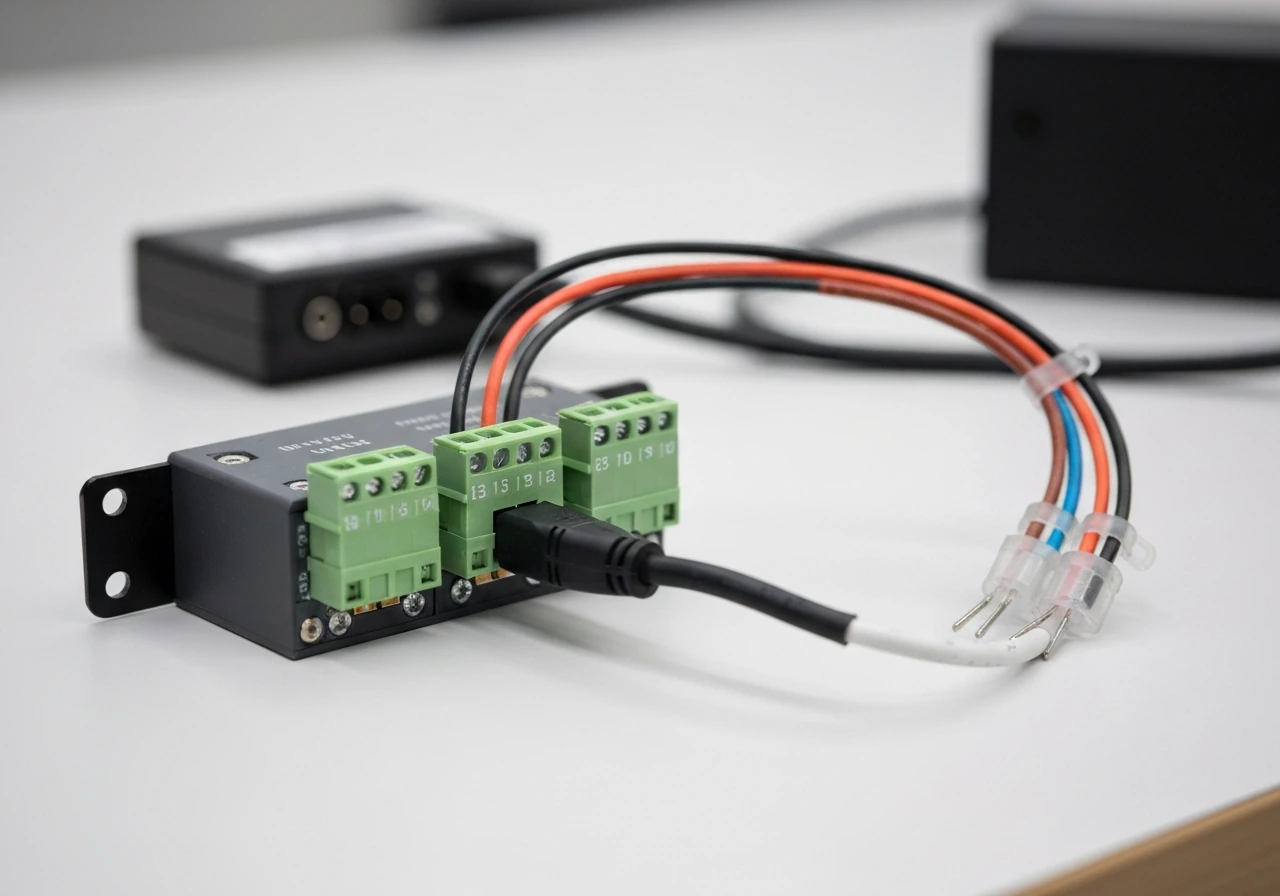
External 0-10V controller
Controllers like the Gavita Master Controller, Autopilot APCLED, or similar units send a 0-10V signal to all connected fixtures simultaneously. Most quality fixtures expose a two-pin 0-10V port (sometimes labeled RJ12 or a bare wire lead). You daisy-chain fixtures to the controller, set your dim level or schedule on the controller, and all lights respond together. This is the right approach for multi-light tents or any room where you want light intensity to ramp up/down automatically.
Wiring check: verify polarity (positive and negative on the 0-10V leads) before powering on. Reversed polarity won't necessarily fry the driver, but some drivers will default to full power or refuse to respond. Always check the driver datasheet. Also confirm the controller's maximum number of connected fixtures, since some controllers specify a max load on the 0-10V bus.
DALI-2 and advanced protocols
DALI-2 is primarily a commercial/facility-level protocol that allows individual addressing of fixtures, scheduling, and monitoring feedback like driver temperature. For most tent growers, it's overkill. But if you're scaling to a multi-room commercial operation, the added control granularity and data logging are genuinely useful. Fixtures supporting DALI-2 (like those using the OPTOTRONIC 180W driver platform) can be dimmed to 10% with precise, repeatable control that doesn't drift over time the way analog potentiometers sometimes do.
For growers who want supplemental lighting on a separate dim schedule (side lighting, undercanopy strips, or propagation racks), keeping control circuits separate is smart. Best supplemental LED grow light options often have their own simple dim interfaces that work independently from your main overhead fixture's controller.
Common mistakes and how to troubleshoot them
Flicker
Visible flicker at low dim settings almost always means the driver is hitting its minimum stable operating point and struggling to maintain consistent output. If your fixture flickers at 10% dim, try setting it to 15-20%. If it flickers across the entire range, the driver may be failing or the PWM frequency is too low for stable low-end operation. Cheap fixtures with low-frequency PWM drivers are the usual culprit. At purchase, check for flicker by filming the light on your phone camera in slow motion before committing to a setup.
Uneven canopy coverage
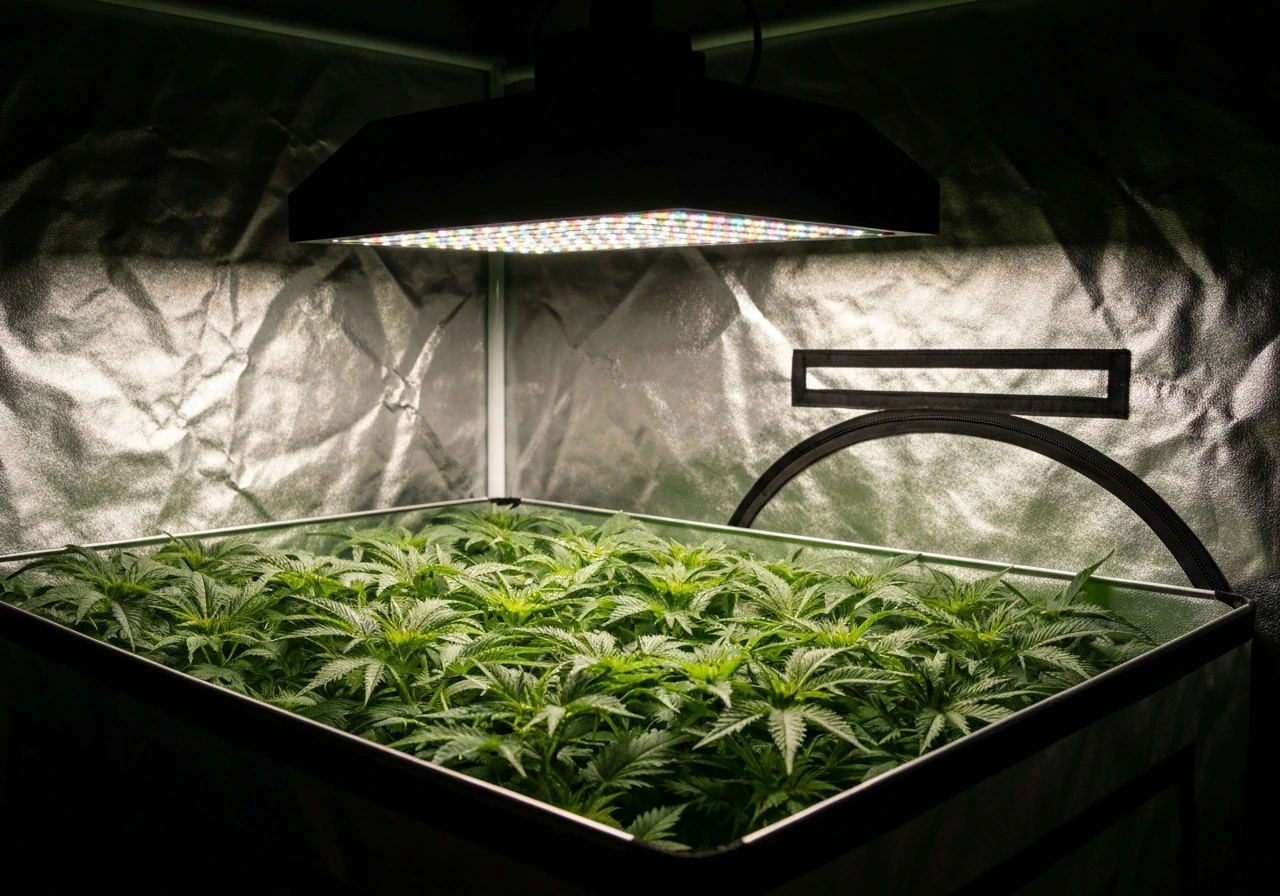
Plants under the edges of the light are getting less PPFD than plants under the center. This shows up as slower veg growth at the perimeter, smaller flowers on outer branches, or tip burn only in the center. The fix is usually fixture height: raising the light spreads photons more evenly but reduces overall intensity, which means you may need to reduce dim level slightly to compensate. Check the PPFD map corners versus center at your current height and adjust from there.
Weak growth despite correct dim settings
If your PPFD is in range but plants are underperforming, the issue is usually not the light. Check CO2 levels (at high PPFD, plants hit a CO2 limitation around 400 ppm ambient), root zone health, VPD, or nutrient lockout. Light is one input in the system, not the only one. That said, also verify your PPFD readings are accurate. A cheap, uncalibrated PAR meter can read 20-30% off from reality.
Controller incompatibility
Not all 0-10V controllers work with all drivers. Some controllers output a signal that bottoms out at 1V, while some drivers interpret anything below 2V as off. Result: the light turns off when you try to dim it below 20%, or the dim range feels compressed. Check both the driver datasheet and the controller spec sheet for minimum control voltage before pairing them. Community forums like best LED grow lights rollitup discussions often surface compatibility notes between specific driver and controller combinations that manufacturer specs don't mention.
Quick buying checklist and next steps
Before you pull the trigger on any dimmable LED grow light, run through this checklist:
- Confirm the dimming range reaches 10-20% of full output (not just 50-100%).
- Check the driver type: 0-10V interface is the most compatible choice for external controllers.
- Verify photon efficacy is listed in µmol/J and is above 2.3 µmol/J at minimum (2.5+ is better).
- Look for a third-party verified PPFD map that covers your tent footprint, not just a center-point measurement.
- If buying for a multi-light room, confirm all fixtures are compatible with the same controller.
- Check community reports for flicker at low dim settings before buying budget fixtures.
- Match the fixture's rated coverage area to your actual tent size at the flowering intensity you need, not the veg recommendation.
For next steps: hang your fixture, set it to 50%, measure PPFD at canopy level, and adjust from there using the stage targets above. Document your settings run by run. After two or three cycles, you'll have a reliable dim schedule dialed in for your specific environment that takes the guesswork out of every future grow.
If you're still early in the research process and evaluating whether the category makes sense for your situation, the overview at are led grow lights good is a solid starting point before committing to a specific fixture. Once you know what you need, the dimming capability is what separates a one-trick light from a fixture that actually grows with your skill level and plant demands over time.
FAQ
Can I safely run the same best dimmable LED grow lights at very low settings for clones and seedlings?
Yes, but treat “seedling dimming” as a minimum-output test, not a marketing claim. A light should reliably reach about 10 to 15% without flicker, with stable output across the tent. If it only “looks dim” but PPFD barely drops (or it flickers), you can end up overstressing clones even when the knob says low.
What should I adjust first if my seedlings look stretched or bleached after dimming?
For most setups, start by matching target PPFD, then only adjust height or dim. If your fixture is already at a normal hang distance (around 18 to 24 inches above canopy) and you are still stretching, raise the light slightly or increase output slowly. If you are seeing bleaching or leaf cupping, lower output first before lowering the fixture, because lowering can create hot spots that your dimmer cannot correct.
Which dimming method is best if I want consistent results across multiple grow lights?
Prefer 0 to 10V when you want predictable results and compatibility with environmental controllers. If you use an onboard knob only, you can still dim effectively, but you cannot easily automate stage ramps across days and you cannot sync multiple fixtures. For multi-light tents, 0 to 10V daisy-chaining usually beats “single fixture knob” setups.
Should I trust the dimming knob percentage (like 50%) to hit my PPFD targets?
Do not rely on the dimmer knob percentage as a proxy for PPFD. Two fixtures can both read “60%” but produce different photon output due to driver behavior, efficacy, and height. Your article’s calibration steps (center and corners with a PAR meter, or a PPFD map matched to height) are the decision tool that prevents false confidence.
Why does my light turn off or stop dimming when I go below a certain controller setting?
It depends on the driver. Some 0 to 10V systems include a minimum control voltage, so using a controller that “bottoms out” higher than the driver’s minimum can make the effective range compressed. A common symptom is that lowering below a certain level turns the light off or stops changing PPFD, even though the controller indicates a lower setpoint.
How do I make sure my 0 to 10V controller will actually work with my dimmable grow light driver?
If your controller and driver are mismatched, you can lose part of the dimming range or get unstable behavior at low output. Before wiring a real grow, confirm the controller’s minimum output voltage and the driver’s minimum dim level (including any “off threshold”). Even then, verify with a quick PPFD check because real-world wiring and cable resistance can affect signal behavior.
My fixture flickers at low dim, what is the practical next step?
Visible flicker is not just a cosmetic issue. It can be a sign the driver is operating near its unstable minimum. If it flickers only at the lowest settings, try increasing to a slightly higher dim level and re-measure PPFD. If it flickers throughout the range, the fixture is likely unsuitable for camera-heavy setups and may be less stable for sensitive growth stages.
If my plants at the edges are weaker, should I increase dimming percentage or change fixture height?
If the canopy is uneven, first compare PPFD at the center versus edges at your current height, because the fix is often height and dim balance, not intensity alone. Raising the light spreads photons and reduces edge drop-off, but it can force you to raise dim level or accept a lower ceiling. Only after confirming the PPFD uniformity should you make big changes to spectrum or feed.
What if my measured PPFD is in range but plants still underperform?
Yes, and it usually means light is not the limiting factor at your current stage, or your PPFD measurement is off. First verify the measurement method, because cheap meters can read high or low enough to send you the wrong direction. Then check CO2, root health, VPD, and nutrient availability. At high light, CO2 limitation can appear around typical outdoor ambient levels, so CO2 management becomes more important as you push PPFD.
Should I dim by calendar days or by plant stage targets?
It’s smarter to keep dim schedules stage-based by PPFD rather than by a fixed day count. Plants grow at different rates depending on genetics, container size, and root development, so a fixed “day 14 to day 21” dim plan can overshoot or undershoot. Use your calibration readings and adjust when the canopy reaches the next target PPFD range.
How should I plan dimming schedules for overhead light versus side strip lighting?
If you are using supplemental strips or undercanopy lighting, consider separating controls so you can fine-tune distribution without disturbing the overhead fixture schedule. Also, verify that each control circuit has a stable minimum output. A common mistake is assuming all fixtures “dimming to 10%” produces the same PPFD, but uniformity can differ sharply between overhead and side lighting.
Can driver or canopy heat change the actual PPFD while I’m running a dim schedule?
Temperature management is a safeguard, not a replacement for PPFD. If your canopy temperature is above the typical mid-80s Fahrenheit during lights-on, reduce dim level and re-measure PPFD, because heat stress can limit photosynthesis even when PPFD looks right. Also watch for warm driver housings, because driver thermal throttling can change output behavior as the fixture heats up.
Next Articles

Best LED Grow Lights Rollitup: Buy Guide by Tent Size
Choose the best LED grow lights for your Rollitup-style setup by tent size, PPFD coverage, spectrum, and mounting needs.
Best LED Grow Lights for High Yield: Buyer Guide
Buyer guide to the highest-yield LED grow lights, with PPFD coverage, spectrum, sizing, and setup tips for real harvest
Best Supplemental LED Grow Light: How to Choose the Right One
Choose the best supplemental LED grow light with coverage, PPFD targets, spectrum, efficiency, mounting and a shopping c